How to Build a Raised Patio in the UK: DIY Step-by-Step Guide for Homeowners
25 Aug 2025
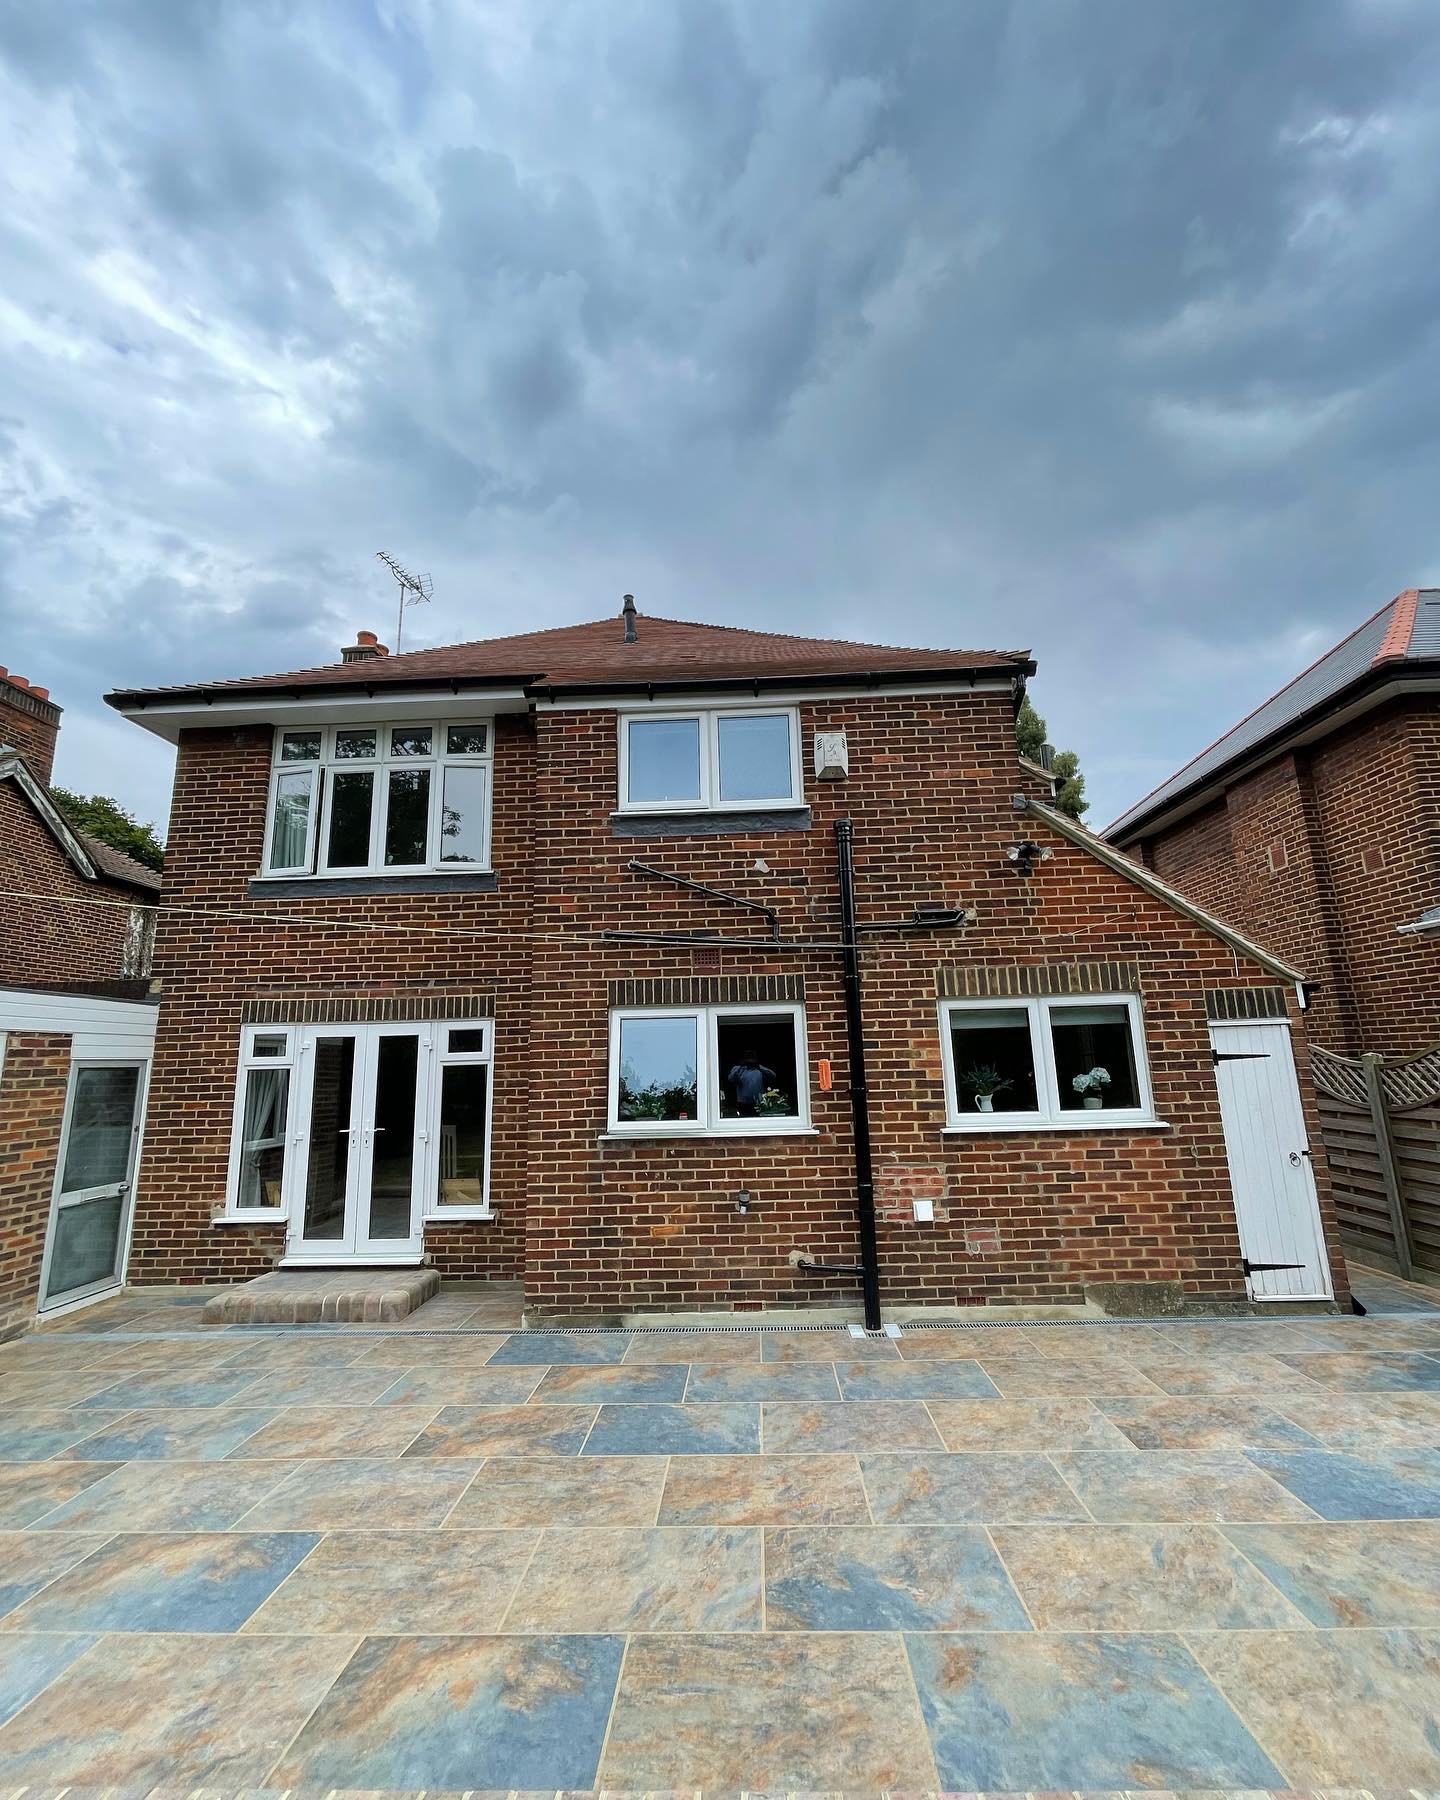
If you’re a UK homeowner looking to enhance your outdoor space, knowing how to build a raised patio can turn your garden into a functional, elevated oasis perfect for dining, relaxing, or entertaining. Unlike traditional patios, a raised patio sits above ground level, offering better drainage, accessibility on sloped land, and visual impact, but it also requires careful planning, structural awareness, and in many cases, knowledge of UK building rules.
This comprehensive guide walks you through every phase of the process, from planning and choosing the right materials to learning how to lay a raised patio using practical DIY techniques. Whether you’re planning to take on the project yourself or just want to understand what’s involved before hiring a contractor, this post gives you the clarity and confidence to move forward.
What You’ll Learn in This Guide:
- How to assess your garden and decide where to build
- The correct tools and materials for DIY raised patio projects
- Step-by-step instructions for laying the base, compacting, and levelling slabs
- Building a patio against your house while protecting structural elements
- When planning permission is required in the UK
- Common mistakes that affect durability and drainage and how to avoid them
By the end, you’ll not only understand how to build a structurally sound and aesthetically pleasing patio — you’ll also be aware of the legal, design, and construction factors that UK homeowners must consider.
Whether you're tackling your first outdoor renovation or refining your landscaping skills, this DIY raised patio guide is your all-in-one resource for success.
Table of Contents
- What Is a Raised Patio?
- Planning Your Raised Patio Project
- Tools and Materials You’ll Need
- Step-by-Step Guide to Laying a Raised Patio
- Building a Raised Patio Against a House (UK-Specific Tips)
- DIY Raised Patio: Cost, Time & Common Mistakes
- Do You Need Planning Permission for a Raised Patio in the UK?
- Final Tips and FAQs About Raised Patios
- Ready to Build Your Raised Patio?
What Is a Raised Patio?
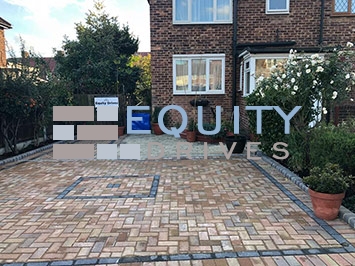
A raised patio is an elevated outdoor platform, typically built above the natural ground level using structural supports like retaining walls, blockwork, or compacted sub-bases. Unlike a ground-level patio, which is laid directly on soil or compacted base, a raised patio is constructed to correct garden slopes, improve drainage, and create defined zones in your outdoor living area.
Raised patios are particularly popular in the UK, where many gardens are uneven or sloped. By elevating part of your yard, you can create a level and functional space for seating, dining, or even hot tubs — regardless of the underlying terrain.
Key Characteristics of a Raised Patio:
- Elevation: Typically 15cm to 60cm above ground, but can be higher if supported by proper engineering
- Structural Foundation: Often requires retaining walls, backfilled hardcore, and compacted sub-bases
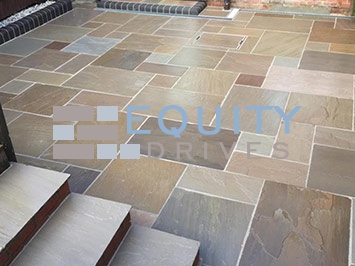
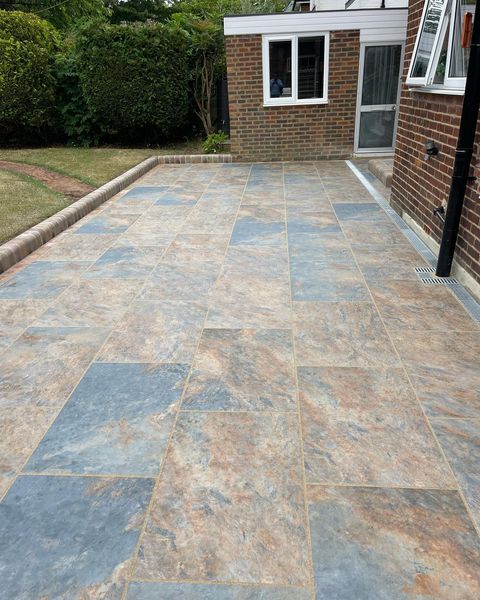
- Finishing Surface: Can include paving slabs, concrete, natural stone, or porcelain tiles
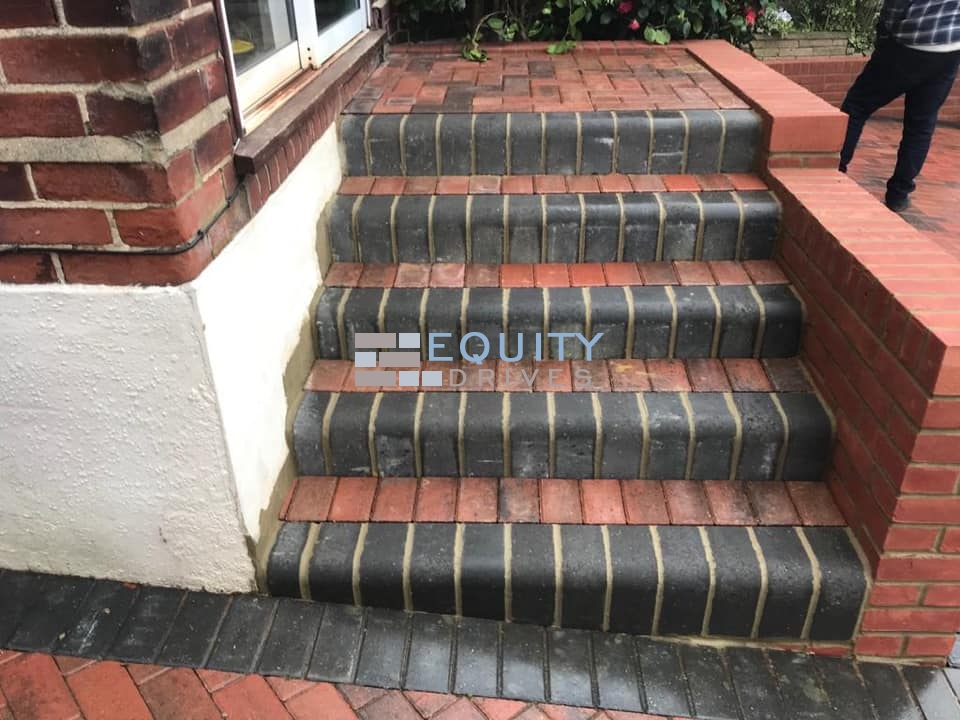
- Design Integration: Raised patios often include steps, railings, lighting, and integrated seating
When and Why to Choose a Raised Patio?
Raised patios are ideal for:
- Sloped gardens where level ground is limited
- Properties with poor natural drainage
- Creating tiered garden designs or transitions between different elevation zones
- Improving the viewpoint from the garden or home interior
For example, if your garden slopes away from the house, a raised patio allows you to build a usable entertainment area without needing extensive excavation or levelling of the entire yard.
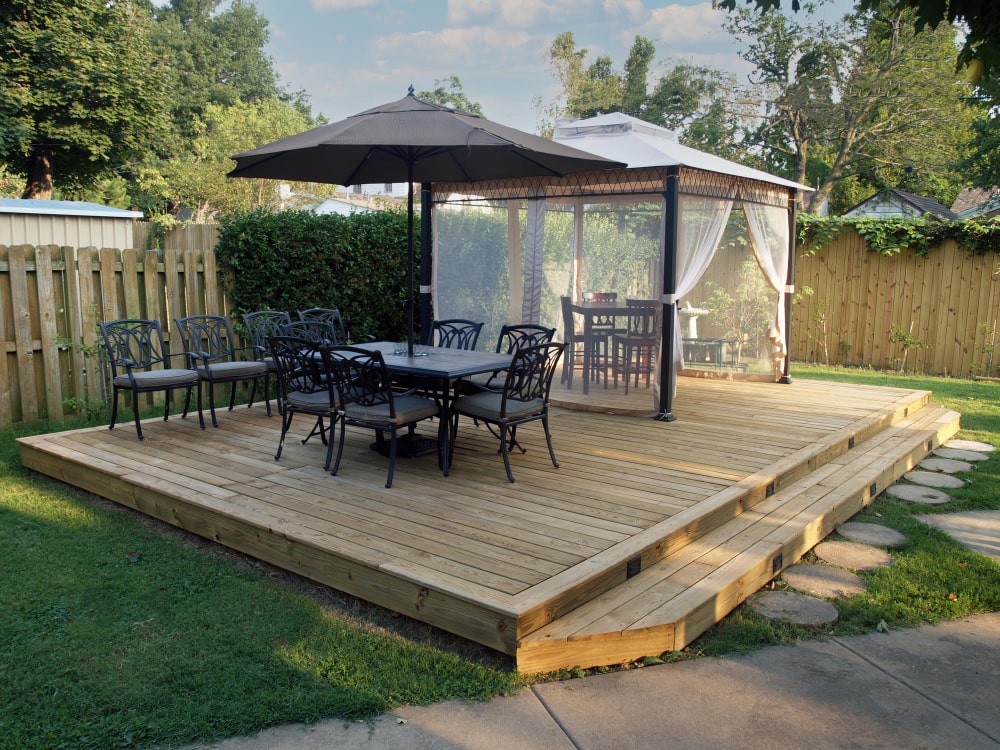
Is It the Same as a Deck?
No, while both raised patios and decks are elevated, they differ structurally:
- A raised patio is made of heavy, solid materials (e.g., concrete, stone)
- A deck is usually made from timber or composite boards on a joist framework
Patios are generally more durable, low-maintenance, and better suited for long-term landscaping.
Legal Note for UK Homeowners:
If your raised patio is built more than 30cm above natural ground level, UK planning laws may require you to:
- Apply for planning permission
- Install railings or guards for safety (especially above 60cm)
- Maintain a safe distance from boundary lines or neighbouring structures
Always check with your Local Planning Authority (LPA) or use the UK’s Planning Portal for guidance.
Planning Your Raised Patio Project
Planning your raised patio is a crucial first step toward a durable, compliant, and visually cohesive garden upgrade. Proper raised patio planning ensures that your chosen patio dimensions, layout, and structure not only enhance your garden but also comply with UK building codes.
From deciding where to build the patio in your garden, to understanding height restrictions and drainage requirements, this section guides you through all the essential elements you must evaluate before construction begins.
Choosing the Right Location
The best spot for a raised patio balances accessibility, sunlight, privacy, and proximity to your home. Your garden layout directly influences the usability and safety of the patio. For example, placing your patio near a door provides easy access for dining or entertaining, while building near boundary lines may raise planning concerns.
Proximity to House and Garden Layout
When building a raised patio near your house, maintain the required distance from the house foundation and ensure that the structure doesn’t interfere with your home’s damp-proof course (DPC). This protects your home from moisture damage and aligns with UK safety standards.
Sunlight and Drainage Considerations
Strategically choosing a location with ample patio sunlight enhances comfort and usability. Equally important is the garden drainage slope — your patio must be designed to prevent water pooling and direct runoff away from structures.
Measuring Dimensions and Elevation
Accurate patio dimensions help ensure functionality, symmetry, and compliance. You must also account for elevation, as a raised patio over 30cm may fall under regulatory scrutiny. This section helps you measure your build area and understand slope and height standards to avoid future legal or structural issues.
Average Height for Raised Patios
The typical raised patio height in the UK ranges from 15cm to 45cm. According to many councils, any raised patio over 30cm may require planning permission. Always confirm height rules based on your local area.
Slope Requirements for Water Runoff
To protect both your home and garden, ensure your patio design includes a proper patio drainage angle. Use the correct runoff slope standard (typically 1:60) to avoid surface water buildup and ensure long-term durability.
Local Regulations and Planning Permissions
Understanding patio planning permission in the UK is critical. Certain raised patio regulations depend on your location, garden boundaries, and elevation. Ignoring these rules may result in costly enforcement actions or required teardown.
When Permission Is Needed
You’ll likely need permission if your raised patio:
- Is over 30cm high
- Affects drainage patterns
- Is close to a property boundary
- Is built on a listed property or in a conservation area
Common Mistakes with UK Regulations
Avoid non-compliance by:
- Verifying property lines
- Ensuring proper drainage
- Not exceeding elevation limits without clearance
These simple precautions help you avoid raised patio legal issues and prevent the creation of a non-compliant patio construction.
Tools and Materials You’ll Need
Whether you’re tackling a full-scale DIY raised patio or just helping plan one, gathering the right tools and materials is essential for both durability and ease of construction. Using proper base layers, high-quality paving, and reliable hand tools ensures your patio won’t crack, sink, or require premature repairs.
This section covers the core materials, essential tools, and a few optional extras that can make your patio build stronger, neater, and more visually appealing.
Core Materials for a Raised Patio
Your patio’s long-term stability depends largely on what’s beneath the surface. The foundation materials, not just the slabs, play a vital role in structural integrity and water drainage.
Paving Slabs, Hardcore, Mortar, Concrete Blocks
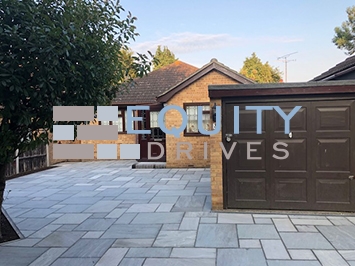
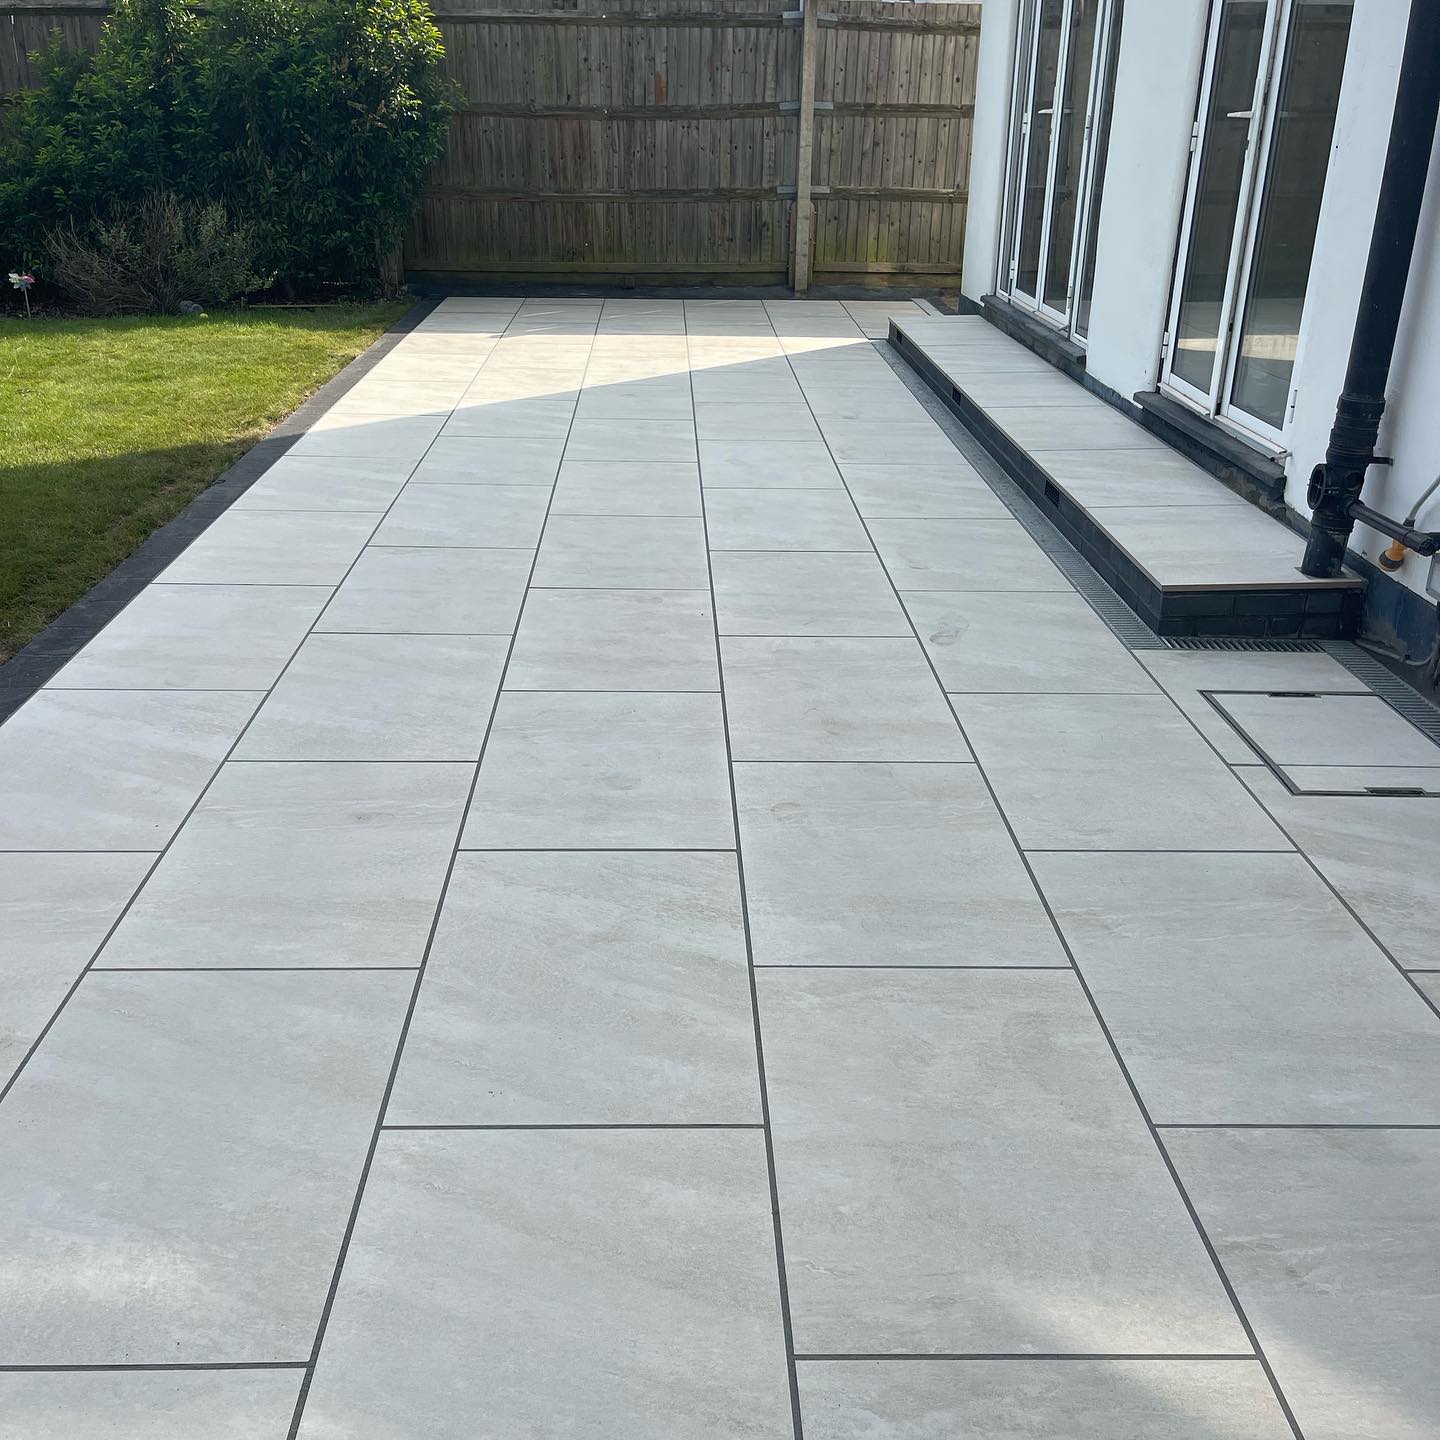
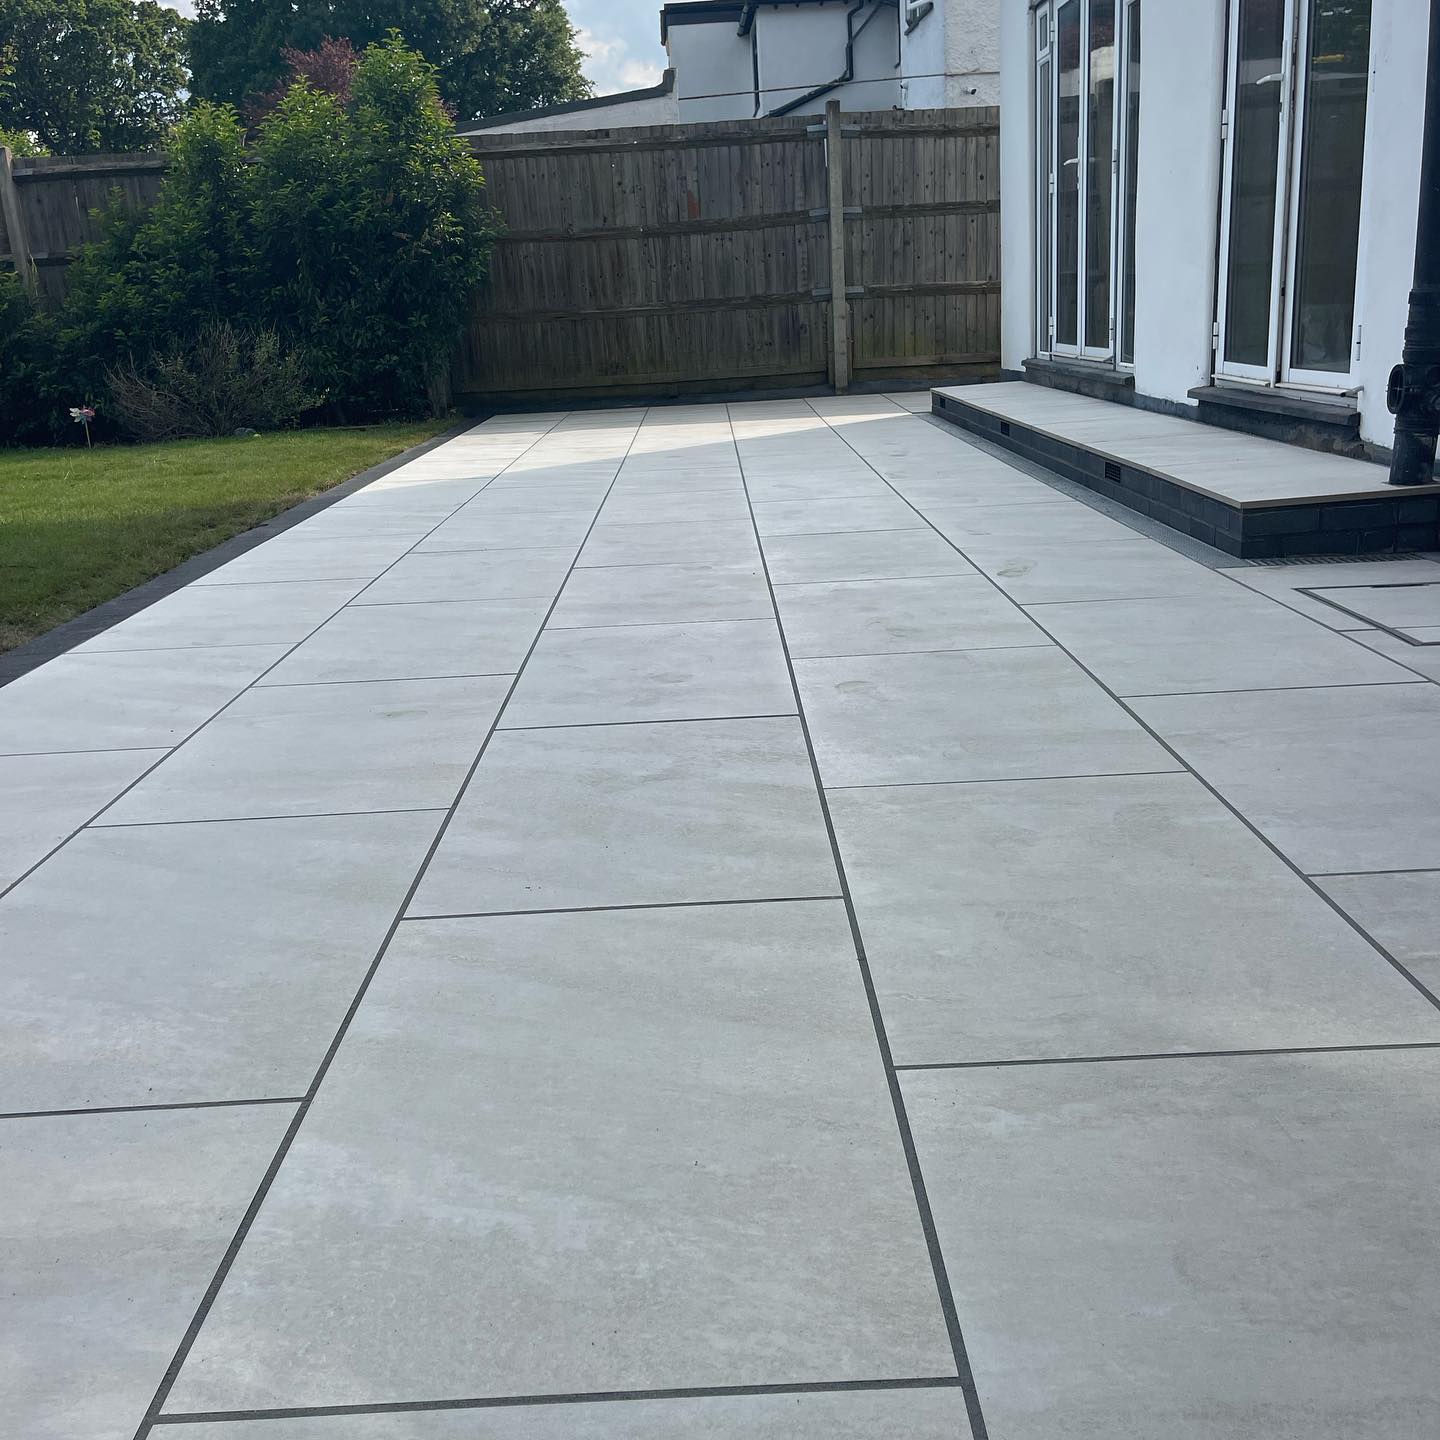
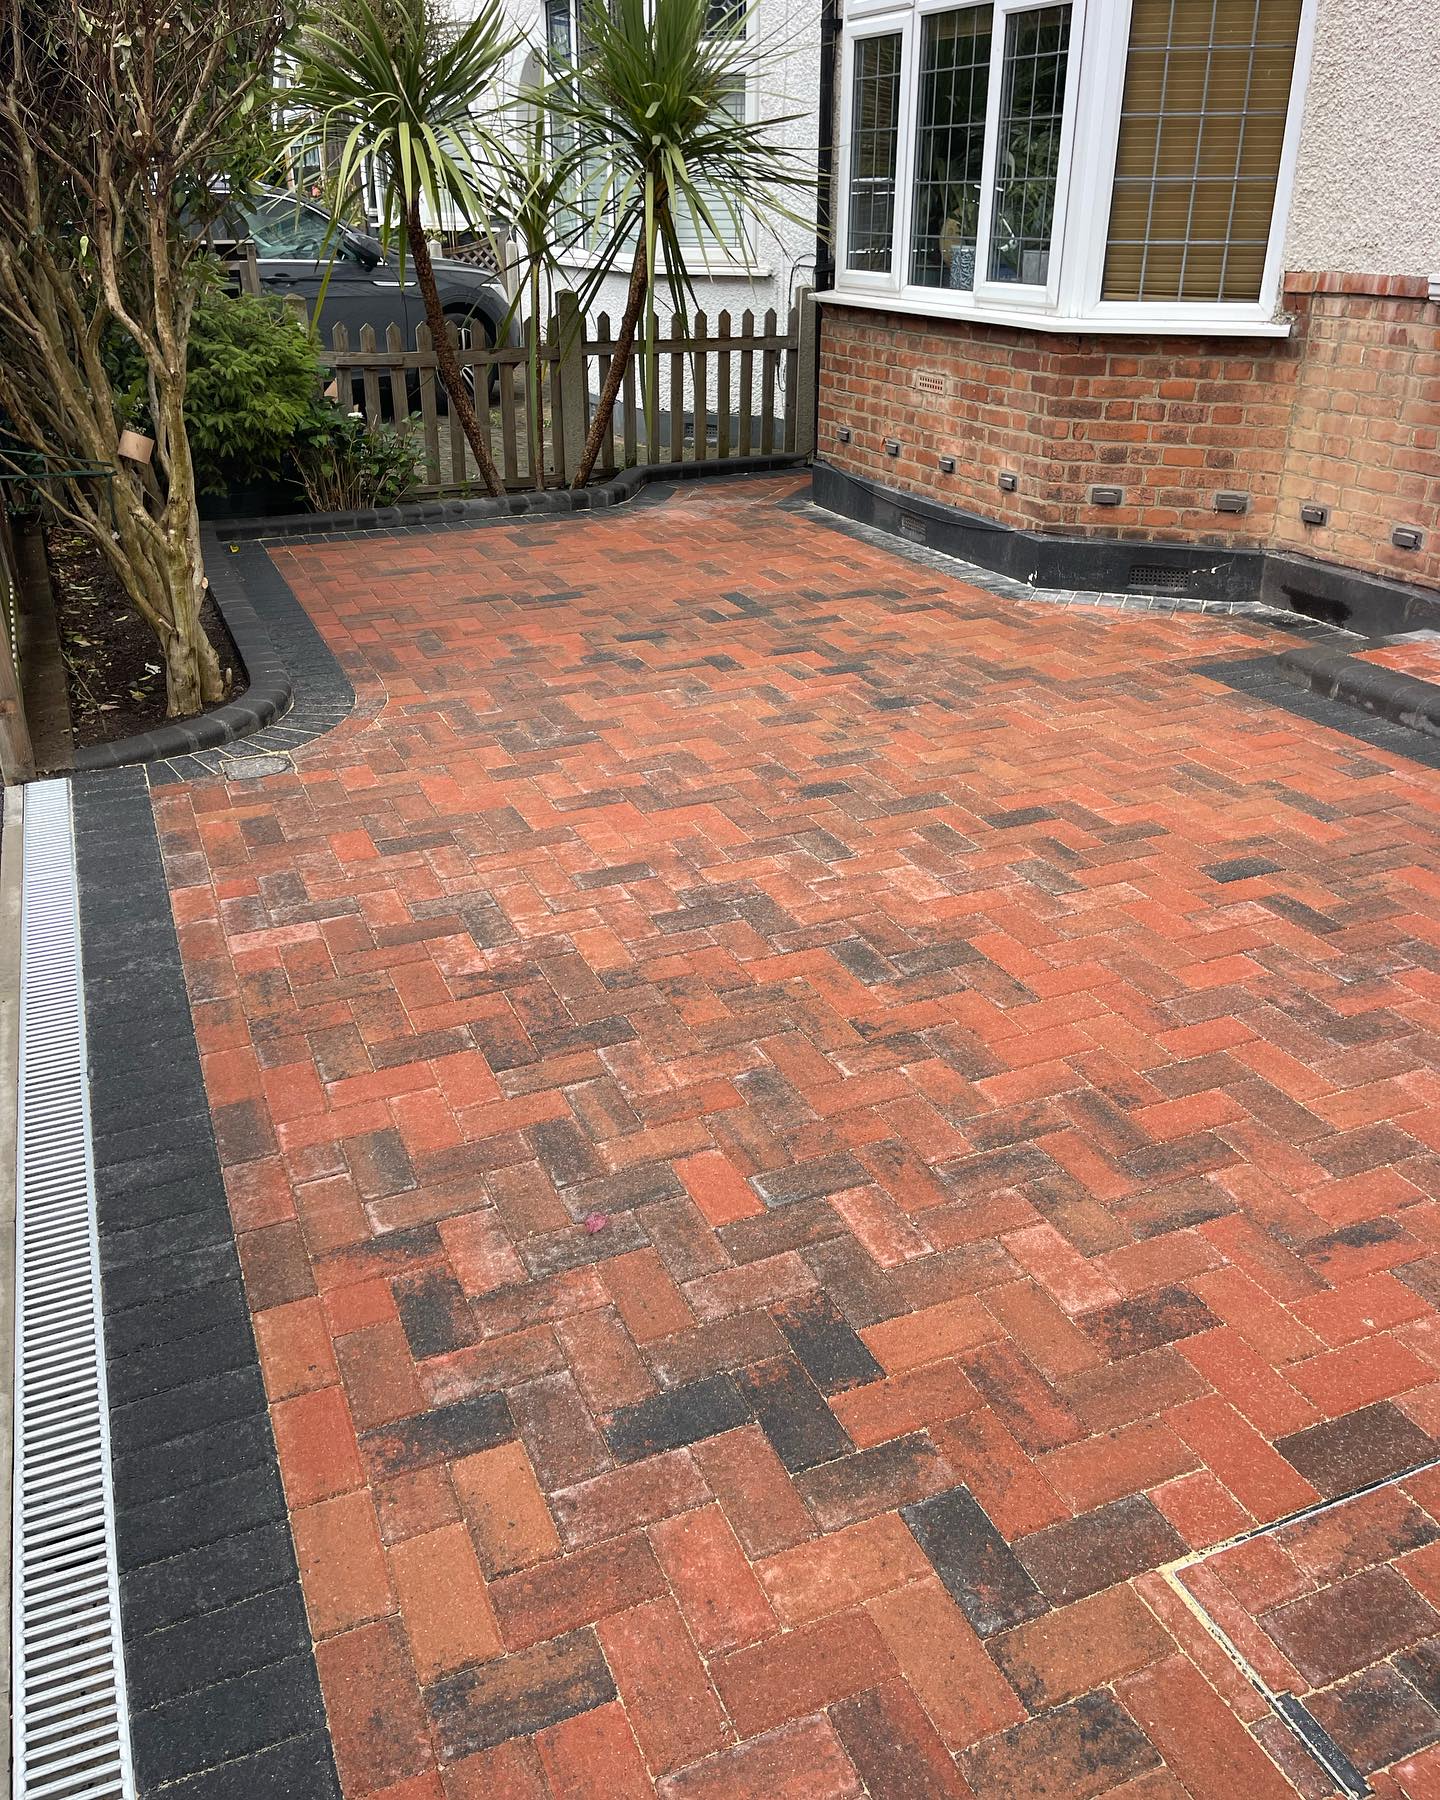
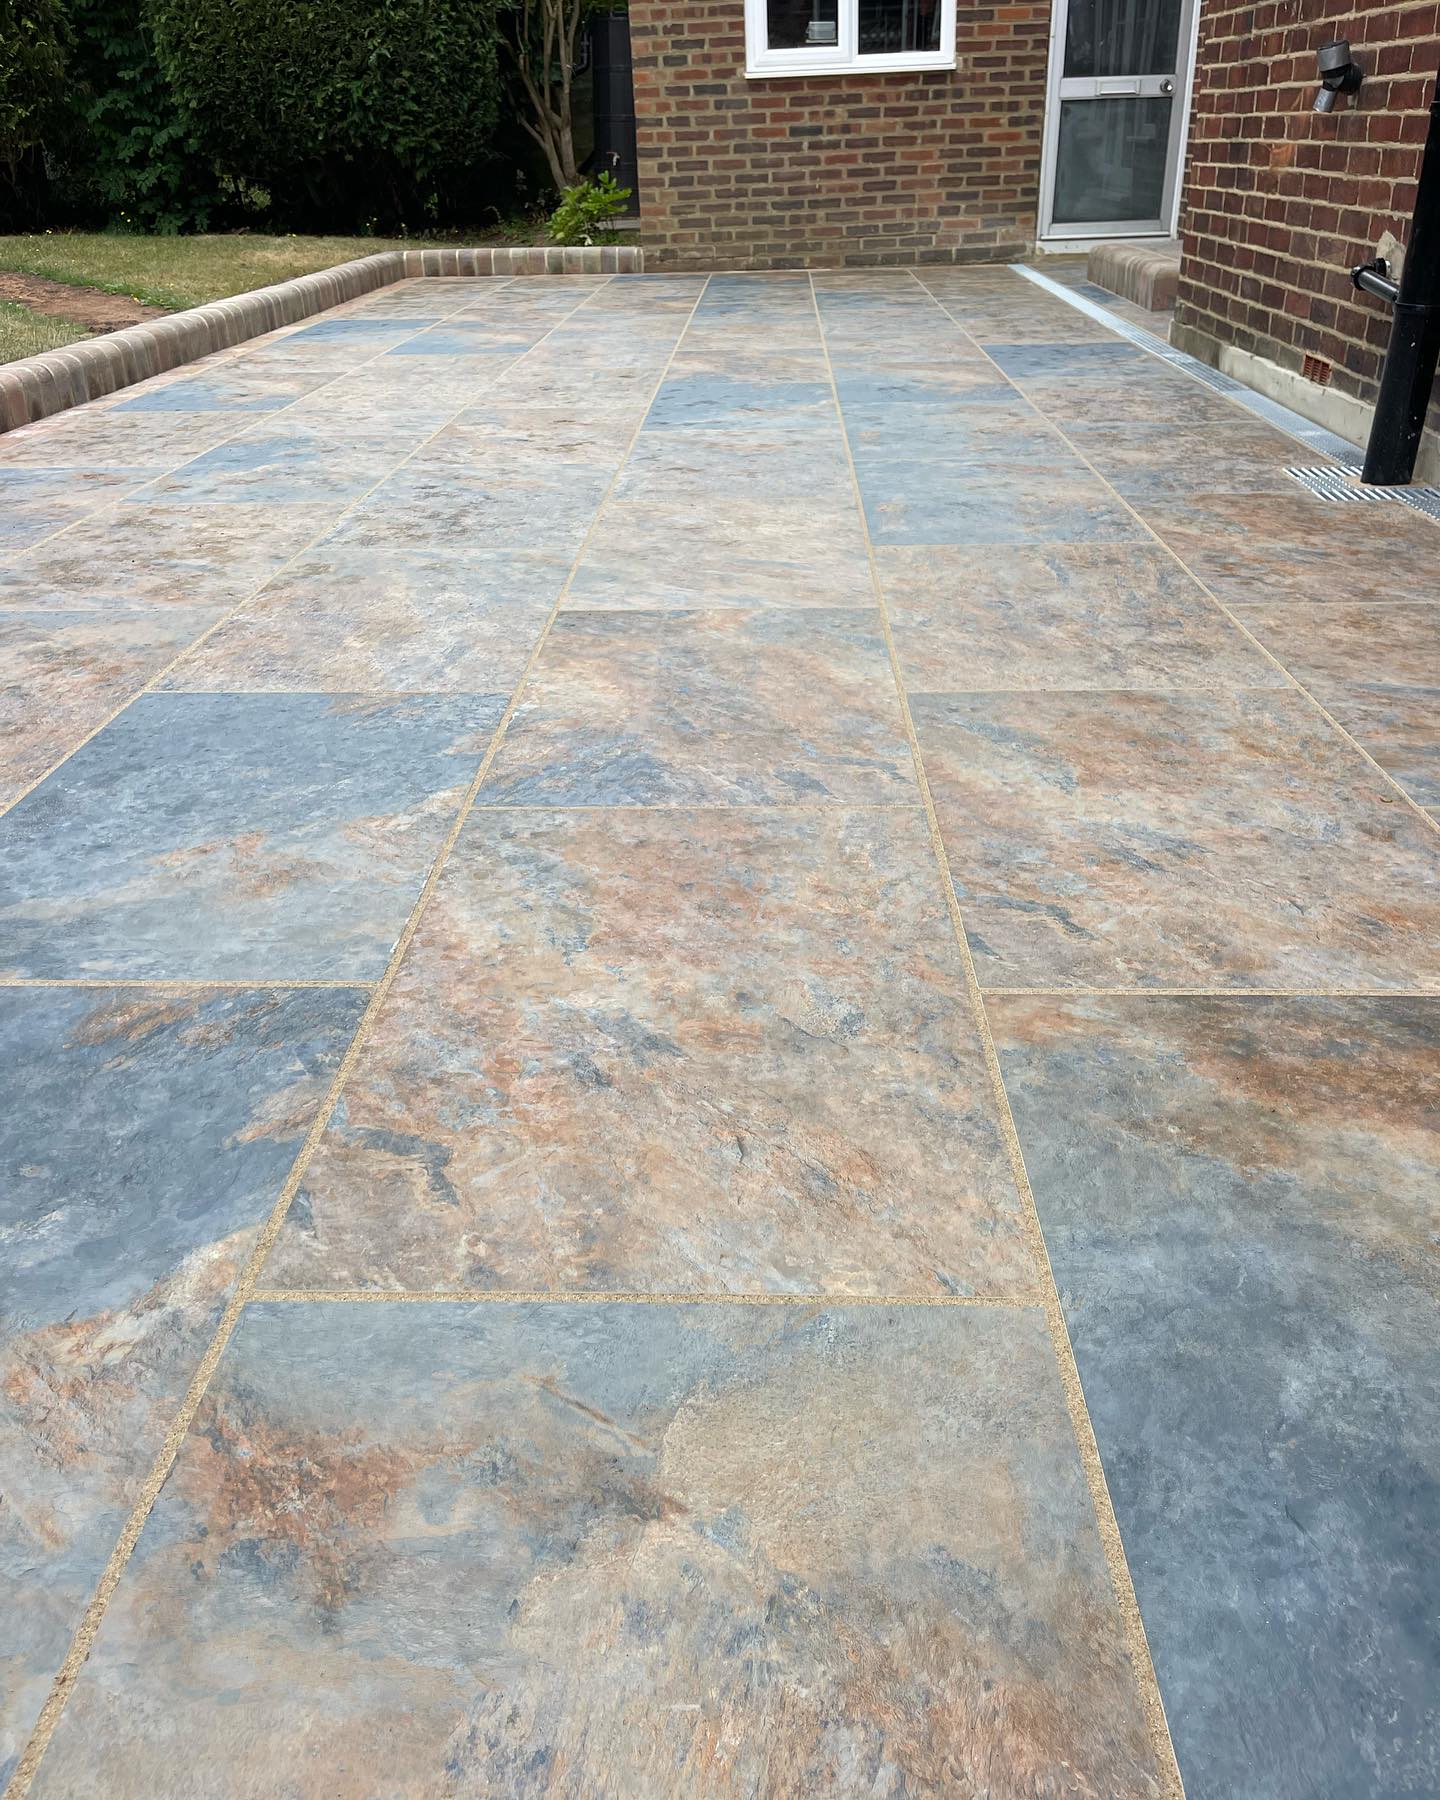
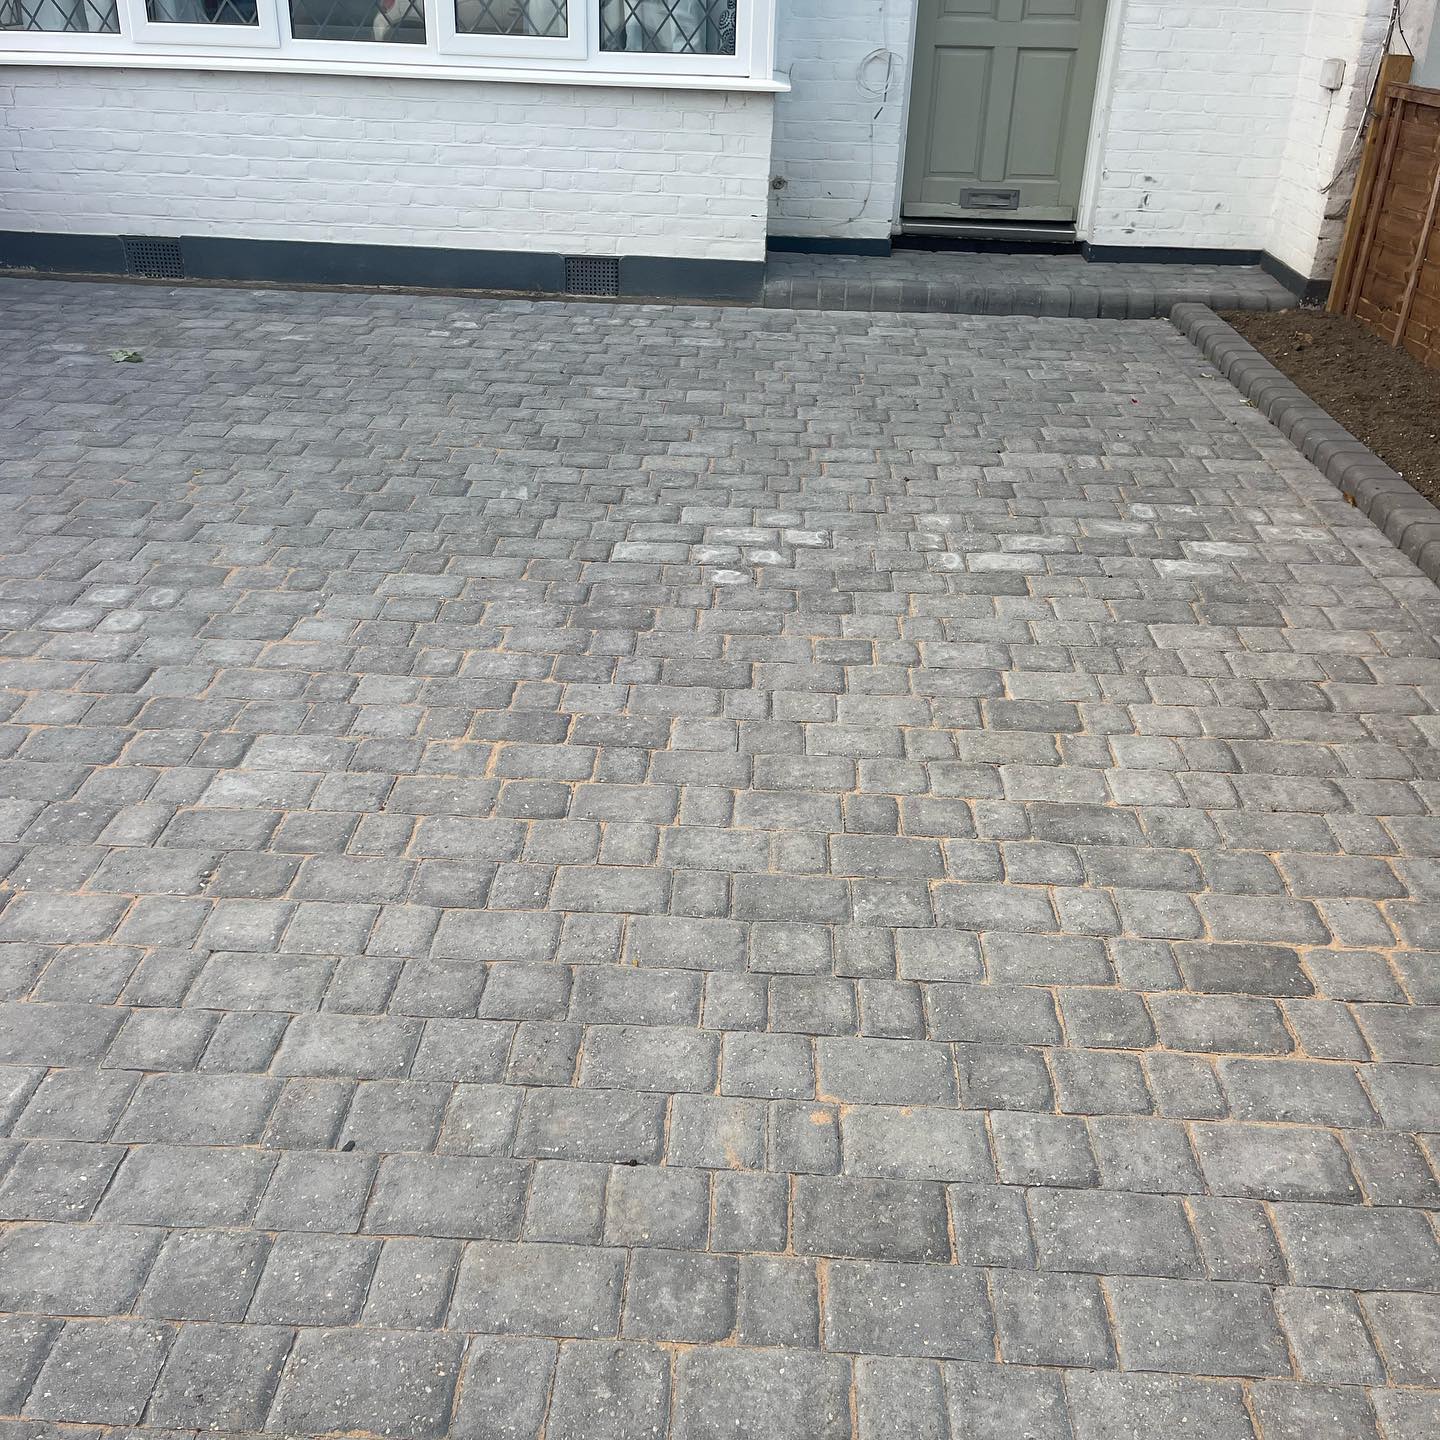
- Paving Slabs: Choose between concrete, natural stone, or porcelain depending on your budget and design preference. For a modern look, smooth grey porcelain slabs are popular in UK gardens.
- Hardcore/Sub-base: A layer of MOT Type 1 or crushed stone provides load-bearing support. Lay and compact this to at least 100mm for small patios, more for heavier use.
- Mortar Mix: Use a 4:1 sharp sand to cement mix to bed your slabs securely. Wet bed techniques ensure better adhesion and levelling.
- Concrete Blocks: Useful if you’re building a retaining edge or small retaining wall. Use high-density blocks for structural support.
Weed Membrane and Drainage Pipe (Optional)
To reduce future maintenance:
- Weed Membrane: A geotextile membrane prevents weeds growing through your slabs while still allowing drainage.
- Drainage Pipe: If your patio collects surface water or sits near the house, installing a French drain or perforated drainage pipe can divert water safely.
Essential Tools for DIY Construction
Even with great materials, poor execution can ruin a patio. These tools help you measure accurately, compact layers, and lay slabs level and secure.
Tools You’ll Need:
- Spade & Shovel: For digging out the base area and moving sub-base materials
- Wheelbarrow: Essential for moving gravel, mortar, and slabs efficiently
- Spirit Level & Straight Edge: To check slope and keep slabs level during laying
- Rubber Mallet: Helps gently tap slabs into place without cracking them
- Plate Compactor (Wacker Plate): Used to compact the hardcore layer evenly. You can hire this from most UK tool hire centres.
- Trowel & Pointing Tool: For applying and smoothing mortar or jointing compound
Optional Extras for Better Results
If you want a professional finish and greater longevity, these extras are worth considering.
Sealant, Edging Stones, Patio Lights
- Sealant: Applying a patio sealant after laying helps protect against stains, weather damage, and algae build-up — especially useful in the damp UK climate.
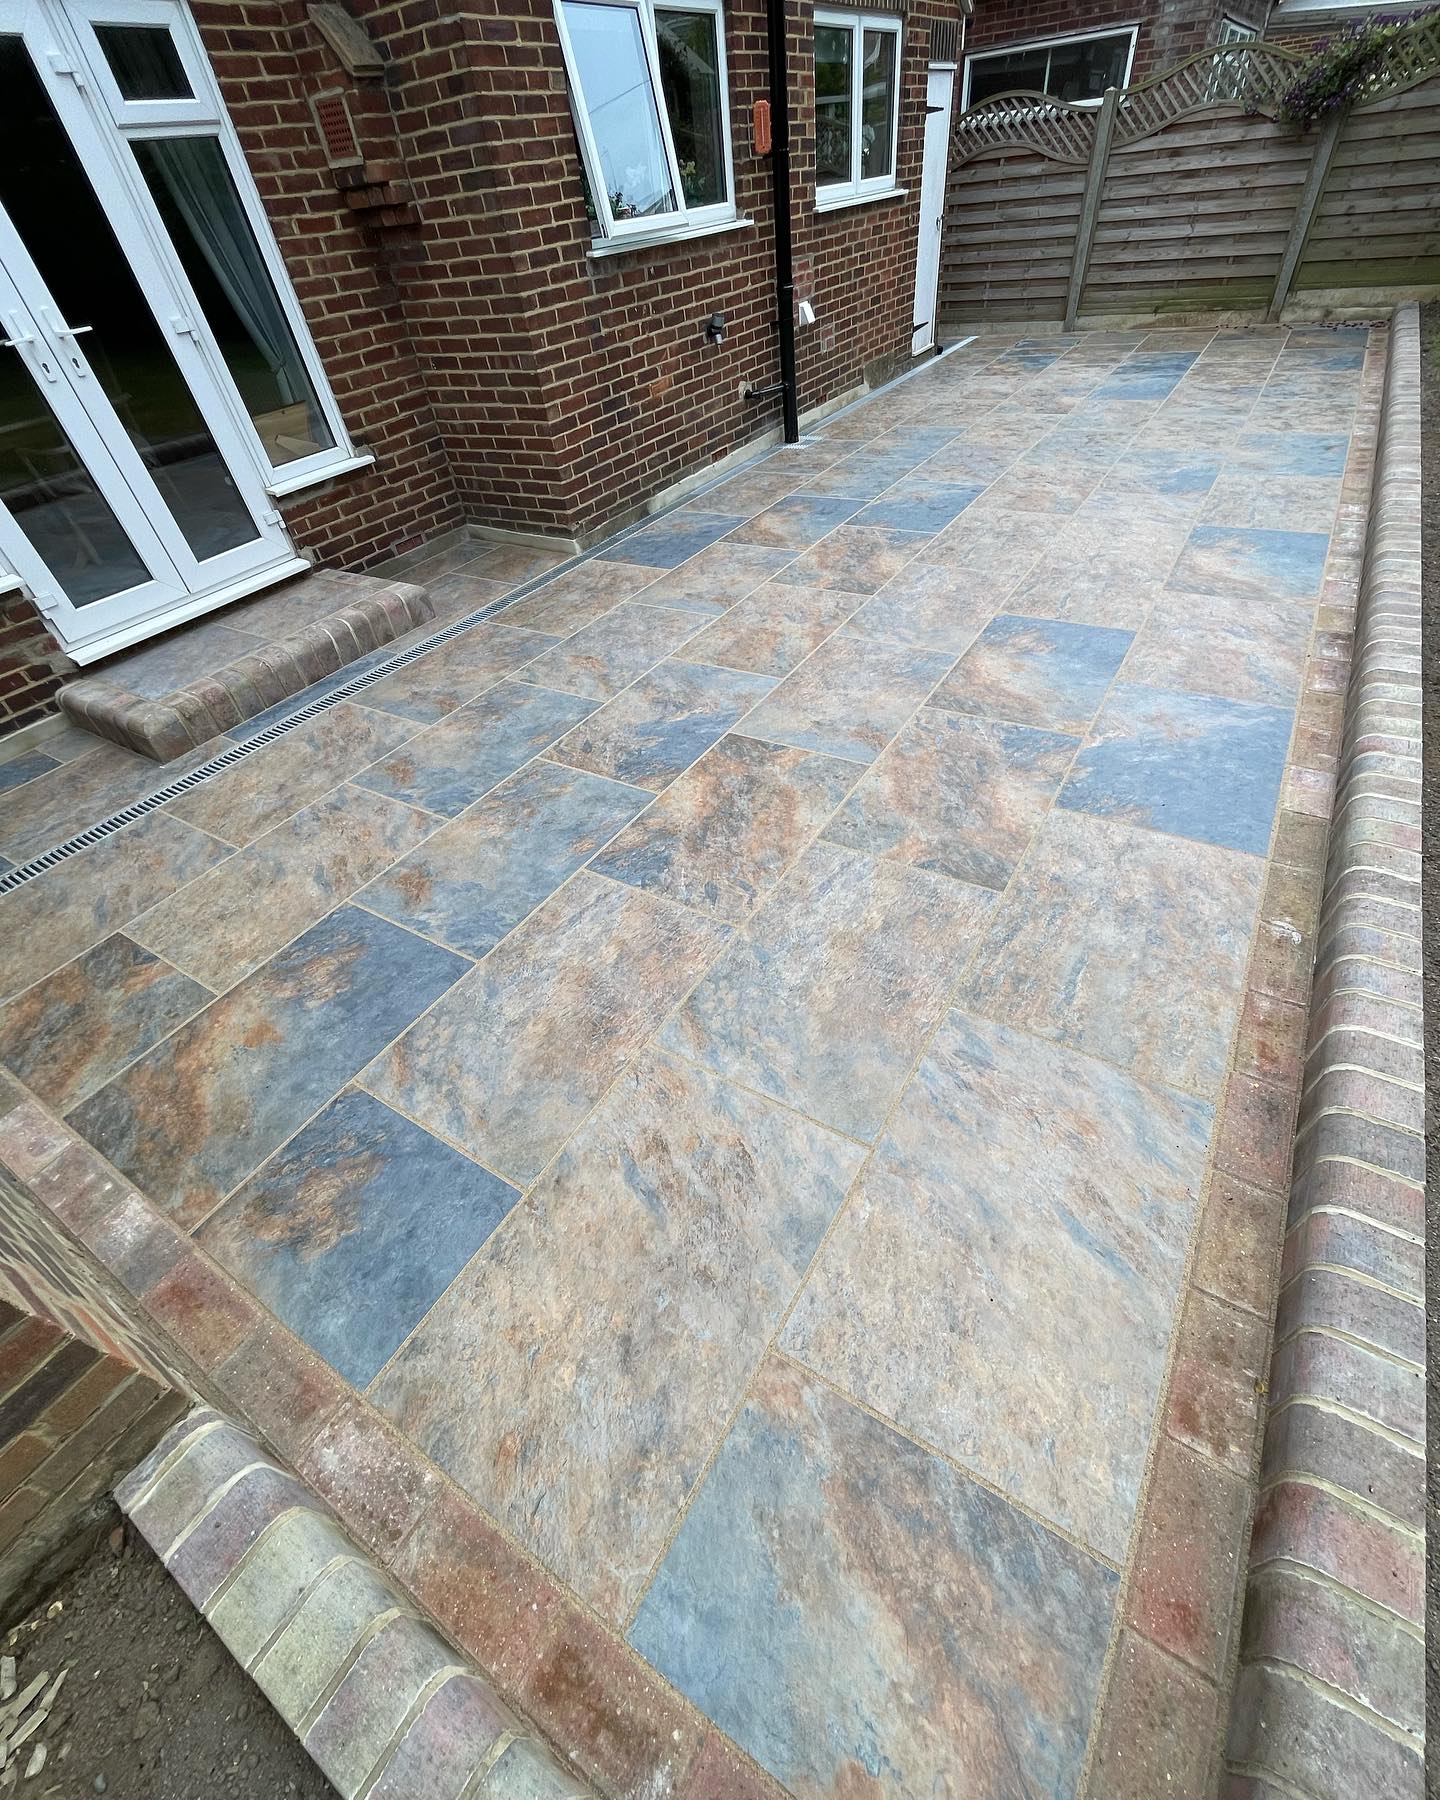
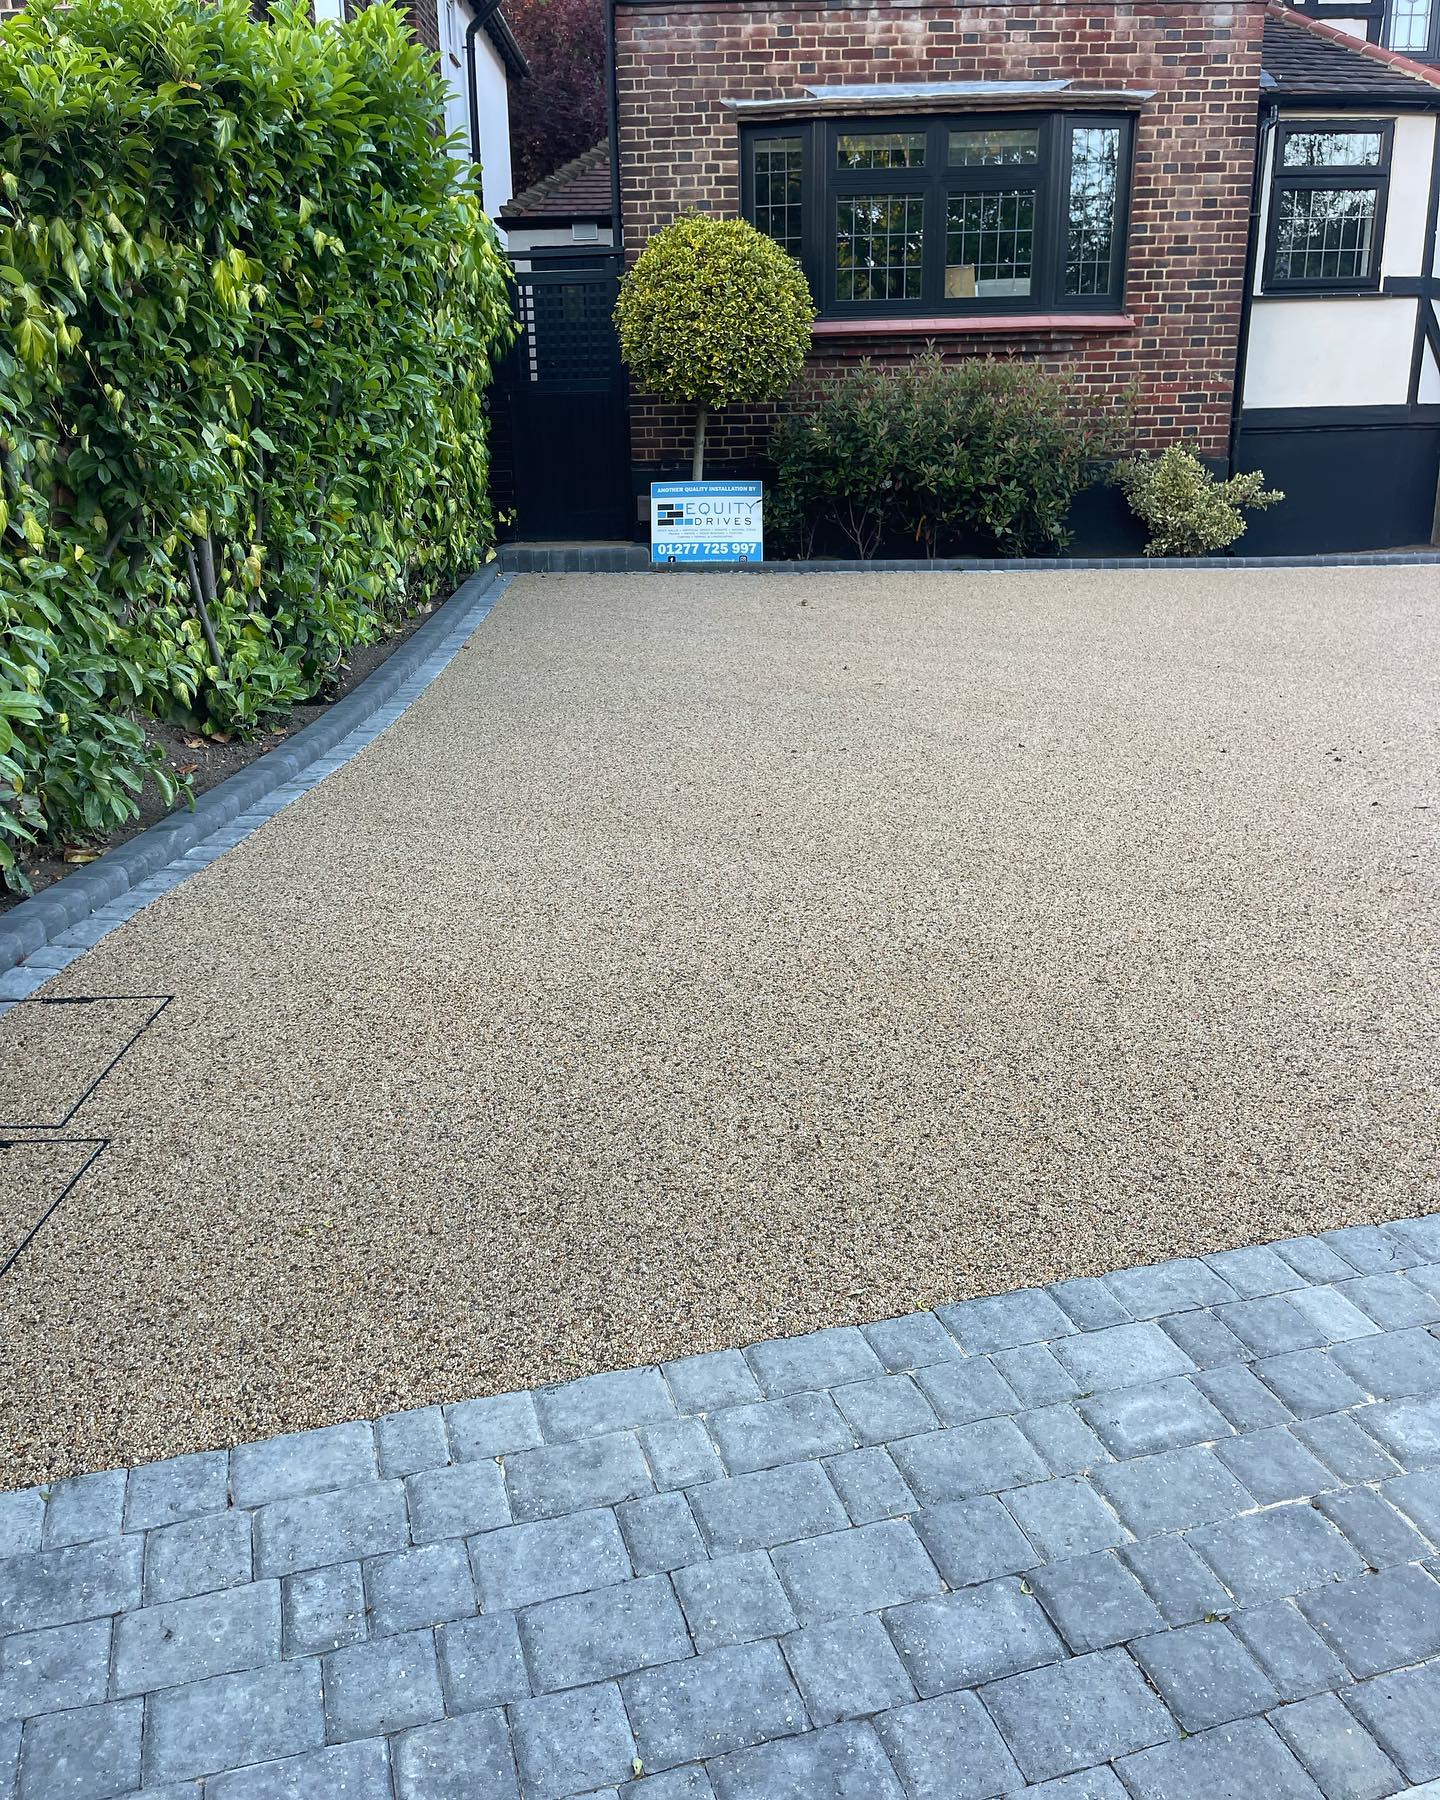
- Edging Stones: These keep the patio tidy, stop slabs from shifting, and add a visual border. Choose matching or contrasting colours to define the space.
- Outdoor Lighting: In-built LED patio lights or solar path lights can enhance evening ambience and safety.
Step-by-Step Guide to Laying a Raised Patio
Now that you’ve planned the layout and gathered your tools, it’s time to move into the practical part: how to lay a raised patio from the ground up. This guide breaks down the entire process into manageable steps, helping you avoid common mistakes and ensuring a professional finish even if it’s your first DIY raised patio project.
Each stage is essential to ensure durability, good drainage, and level surfacing. We’ll walk you through every phase from excavation and compacting to laying slabs on mortar, grouting the joints, and sealing the finished surface.
Ground Preparation
Before laying any materials, proper ground prep ensures your patio is structurally sound and laid out correctly. Skipping this step often leads to uneven slabs or poor drainage.
Marking Boundaries with String Lines
Use string lines and pegs to outline the exact patio area. This helps you:
- Define sharp and accurate edges
- Check squareness and alignment with walls or fences
- Set out your intended slope from the beginning
Mark corners with wooden stakes and pull string tightly across. Measure diagonals to ensure right angles.
Excavation and Depth Guide
Excavate the entire patio area to the correct depth, which typically includes:
- 100–150mm for sub-base (hardcore)
- 30–50mm for mortar
- 20–40mm for slabs
This means a total excavation of around 150–250mm, depending on slab thickness. Be sure to remove all topsoil and soft ground to avoid settlement later.
Creating a Stable Sub-Base
Your sub-base is what keeps the patio from sinking or cracking over time. It must be laid with precision and fully compacted for long-term performance.
Laying Hardcore and Compacting
Use MOT Type 1 or crushed concrete as your sub-base layer. Spread evenly across the area in layers no more than 50mm deep, and compact each layer with a wacker plate (plate compactor).
- Compact in two or more layers for patios that will hold weight
- Ensure even thickness throughout
Levelling and Slope Creation
Establish your slope now, not after the slabs go down. Use a long straightedge and a spirit level to create a gentle fall — typically 1:60 gradient (around 1cm drop per 60cm length).
- Slope away from the house
- Use crushed stone to shape this gradient if needed
Mortaring and Placing Slabs
This is the most visible part of the build — and where precision really matters. Take your time to ensure the surface is even, secure, and aligned.
Mixing Mortar Correctly
For a strong bond, mix sharp sand and cement in a 4:1 ratio. Use water to form a stiff, workable consistency. The “wet bed” method is the most common approach in the UK:
- Apply mortar in full bed under each slab
- Avoid dot-and-dab, which leads to unstable spots
Laying and Levelling the Slabs
Start in one corner and work outwards. Place each slab firmly onto the mortar bed, then tap lightly with a rubber mallet to level.
- Use spacers or leave consistent gaps (3–5mm)
- Check level and slope continuously
- Walk on a plank placed across the laid slabs — not directly on them
Finishing Touches
With the slabs in place, it’s time to tidy up and ensure your patio is weatherproof, durable, and low-maintenance.
Brushing Kiln-Dried Sand
Once the mortar has set (typically 24–48 hours), fill the joints with kiln-dried sand for flexibility and weed resistance. Sweep diagonally across the patio surface to fill gaps evenly.
For a more permanent option, consider polymeric jointing compounds.
Sealing and Cleaning the Surface
Clean the slabs with a soft broom and water — or patio cleaner for tougher stains. Once dry, apply a patio sealant to enhance colour, resist algae, and prevent moisture ingress.
Sealing is particularly beneficial in the UK, where rain and frost can accelerate wear.
Final Tip
Let the patio cure for at least 48 hours before heavy use. Avoid placing furniture too soon, especially after sealing or jointing.
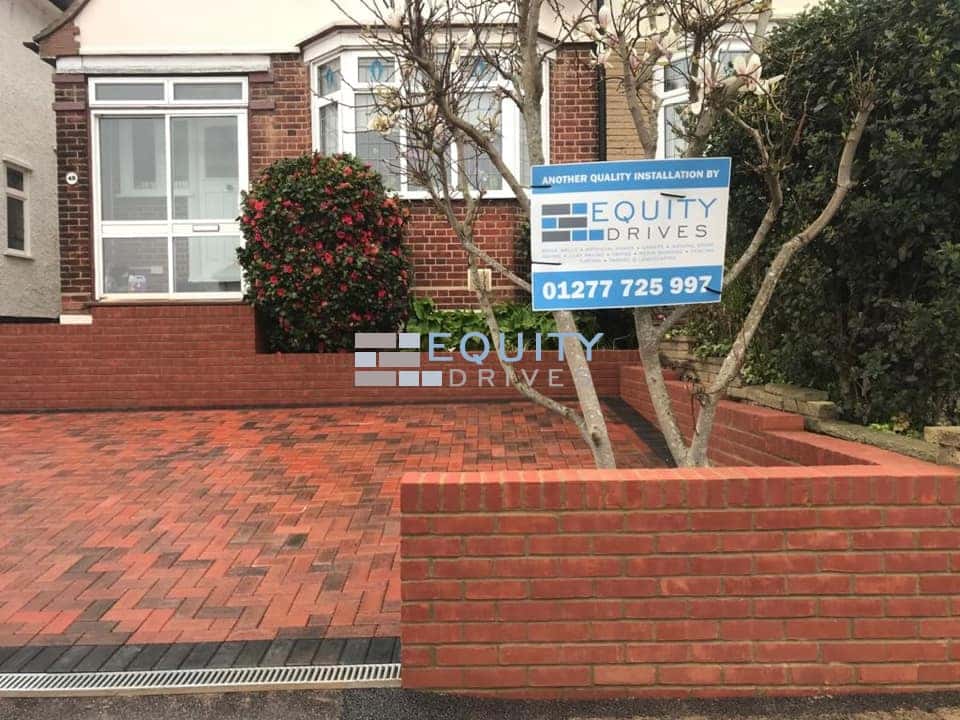
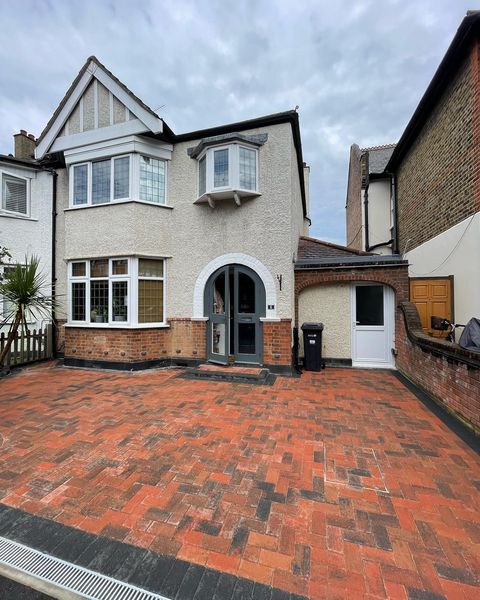
Building a Raised Patio Against a House (UK-Specific Tips)
If you’re planning to build your raised patio near your house, there are several critical structural and moisture-related precautions you must take. A poorly planned patio can cause damp issues, affect your foundation, or even breach UK building regulations. This section offers targeted advice for safe construction and long-term stability when working adjacent to your home’s exterior wall.
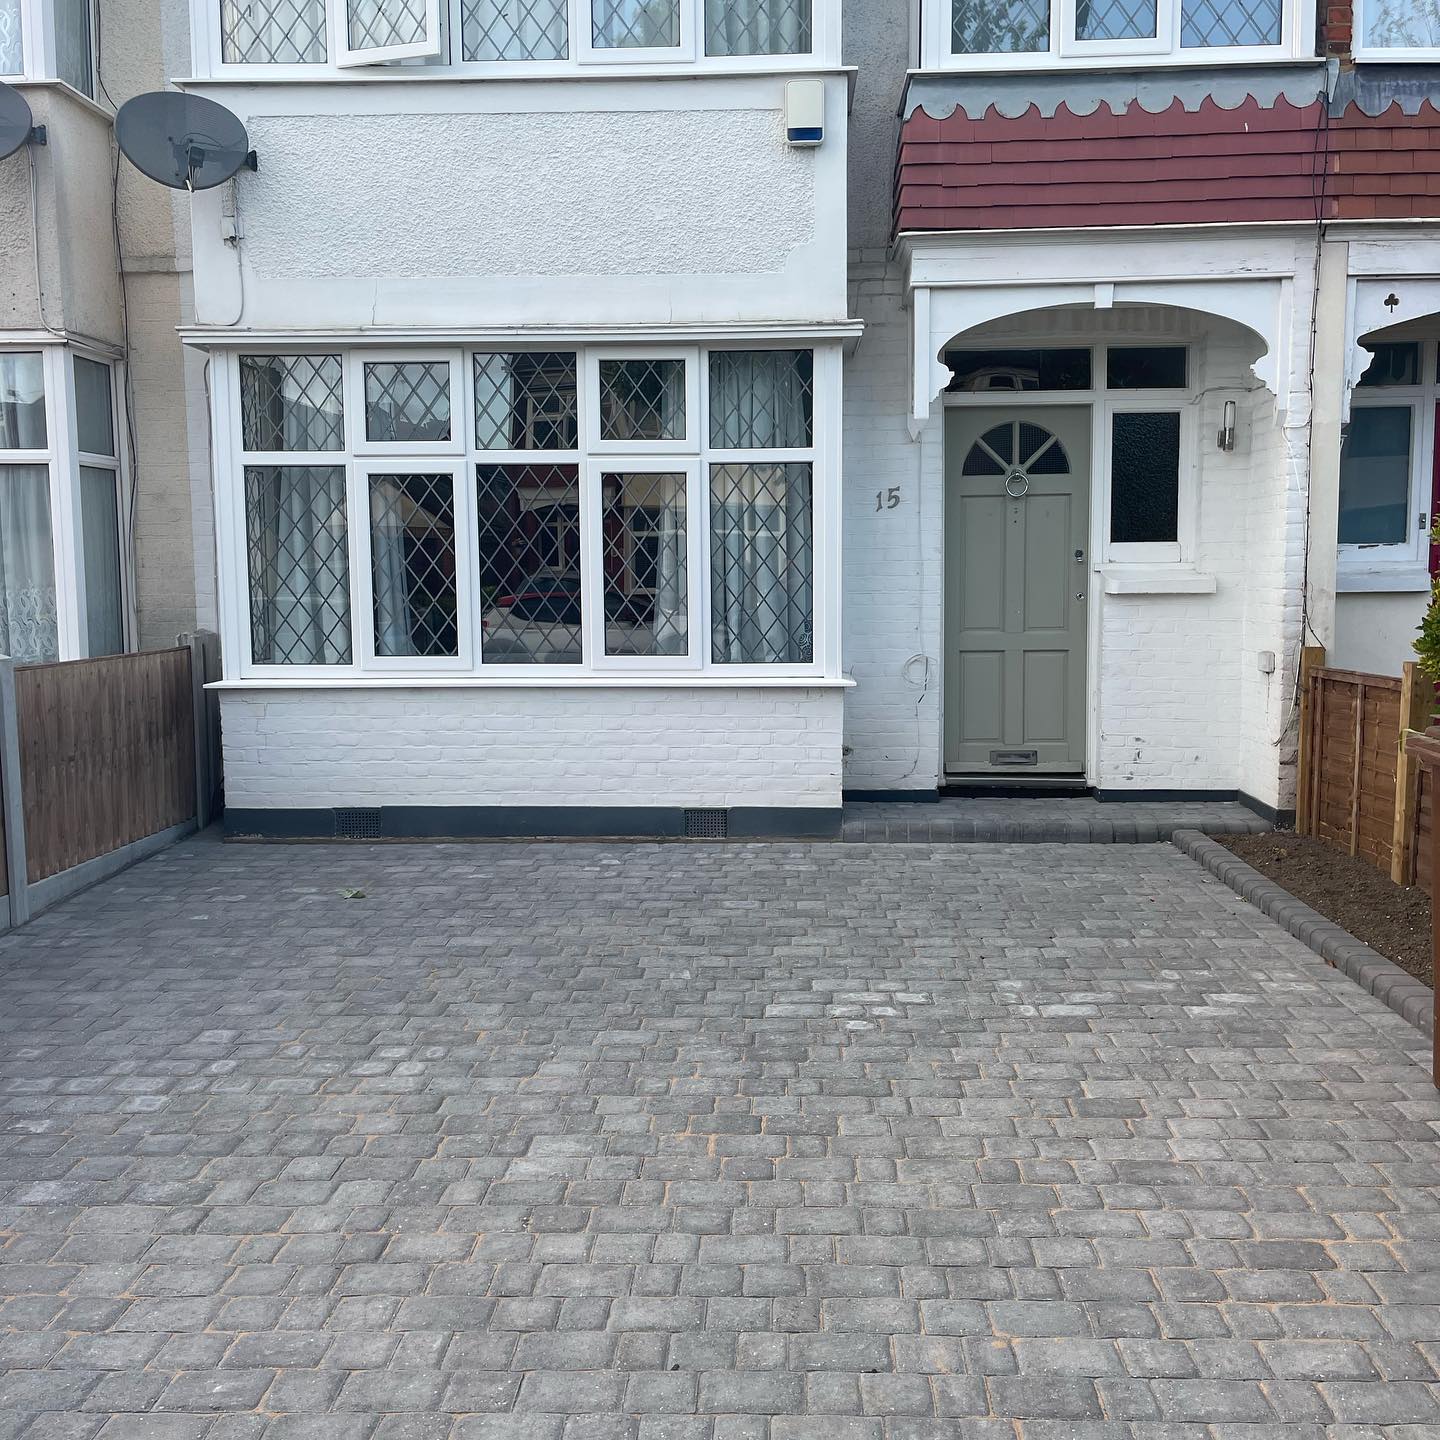
Damp-Proof Course Considerations
Your home has a damp-proof course (DPC) — a protective barrier within the wall that prevents rising moisture. If your patio surface is built too high and breaches this barrier, it can lead to significant damp problems inside your home.
Minimum Clearance from House DPC
In the UK, it’s recommended to maintain at least 150mm (approximately 6 inches) between your patio surface and the damp-proof course. This ensures water splashes or surface runoff won’t breach the wall’s protective line.
Check the brickwork to identify the DPC — it's often visible as a thin black line or different material layer in the first few bricks above ground.
Avoiding Moisture Ingress
Aside from height clearance, ensure the patio includes:
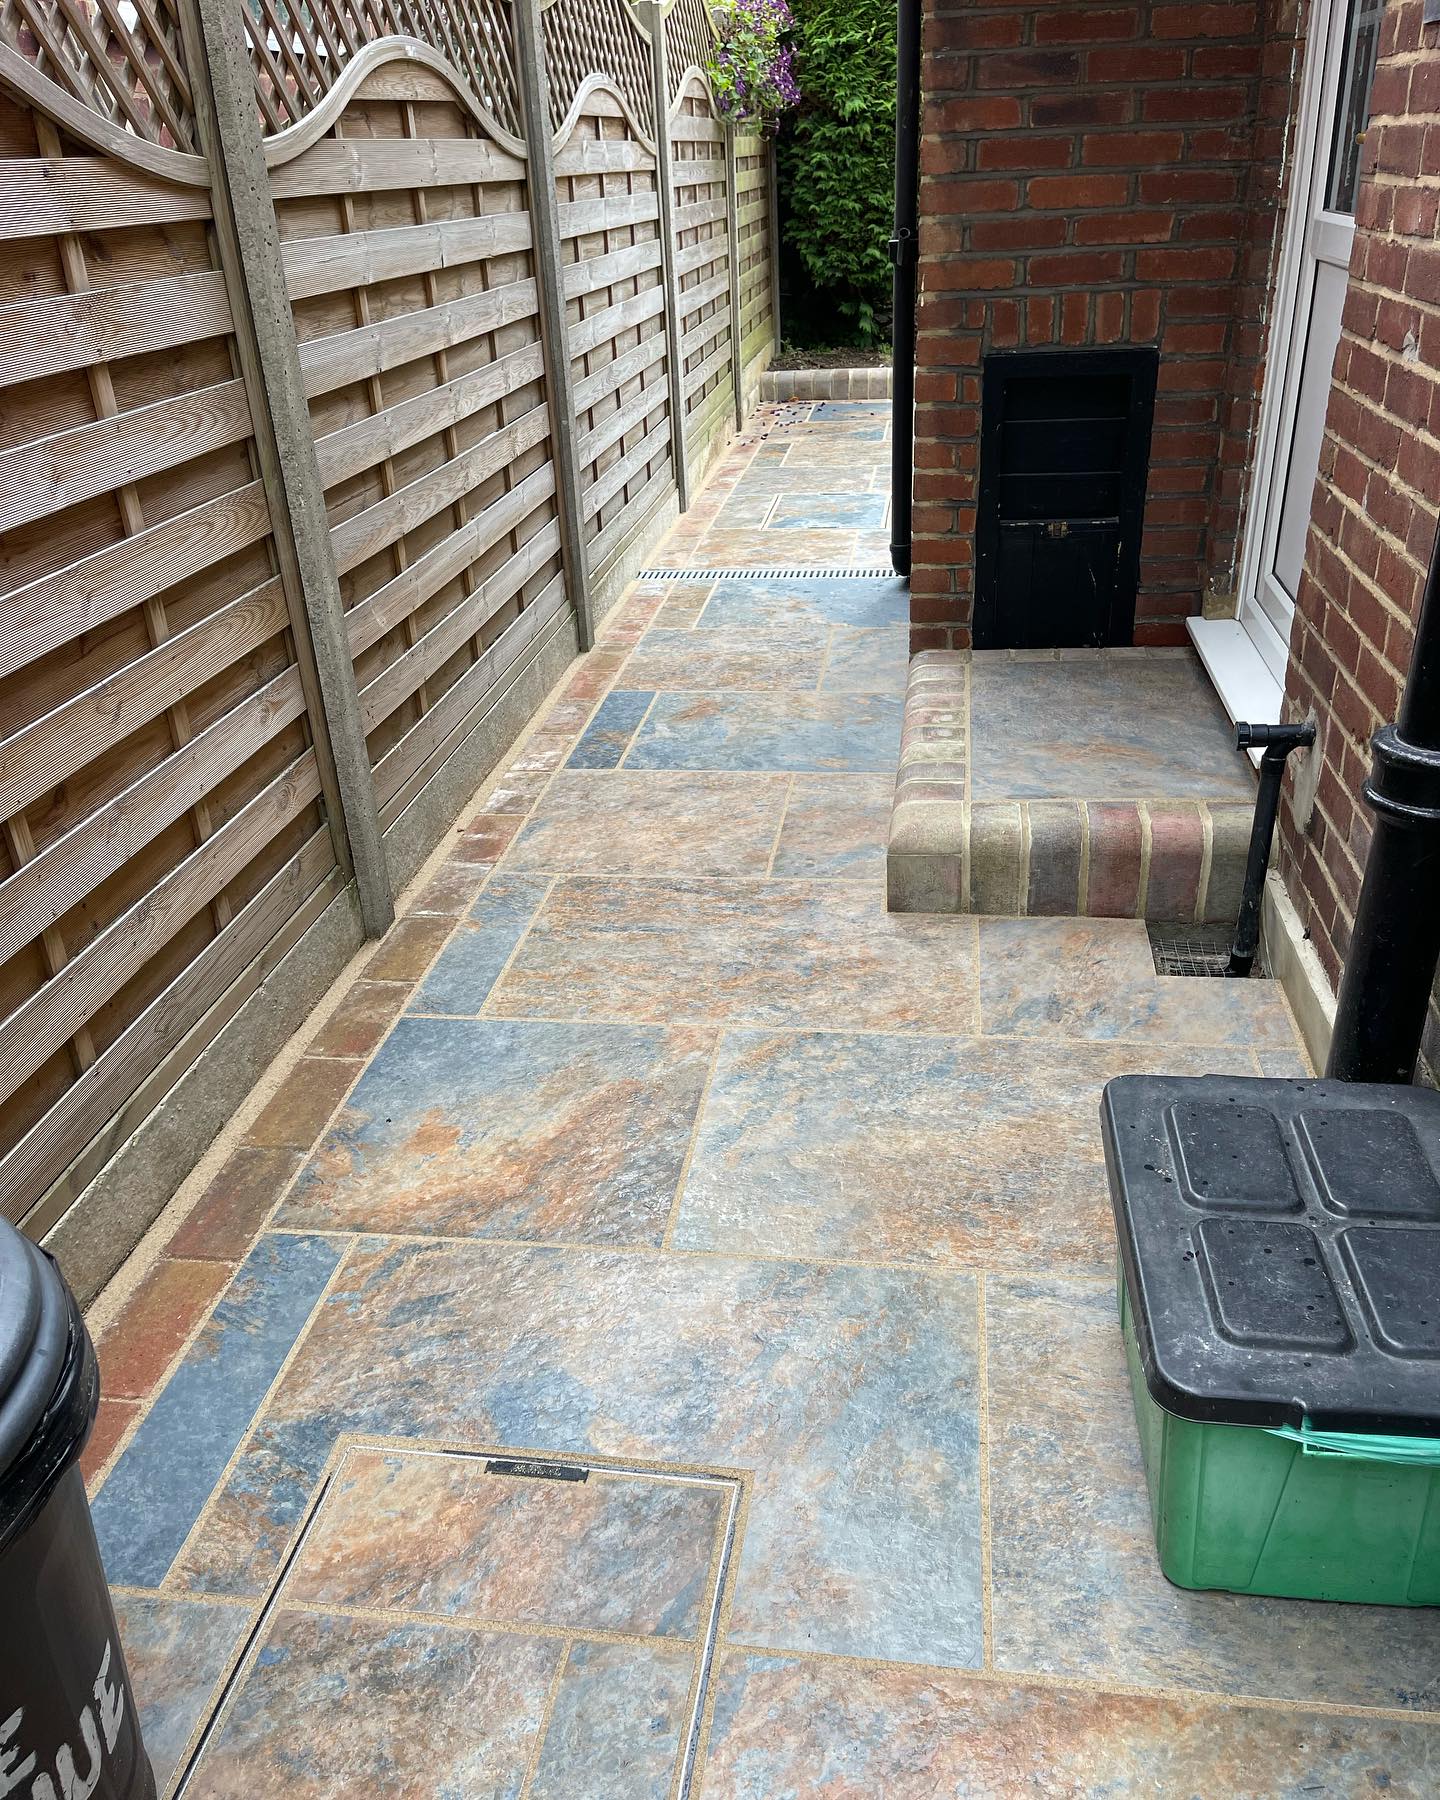
- A slight slope away from the house
- No water pooling near the foundation
- Use of non-permeable jointing compounds
These features help waterproof your raised patio and protect the house wall against saturation and freeze-thaw cycles during winter.
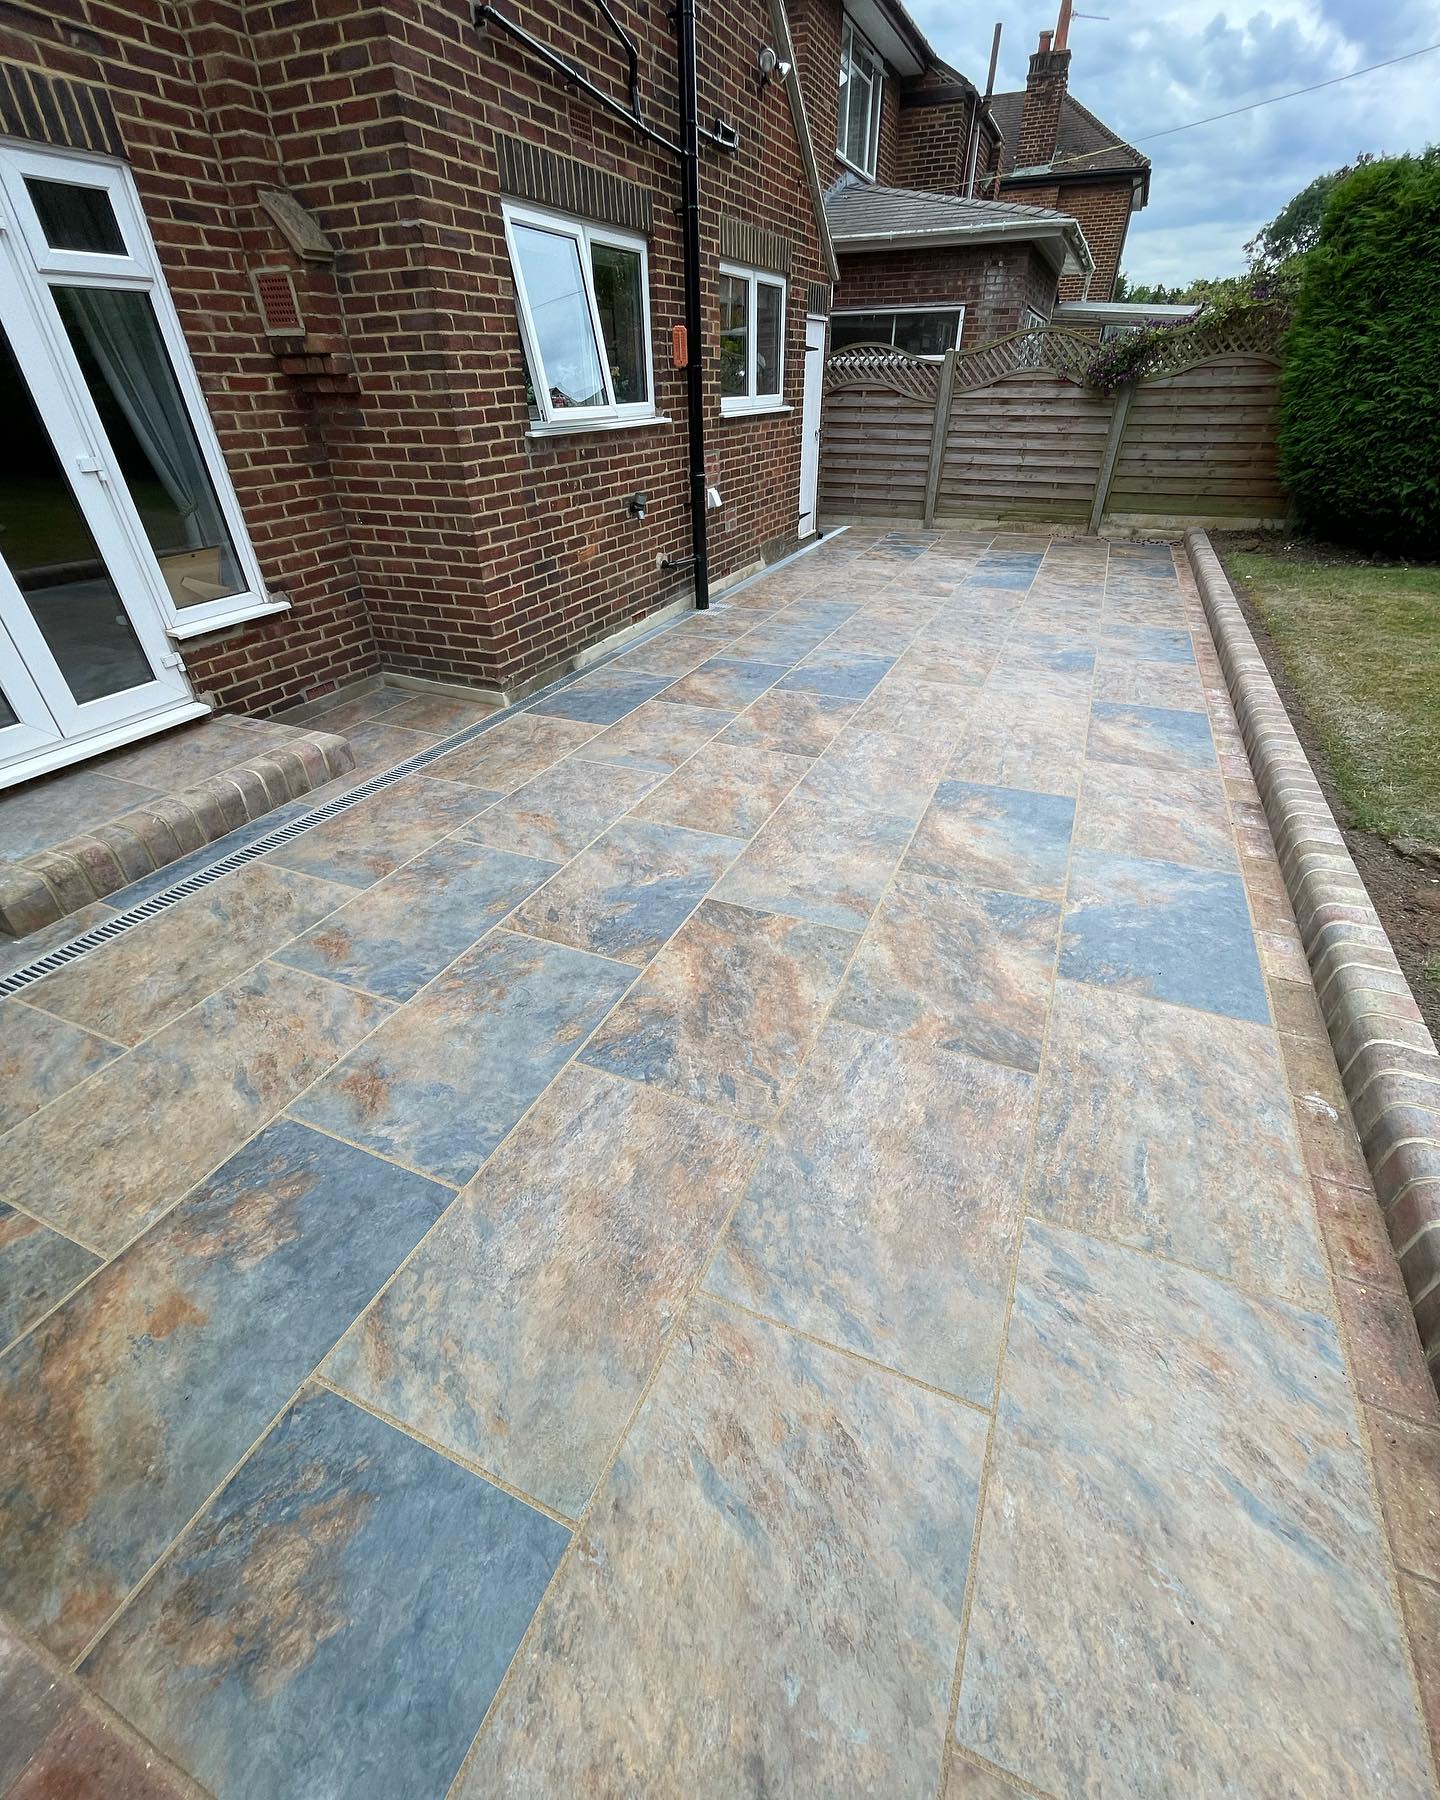
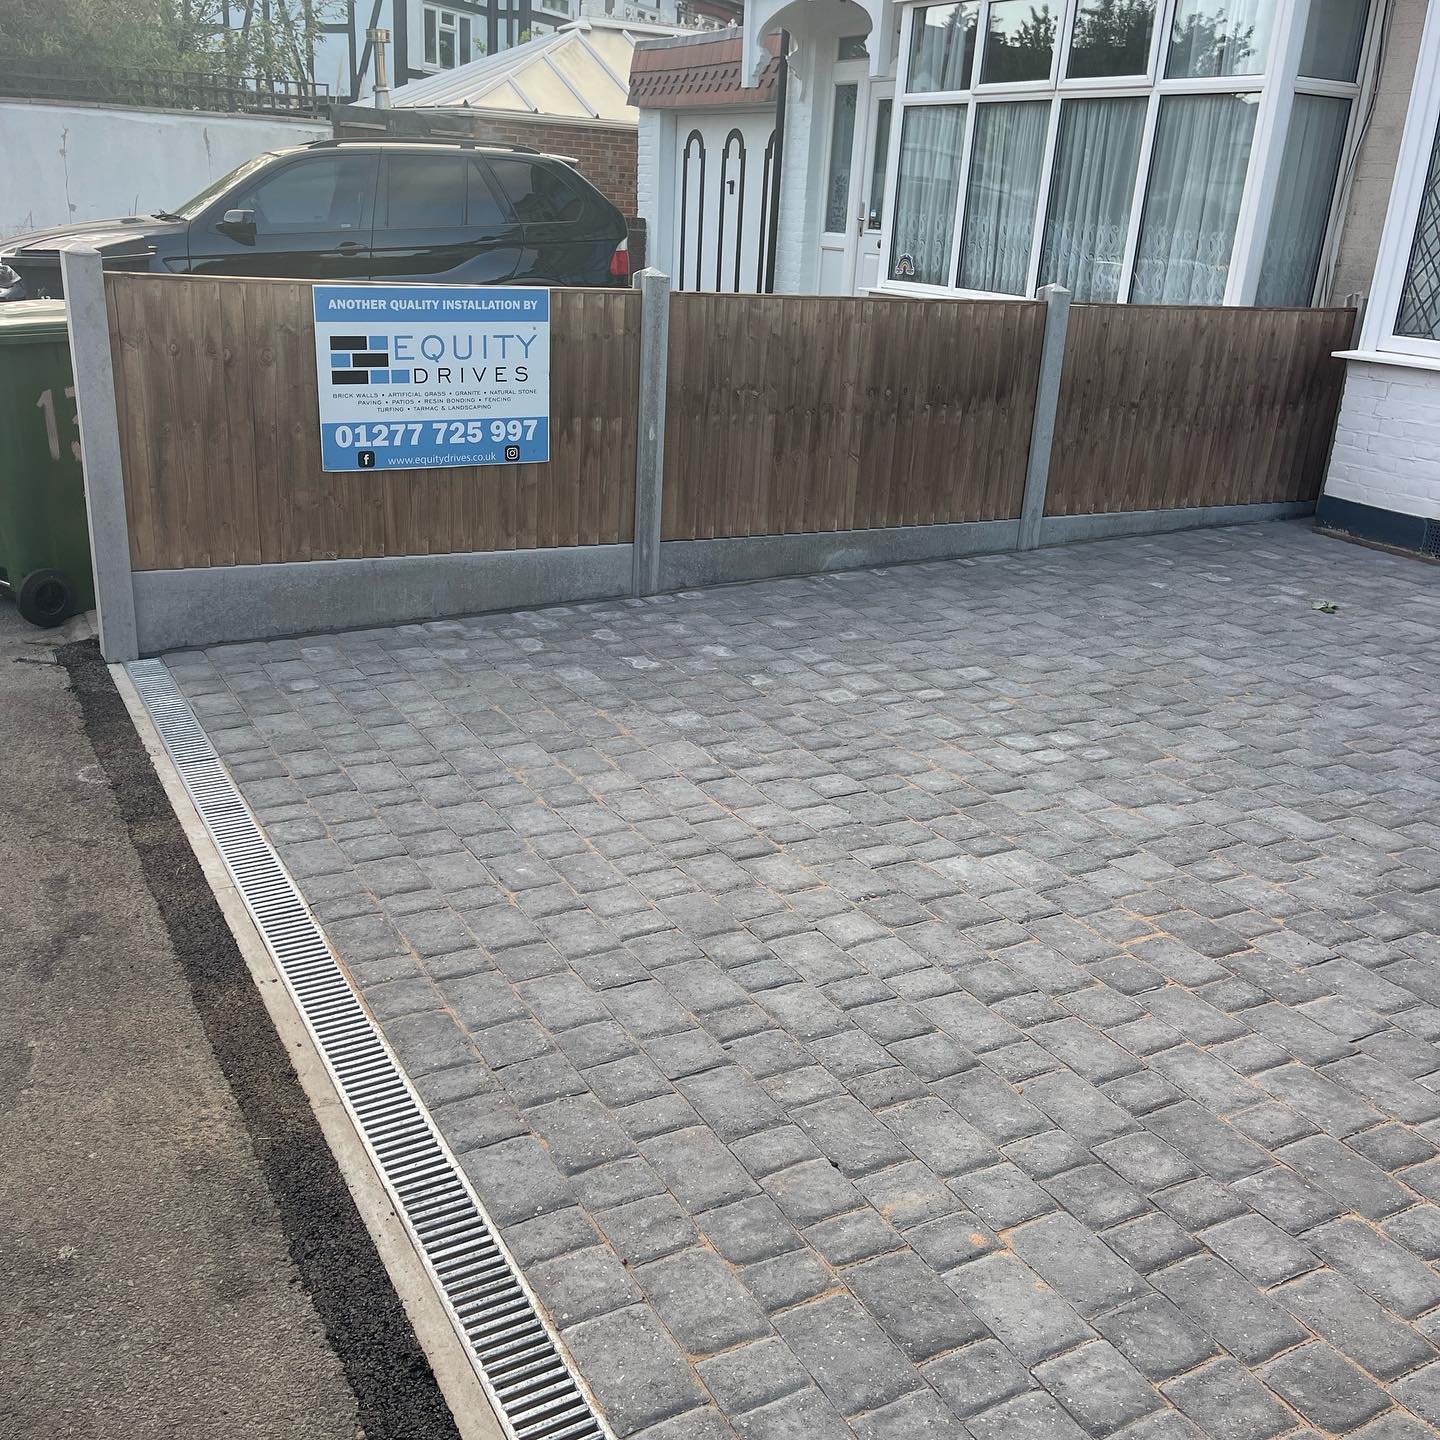
Installing Proper Drainage
Drainage is the most overlooked yet crucial design element when building a patio against a property. Without effective drainage, water can accumulate at the foundation, potentially leading to long-term structural damage.
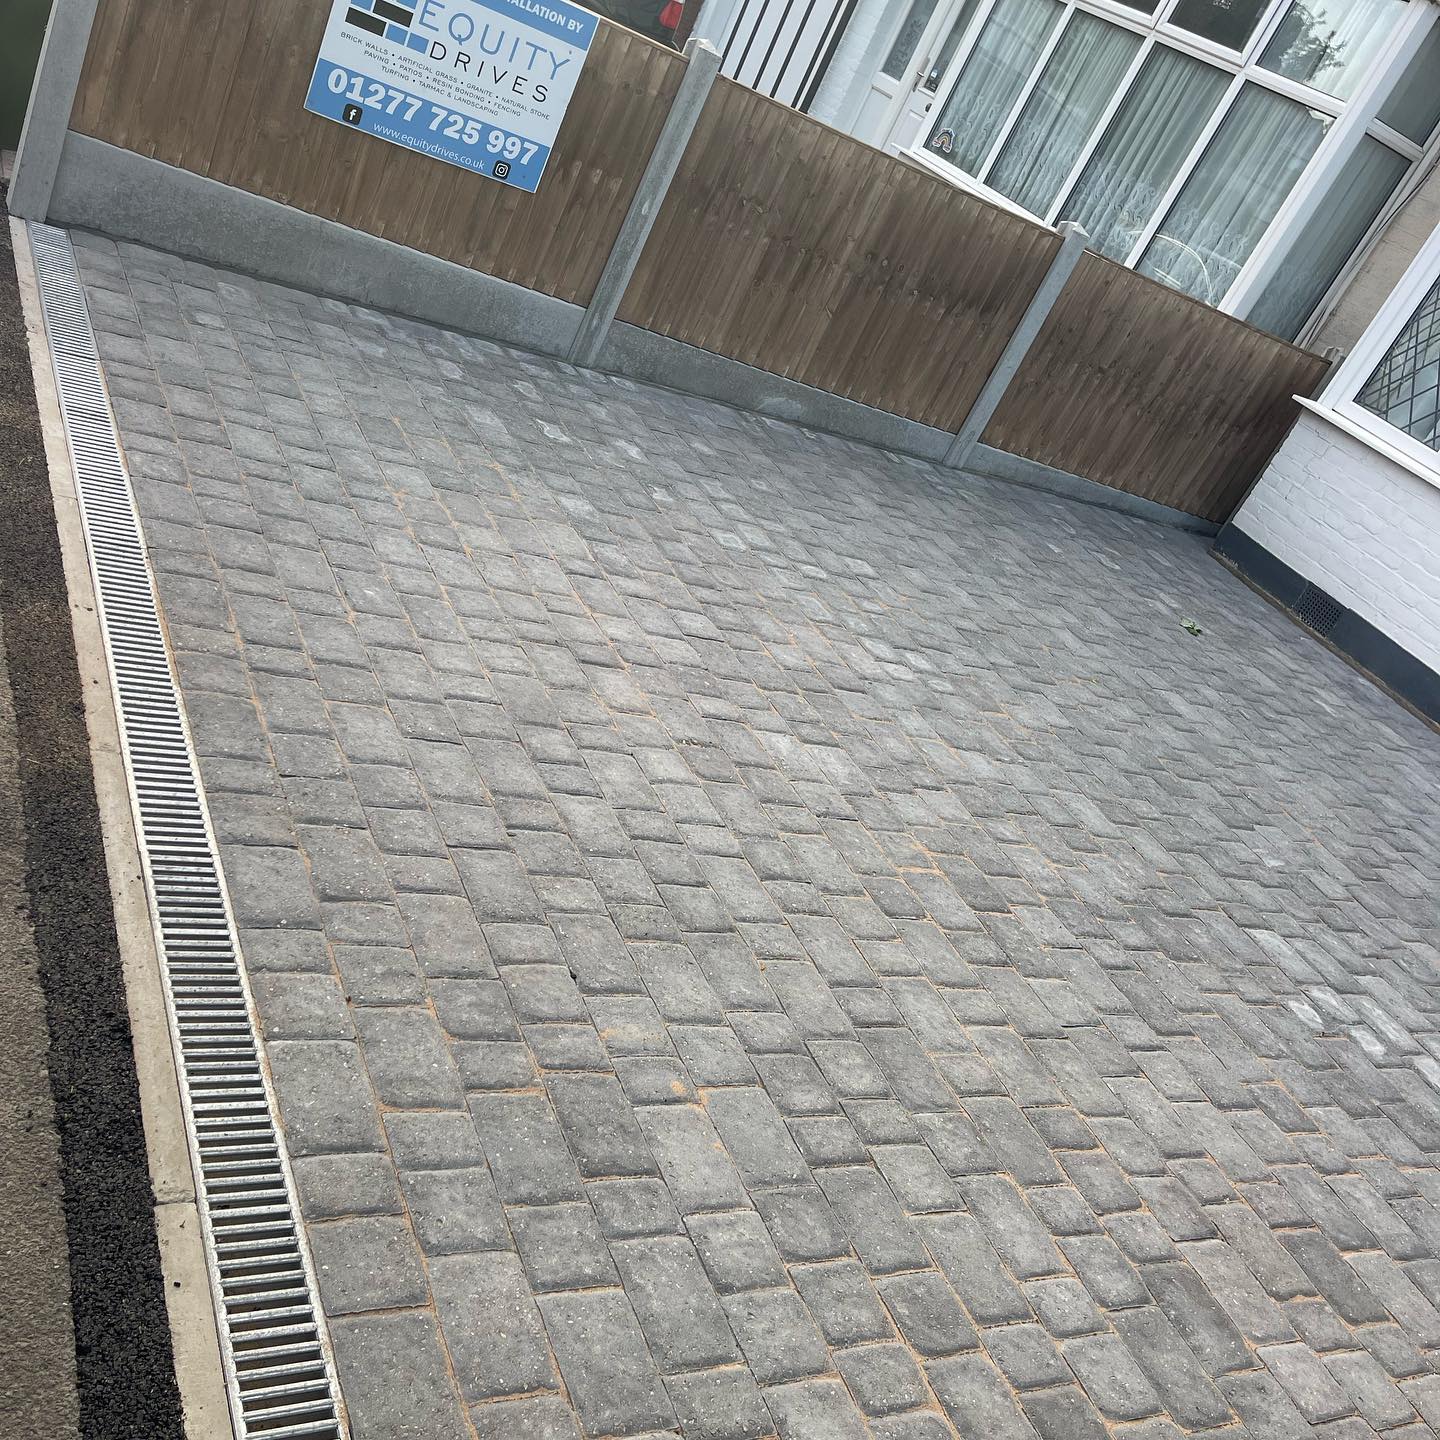
French Drains or Linear Channels
Install French drains (gravel-filled trenches with perforated pipes) or linear channel drains at the patio edge where it meets the wall. This captures runoff before it hits the house.
These systems:
- Reduce hydrostatic pressure near the wall
- Guide water into soakaways or existing drainage lines
Slope Direction Away from House
Always grade the patio surface so water runs away from the house. A slope of around 1:60 is ideal — that’s a 1cm drop for every 60cm of run.
Use a long spirit level or laser level to ensure the correct drainage slope direction across the full patio surface.
Wall Flashing and Waterproofing
Even with good clearance and drainage, water can still migrate back toward the wall. Proper flashing and seals at the patio-wall junction are essential for moisture protection.
Installing Metal or PVC Flashing
Install a flashing strip — typically aluminium or PVC — along the point where the patio meets the house wall. This diverts water downwards and stops it seeping into mortar joints or cavity walls.
Flashing should be tucked under the DPC and run the full length of the wall edge.
Protecting Walls and Foundations
Apply a moisture barrier or liquid DPC where needed, especially in older properties with uncertain DPC placement. You can also use cavity trays or bitumen-based solutions for added protection along foundations.
Final Note:
Always consult your local building control officer or a qualified contractor if you’re unsure about DPC height, foundation stability, or drainage compliance — especially when constructing raised patios adjacent to habitable spaces.
DIY Raised Patio: Cost, Time & Common Mistakes
Tackling a DIY raised patio project can save you hundreds (or even thousands) of pounds — but it also comes with planning responsibilities, physical labour, and risk of costly errors. In this section, we’ll break down:
- The typical DIY patio cost in the UK
- How long the average project takes
- The most common mistakes that can undermine all your hard work
Whether you’re aiming for a weekend build or something more ambitious, this guide will help you budget realistically and avoid the classic pitfalls.
Estimated Costs for DIY vs Hiring a Contractor
Breakdown of Material Costs
While prices vary by region and patio size, here are average 2025 UK figures:
- Paving slabs: £20–£70 per m² depending on material
- Hardcore (MOT Type 1): £50–£100 per bulk bag (covers ~8m² at 50mm)
- Sharp sand and cement (mortar): £5–£7 per mix set
- Extras (membranes, drain pipe, sealants): £50–£200 depending on quality
If you’re trying to estimate, use a raised patio cost calculator or ask suppliers for per m² breakdowns.
Labour Savings and Hidden Expenses
Doing it yourself can save £1000–£3000+ in labour fees. However, factor in:
- Tool hire (e.g., compactor, mixer): ~£50–£100/day
- Waste disposal: Skip hire costs ~£150–£300
- Time investment: You’ll be trading effort for money
DIY might also lead to unexpected costs from mistakes or delays — especially if you need to redo uneven slabs or poorly compacted bases.
Timeframe for Completion
H4: Average Time for Different Skill Levels
Depending on your experience and patio size:
- Beginners: 4–6 days (with breaks)
- Intermediate DIYers: 2–3 days
- Experienced builders: 1–2 days (including prep)
Timeframes assume favourable weather and efficient planning. Factor in drying and curing time for mortar and sealant (24–48 hours minimum).
When to Expect Delays
DIY projects are especially vulnerable to:
- Bad weather (rain, frost, wind)
- Tool shortages or late deliveries
- Planning setbacks (e.g., not ordering enough slabs)
Building in early spring or late summer often offers the best window. Be flexible — avoid rigid weekend-only deadlines.
Top Mistakes to Avoid
If you want your raised patio to last for years (not months), avoid these rookie errors — they account for 90% of the issues reported in DIY builds.
Ignoring Drainage
Failing to build in a proper slope or install drainage can lead to:
- Water pooling
- Damp around the foundation
- Weeds or moss in joints
Uneven Slabs or Poor Levelling
Slabs that are not level cause:
- Wobbly furniture
- Water puddles
- Trip hazards
Use a long spirit level, rubber mallet, and string lines to check level and alignment with every slab.
No Base Compaction
Skipping the sub-base compaction leads to:
- Settlement over time
- Cracked slabs
- Uneven surfaces
Use a wacker plate and compact in layers — especially if you’re working on soft soil.
Do You Need Planning Permission for a Raised Patio in the UK?
When building a raised patio in the UK, it’s important to understand whether you need planning permission, especially if the structure exceeds certain height thresholds or is close to a boundary. While many patios fall under permitted development, others — particularly those built above 30cm — may require formal approval from your Local Planning Authority (LPA).
Failing to comply with UK building regulations can lead to enforcement notices or costly revisions. In this section, we’ll help you determine if your project needs permission, how to apply, and how to adjust your design to remain compliant.
When Planning Permission Is Required
As a general rule, you may need planning permission if:
- The height of the raised patio exceeds 30cm (approximately 12 inches) from the natural ground level
- Your patio is built on a sloped site that changes the landscape
- It’s constructed near a boundary or affects neighbour privacy
- You live in a conservation area or listed property
Some councils apply stricter rules, especially for patios adjacent to the house or visible from public areas.
To be safe, always check with your Local Authority or use the UK’s Planning Portal to confirm.
How to Apply for Permission
If your raised patio exceeds permitted limits or is in a sensitive location, you’ll need to submit a householder planning application.
Step-by-Step Application Process
- Visit your Local Planning Authority’s website
- Register or log in via the Planning Portal
- Prepare key documents, including:
- Drawings of existing and proposed site
- Elevation diagrams (if over 30cm high)
- Design and access statement (if needed)
- Submit your application and pay the fee (typically £206 in England)
- Wait 6–8 weeks for a decision, during which neighbours may be consulted
Helpful UK Gov Resources
Here are some official resources to assist you:
These tools can clarify whether your patio qualifies as permitted development and guide you through application steps.
Design Tips to Stay Within Limits
If you want to avoid planning permission altogether, a few smart design choices can help keep your patio within legal boundaries.
Keeping Within Height Boundaries
- Keep the finished patio below 30cm from the existing ground level
- Adjust the base depth to avoid raising the surface too high
- Build away from boundaries where possible to reduce disputes
Creative Design Adjustments
If elevation is needed for functional or visual reasons:
- Add gradual steps or garden terracing instead of a steep platform
- Use raised planting beds or edging stones to visually break height
- Incorporate railings for safety without exceeding visual bulk
These design tricks not only help you stay compliant but also enhance your patio’s appearance and integration with your garden.
Final Tips and FAQs About Raised Patios
Once your raised patio is complete, it’s important to consider how to keep it looking great, how to use it safely, and how long it’s likely to last. Below, you’ll find final tips, practical guidance on patio care, and answers to frequently asked questions that help you get the most out of your new outdoor space.
Maintenance and Longevity
A well-built raised patio should last decades — but like anything exposed to British weather, it needs some basic upkeep to stay in top condition.
Cleaning and Sealing Schedule
Regular maintenance helps preserve both the structure and aesthetics of your patio:
- Weekly/Monthly: Sweep away leaves and debris to prevent moss or algae
- Quarterly: Use a mild patio cleaner and stiff broom or low-pressure washer (avoid high-pressure jets on mortar joints)
- Annually: Reapply a patio sealant to repel water, prevent staining, and enhance colour
Avoid harsh acids or bleach, which can discolour natural stone and damage jointing compounds.
How Long Does a Raised Patio Last?
With proper sub-base, drainage, and slab installation, a raised patio can last 20–30 years or more. The key factors that affect lifespan include:
- Quality of the foundation and compaction
- Choice of slab materials (e.g., concrete vs natural stone)
- Exposure to freeze-thaw conditions
- Frequency of maintenance
Mortar joints may need repointing every 5–10 years, depending on usage and exposure.
Installing Accessories and Furniture
Make your raised patio more enjoyable and functional by adding furniture, lighting, and small enhancements — but be sure to install everything safely, especially if it’s an elevated platform.
Safe Anchoring of Patio Furniture
To prevent movement or tipping — especially on windy days or elevated platforms — consider:
- Rubber or anti-slip feet under furniture legs
- Weight-based anchoring (e.g. filled planters or bench-style seating)
- Drilling into slab (optional): If you drill into slabs, use a masonry bit and stainless steel fixings — but only when slabs are securely mortared and level
Lighting and Drainage Add-ons
Improve nighttime usability and patio safety with outdoor lighting such as:
- In-ground LED lights along edges or steps
- Solar-powered stake lights
- Wall-mounted fixtures for adjoining buildings
Additionally, if you skipped formal drainage earlier, consider:
- Installing a small surface drain retroactively
- Raising low spots where puddling occurs
Quick Frequently Asked Questions (FAQs)
Can I build a raised patio myself?
Yes, a raised patio can be built DIY if you follow correct sub-base, mortar, and drainage steps.
What is the cheapest material for a raised patio?
The cheapest materials for a raised patio in the UK are Concrete slabs.
What is the cheapest way to build a patio?
The cheapest way to build a patio is to use budget concrete slabs on a compacted hardcore base.
Is a raised patio cheaper than a deck?
No, raised patios are often more expensive than timber decks but usually last longer.
Should a raised patio be built up against the house?
Yes, but only if kept at least 150mm below the damp-proof course (DPC).
Should I leave a gap between a patio and a house?
Yes, leave a small gap or install drainage to protect the wall from water ingress.
Should a patio slope away from the house?
Yes, always slope 1:60 away from the property to prevent water damage.
Is a raised patio a good idea?
Yes, it’s a good idea for sloped gardens or when creating elevated seating areas.
How much does it cost to build a raised patio in the UK?
The cost to build a raised patio in the UK, on average, is £100–£150 per m² DIY, or £150–£250 per m² with a contractor.
What do you put under a raised patio?
You have to put under a raised patio a compacted hardcore (MOT Type 1) sub-base topped with sharp sand or mortar.
Does a raised patio need drainage?
Yes, proper slope and drains are essential to prevent pooling and damp.
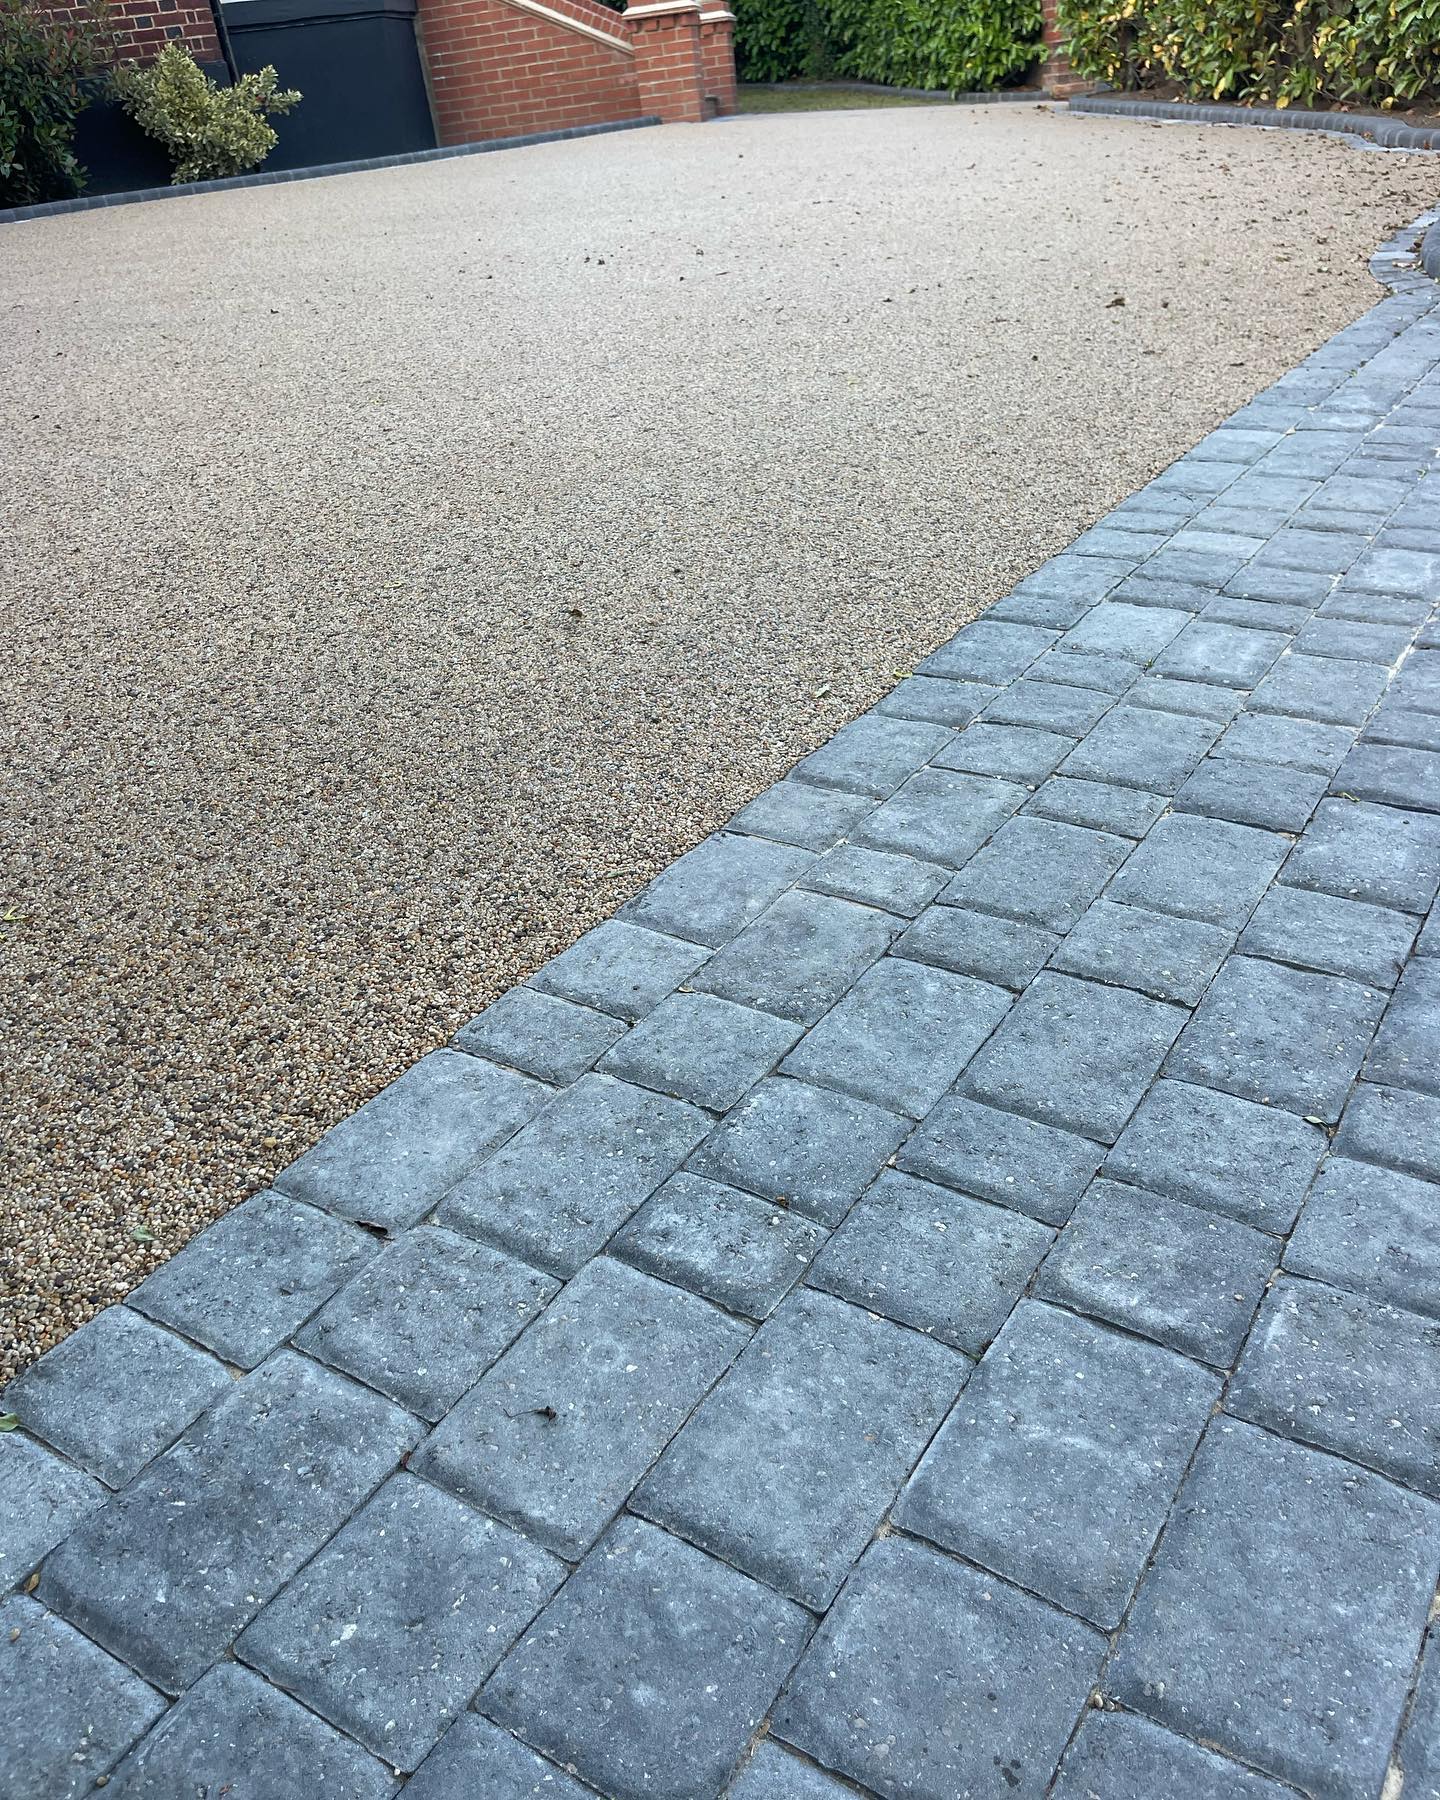
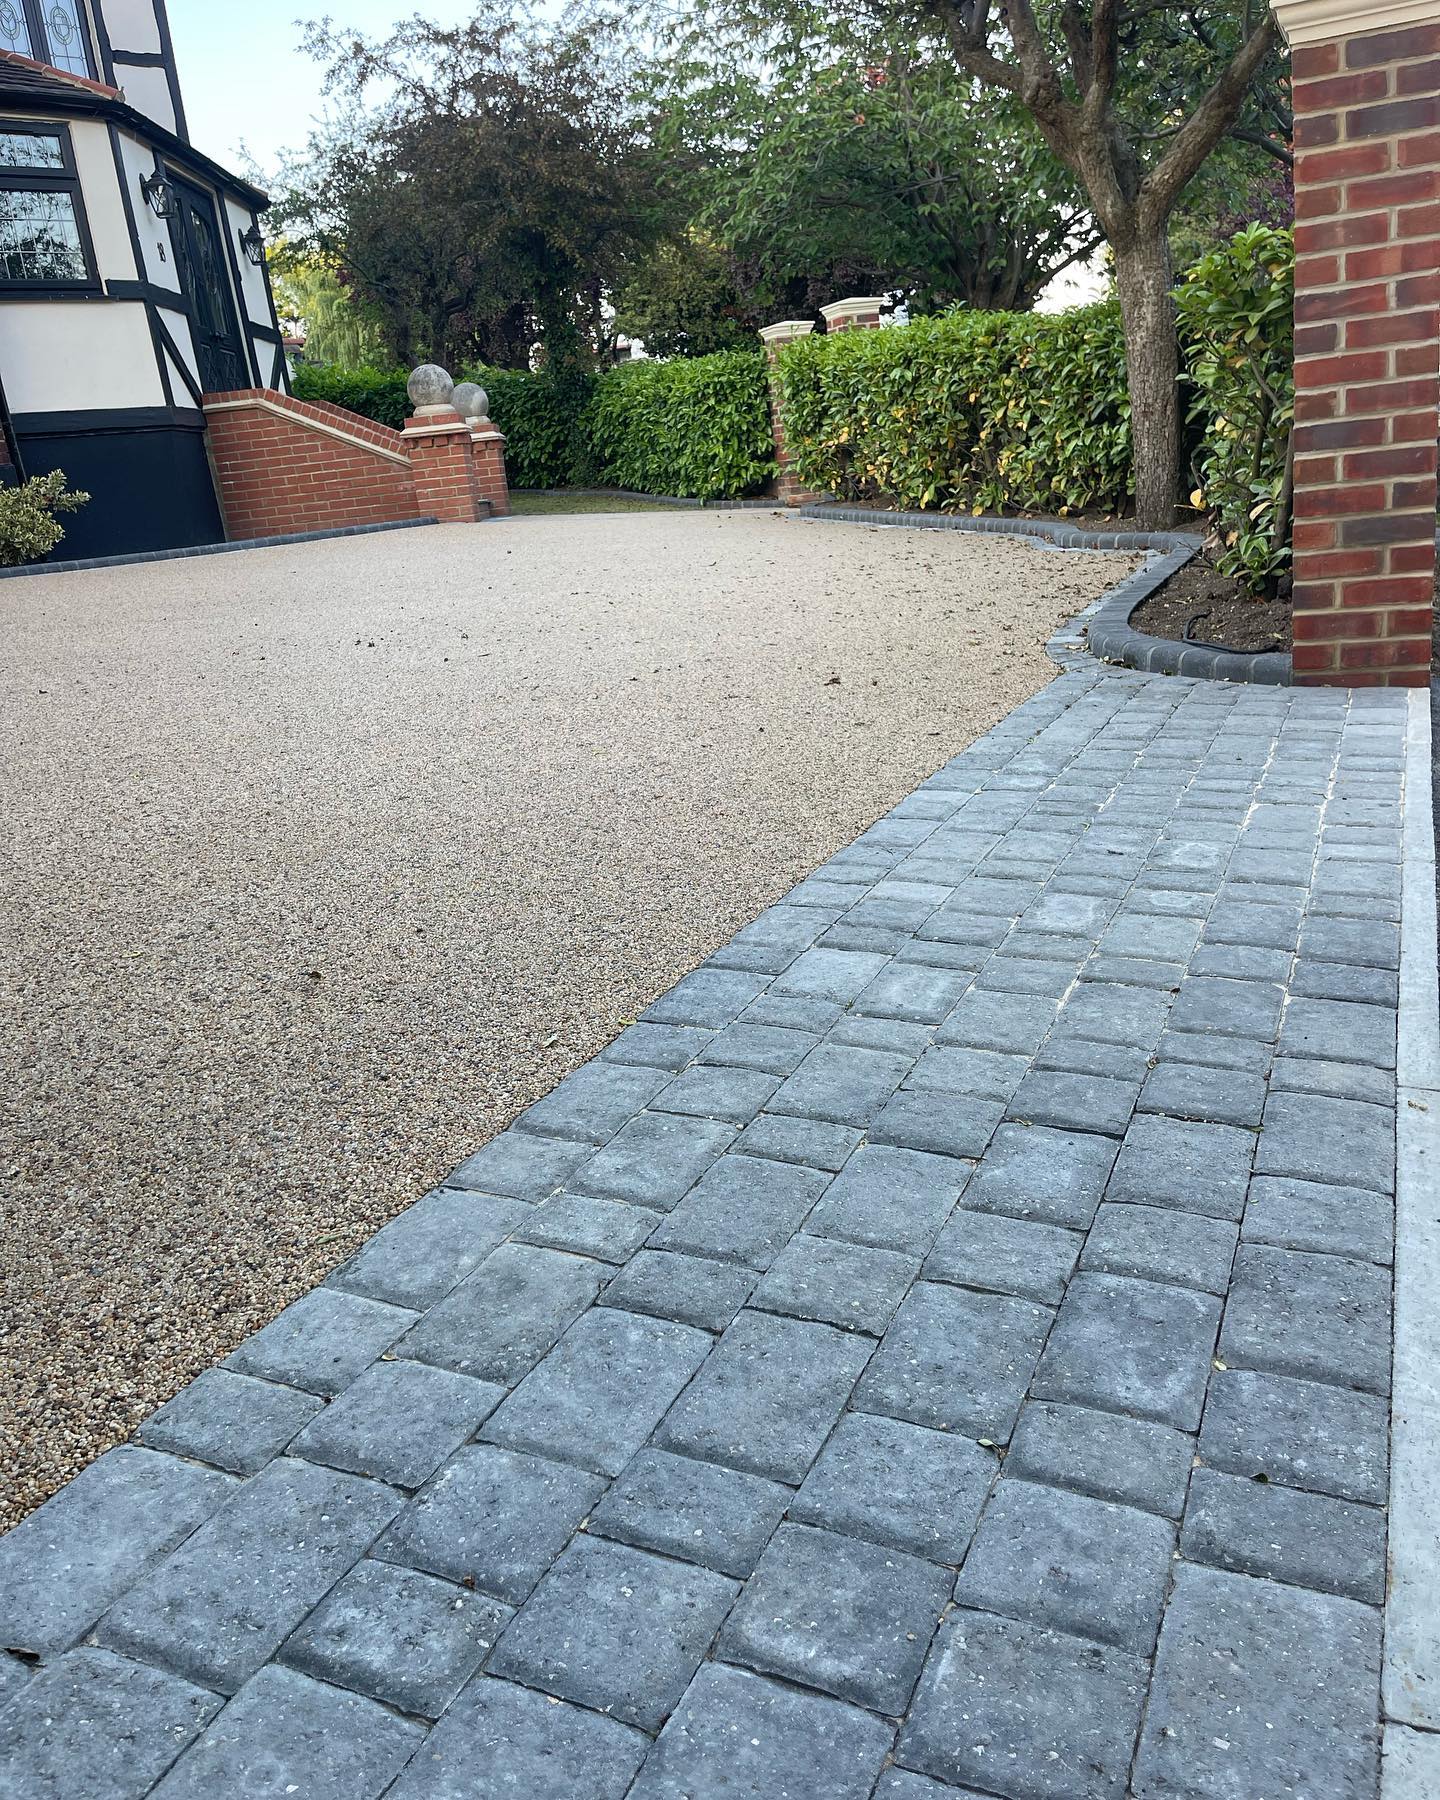
How do you edge a raised patio?
You edge a raised patio by using edging stones, kerbs, or concrete haunching. These provide a secure border, stop the slabs from shifting, improve stability, and give the patio a neat, finished look.
How to build a raised deck patio?
To build a raised deck patio, construct a timber or composite deck frame, then add boards to create an elevated surface.
Is it better to lay a patio on sand or cement?
Cement (wet mortar bed) is better than sand for stability and long-term durability to lay a patio.