How to Lay Paving Blocks
17 Jun 2023
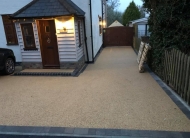
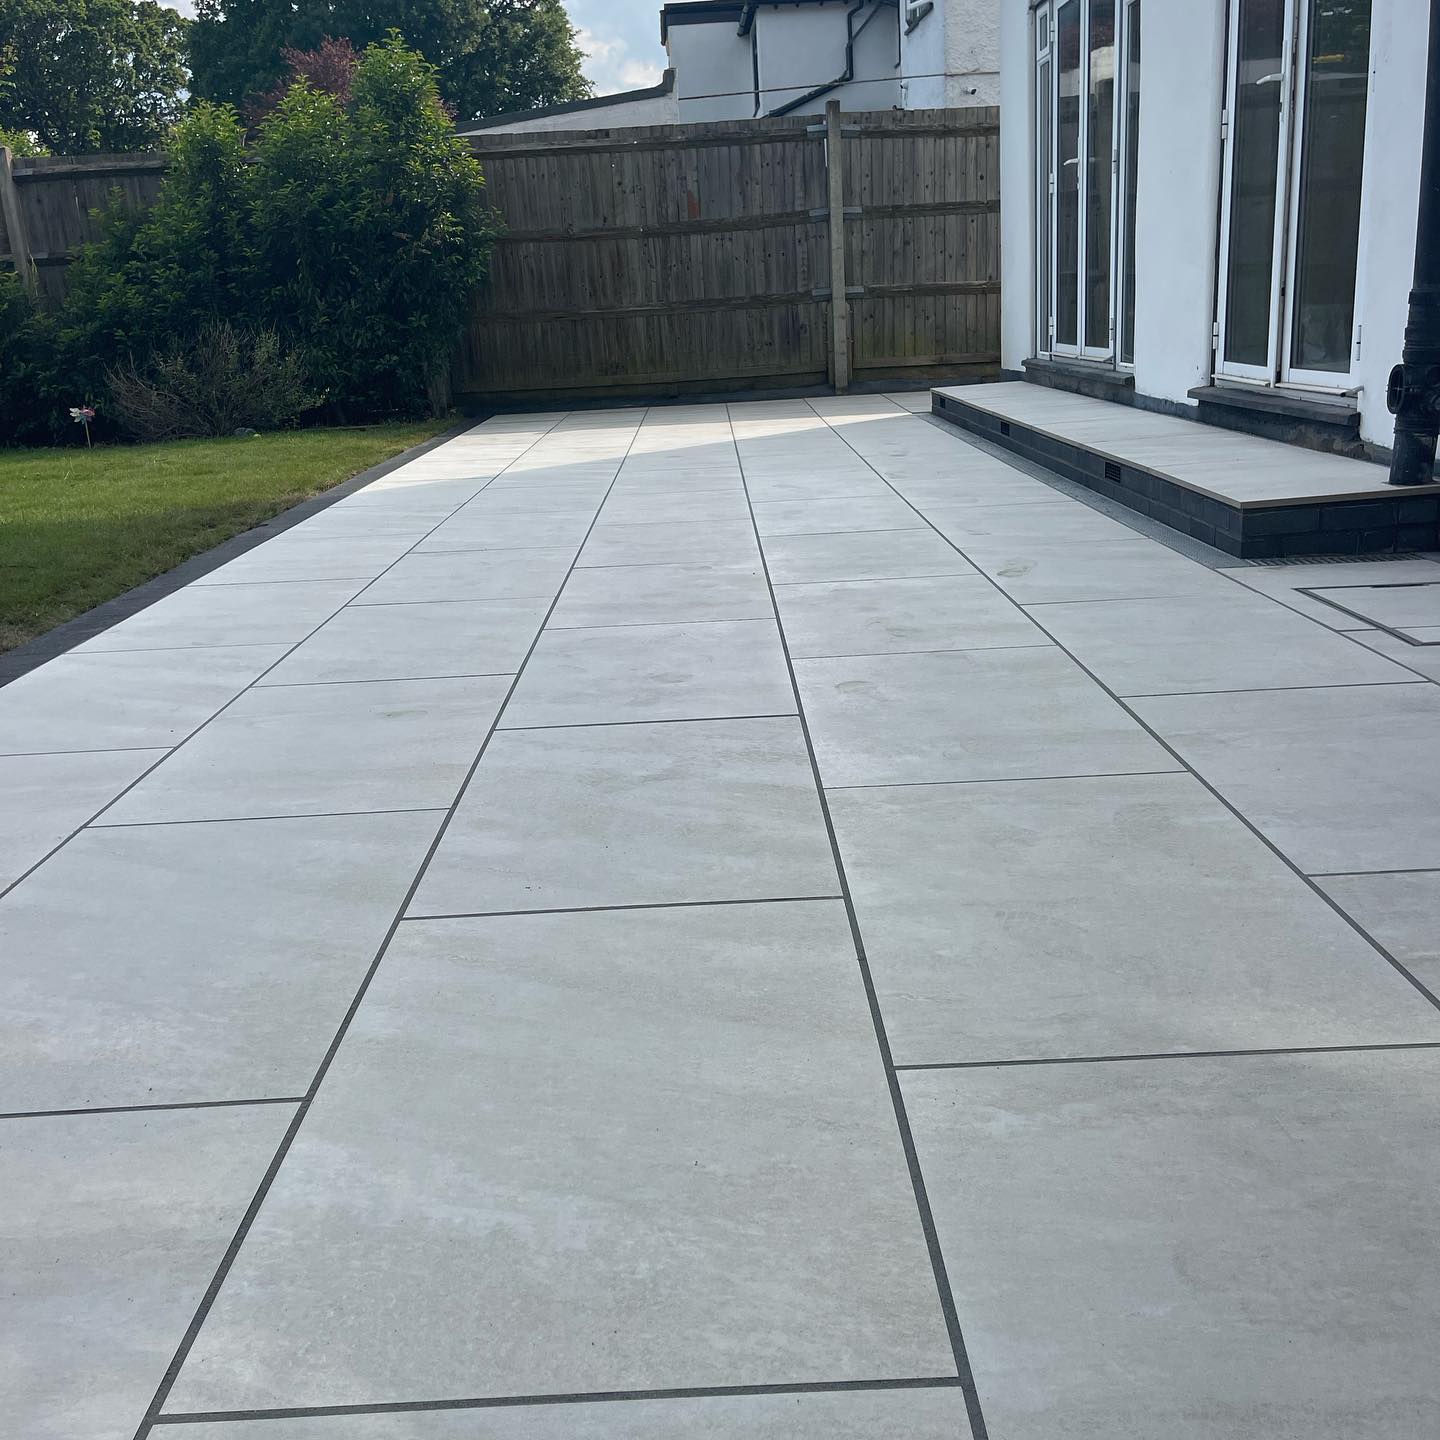
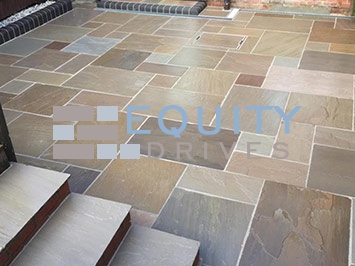
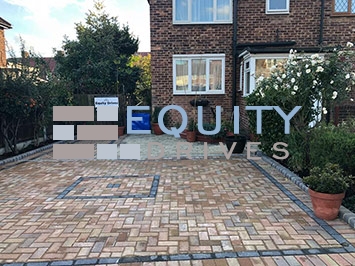
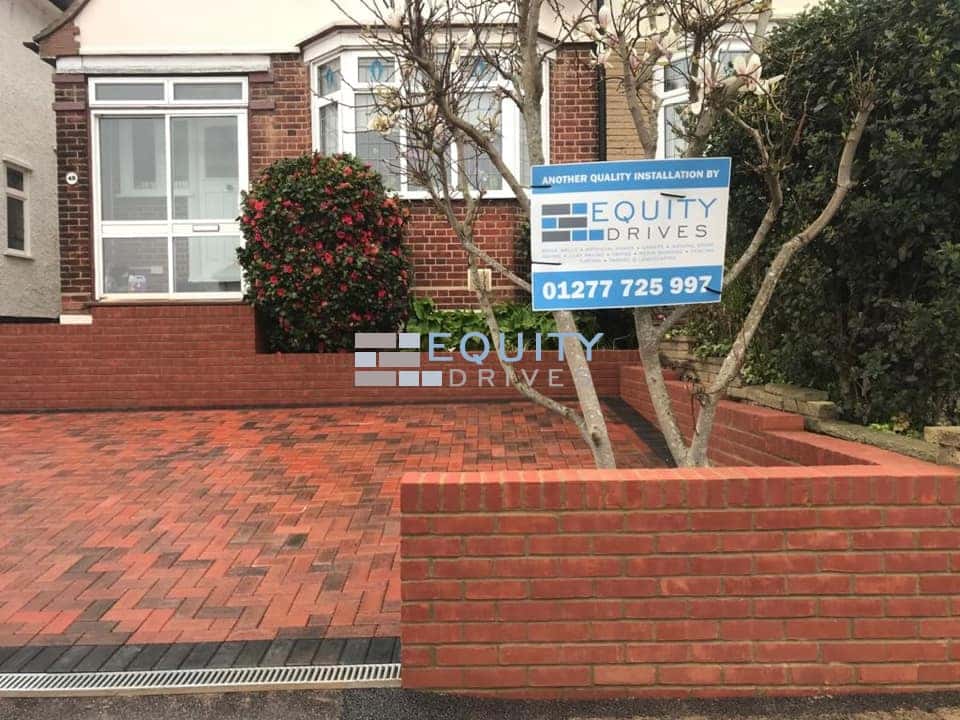
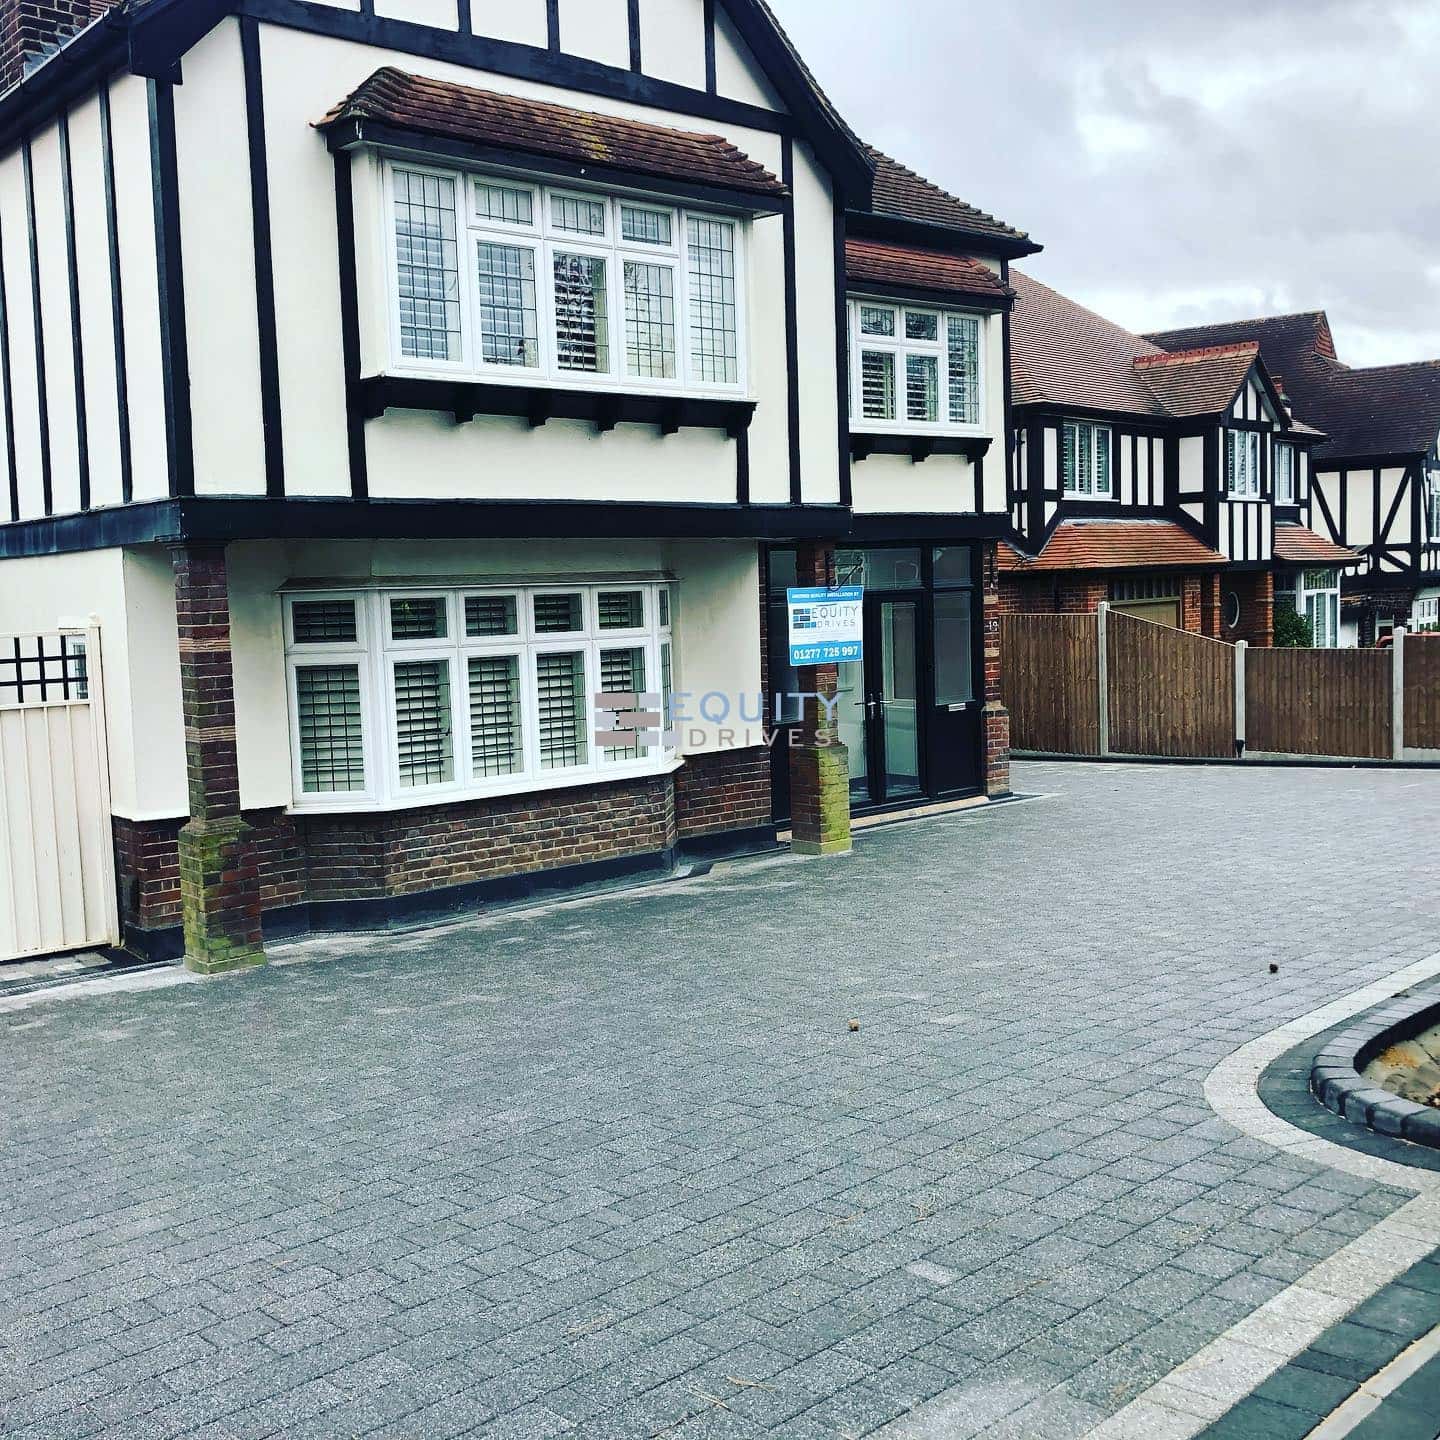
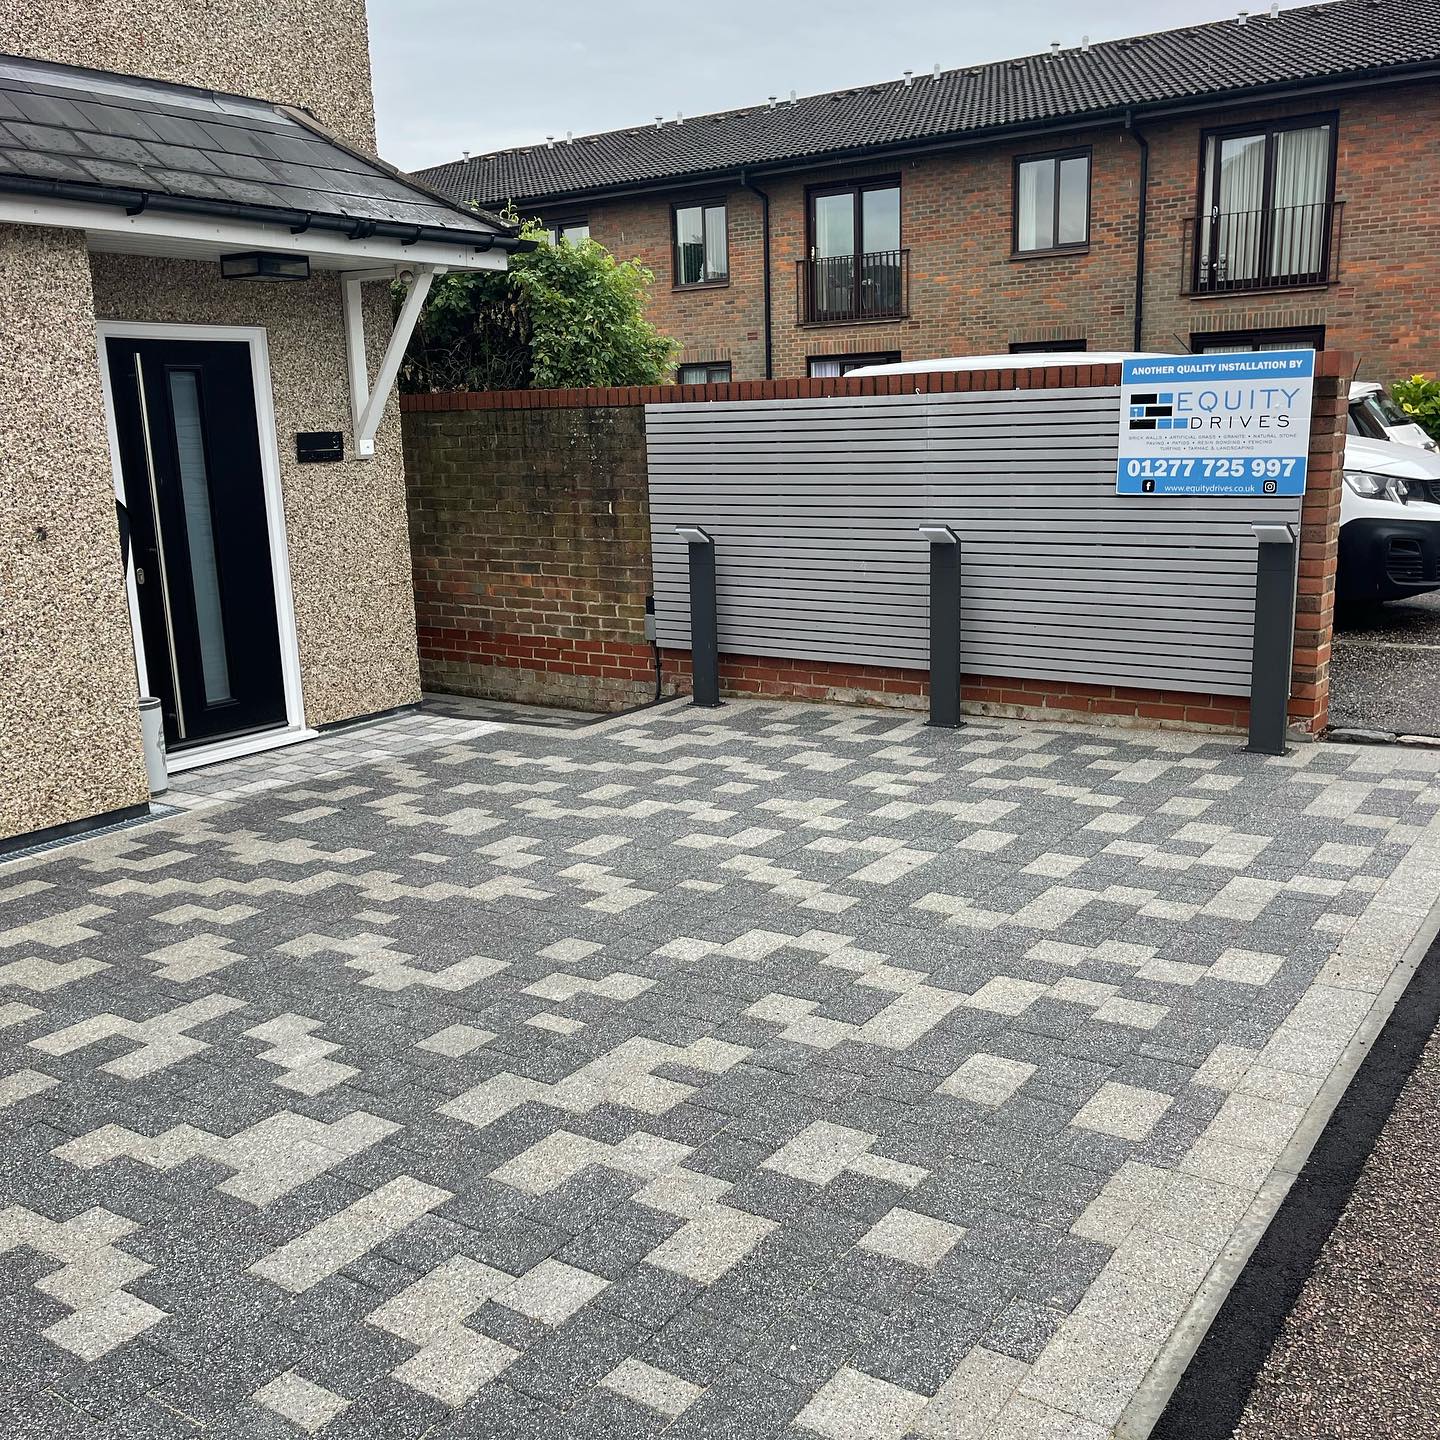
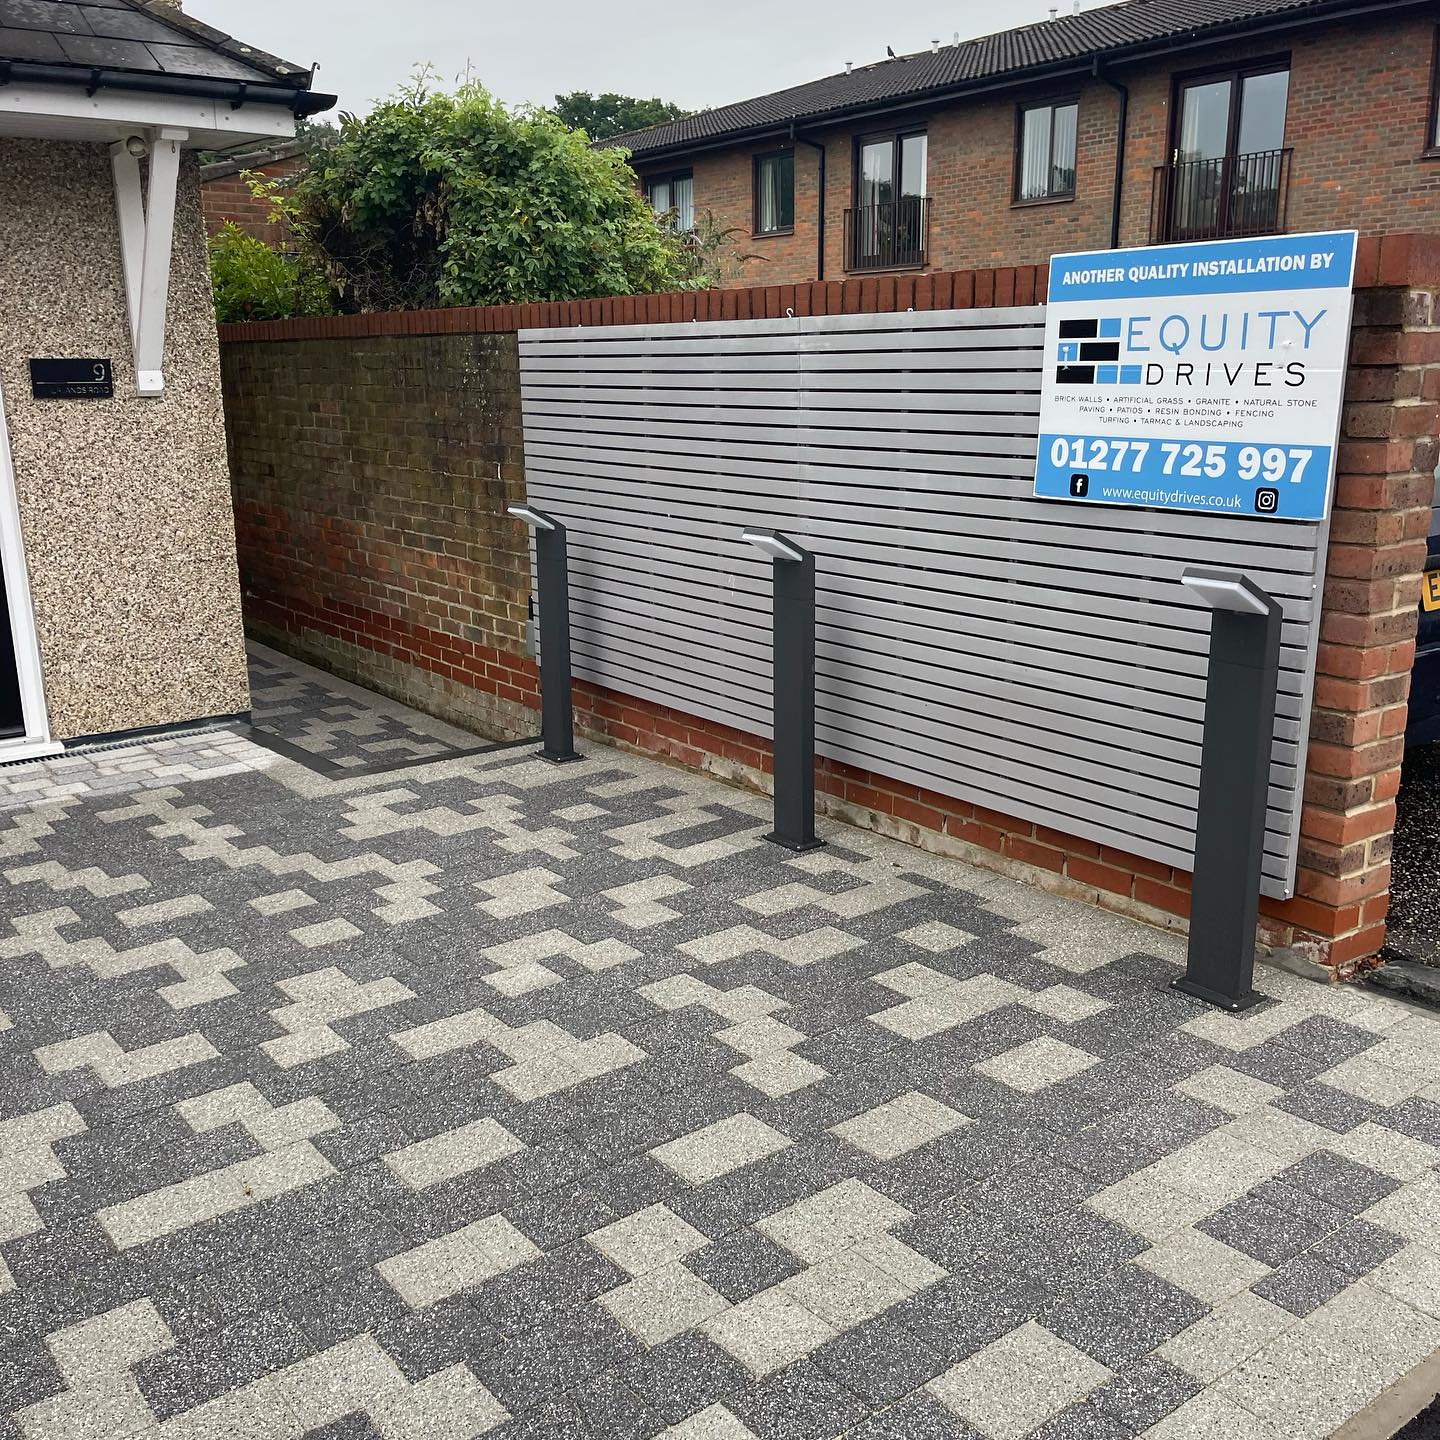
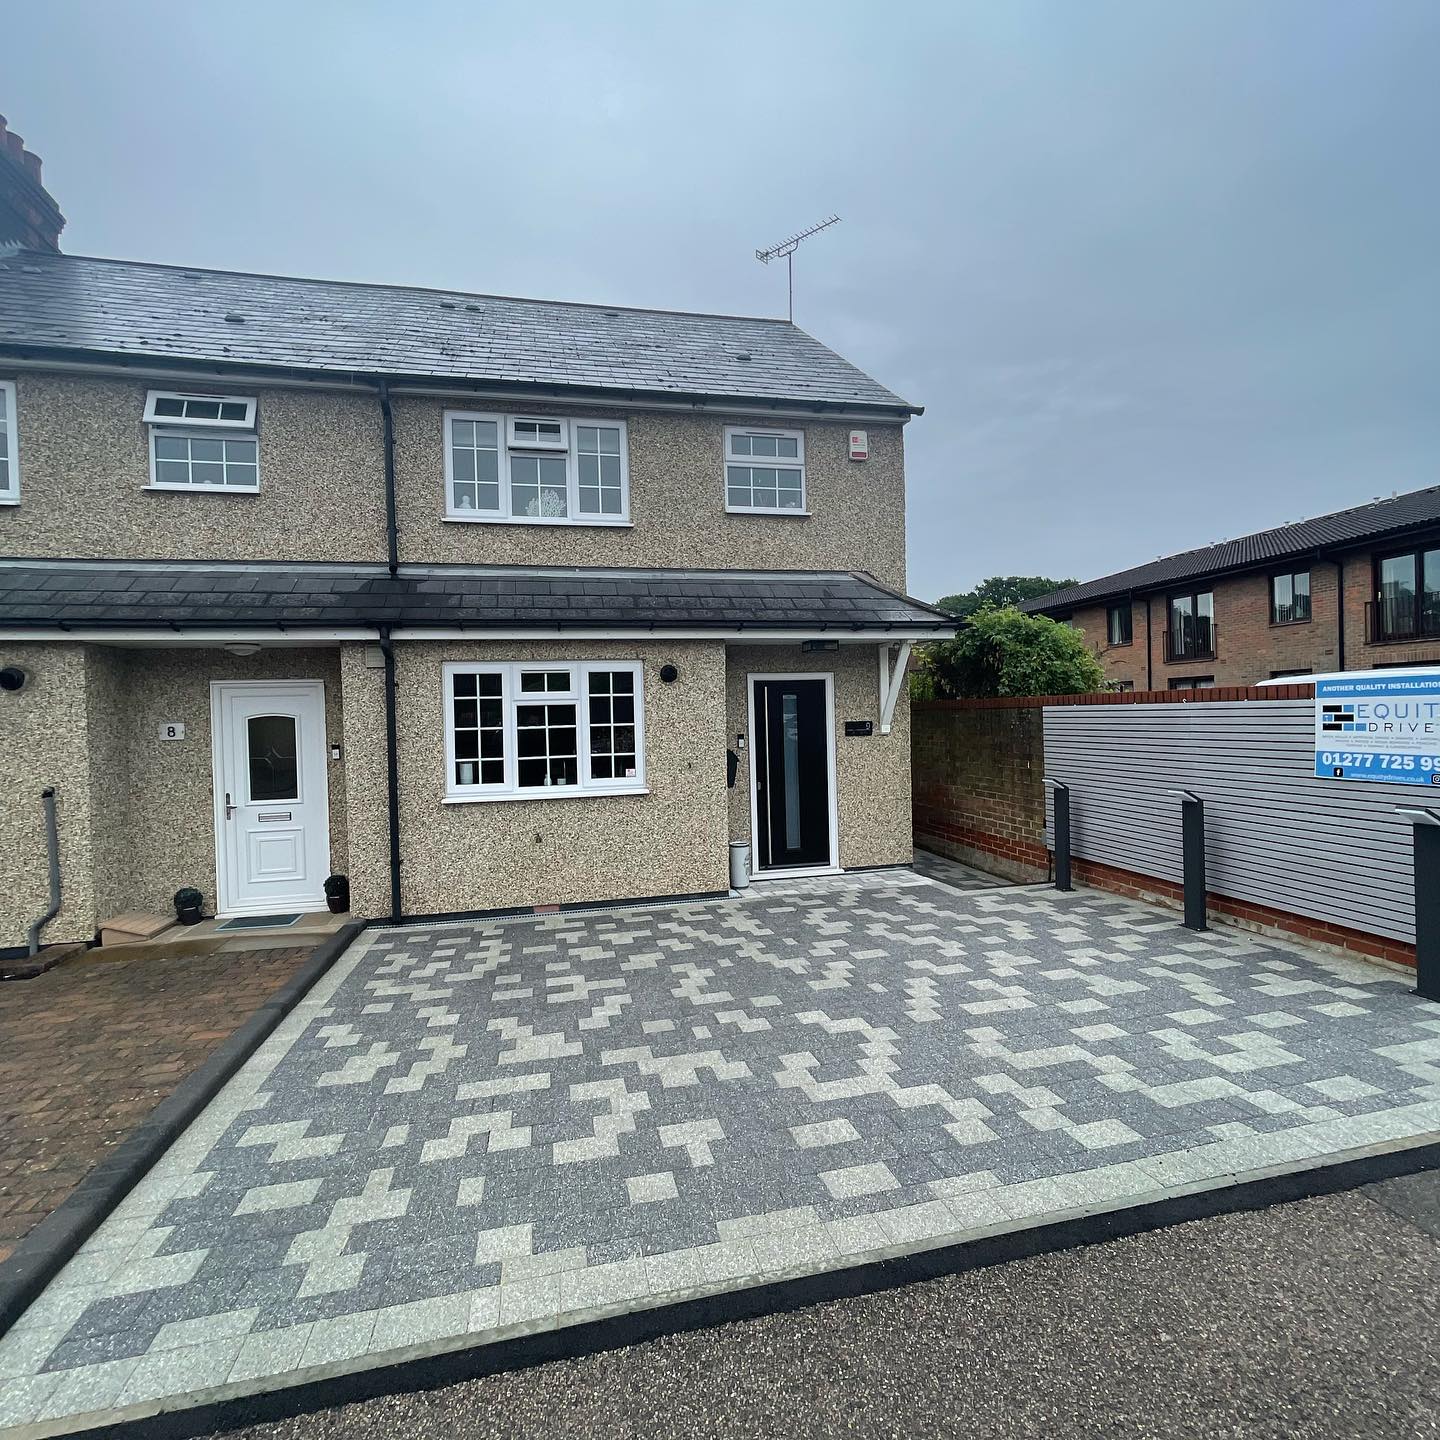
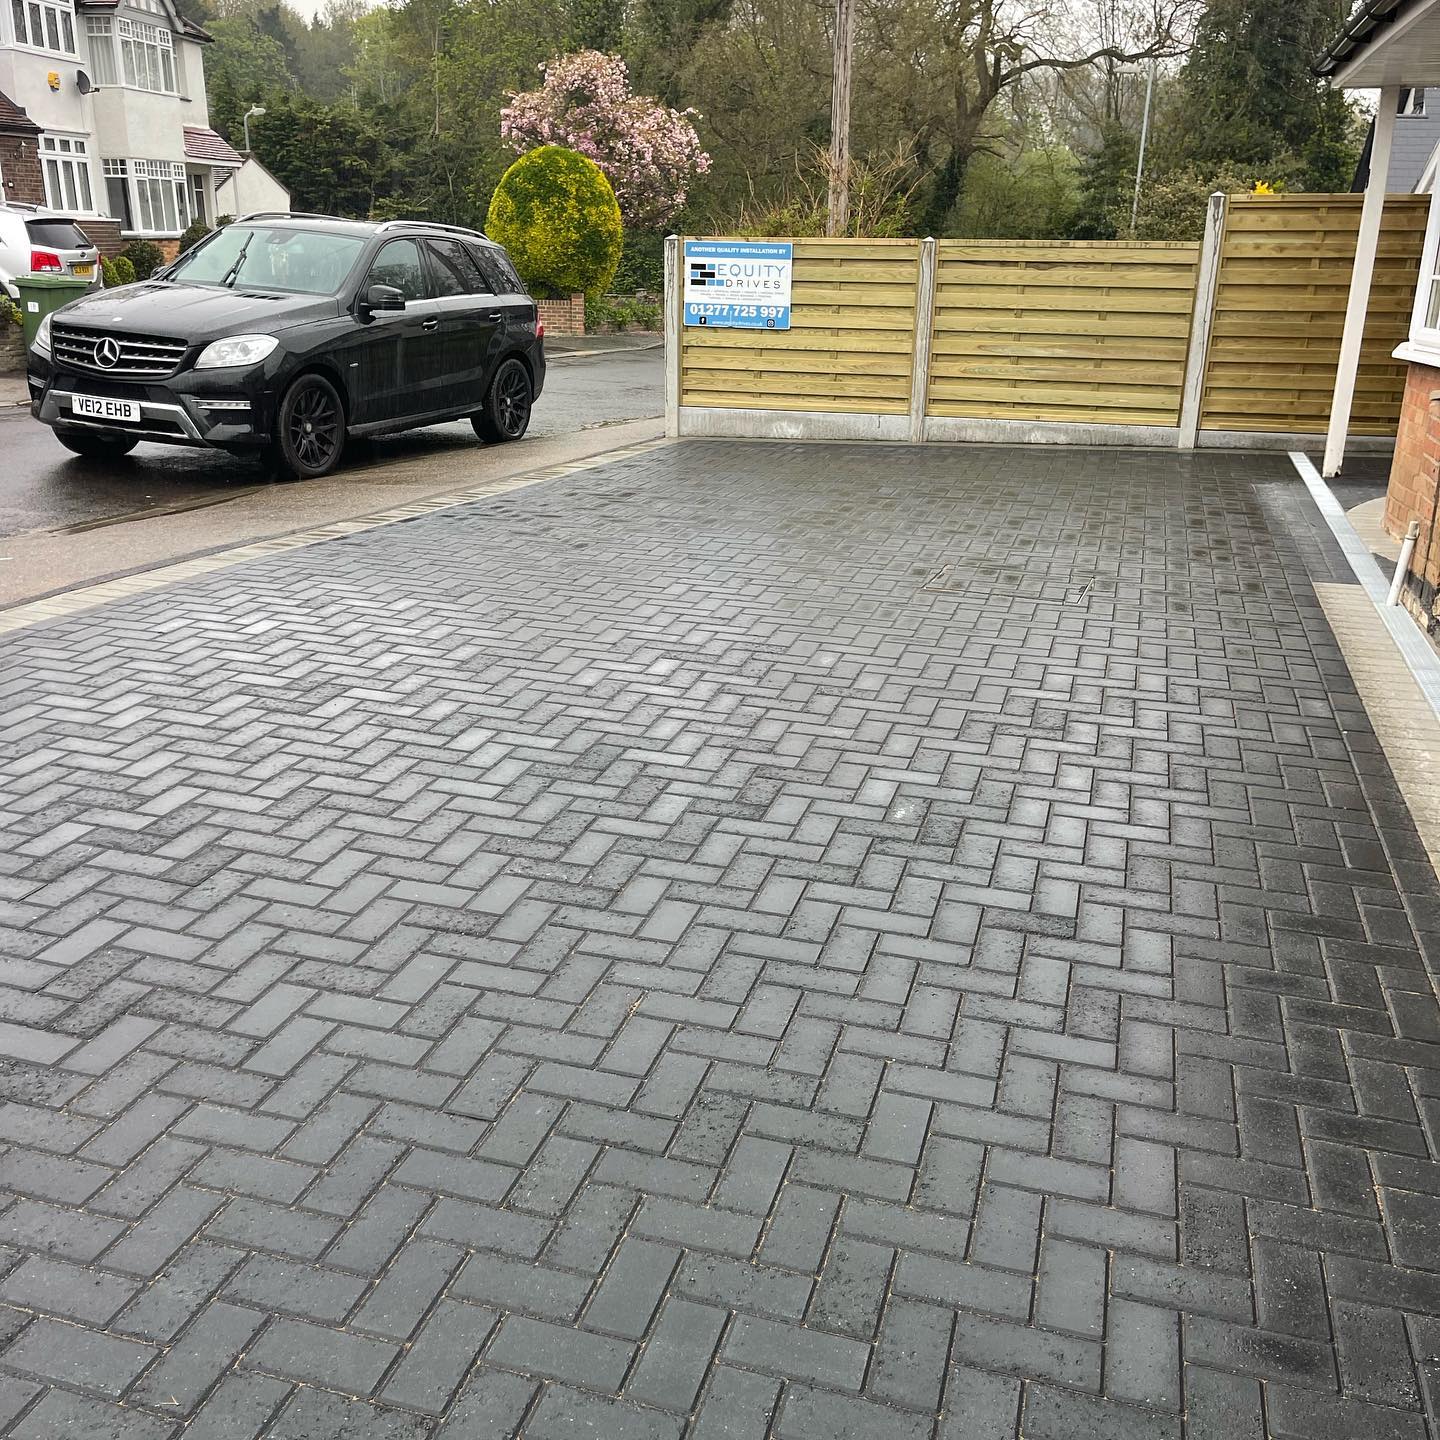
Laying paving stones is a rewarding do-it-yourself project that can completely transform your outdoor space. Proper installation is critical for long-lasting results when building a new patio, pathway, or driveway. We’ll walk you through the step-by-step process of laying paving blocks in this guide to help you achieve a professional-looking finish.
Step 1 – Preparation and Planning
Proper planning and preparation are required before you begin laying paving stones.
- Begin by measuring and marking the area where the blocks will be installed. Remove any vegetation, debris, or existing paving from the site.
- Examine the condition of the ground and make any necessary repairs or adjustments.
- Make sure the area is well-drained to avoid water accumulation.
- Gather all of the project’s tools and materials, including paving blocks, sand, a shovel, a rubber mallet, a spirit level, and safety equipment.
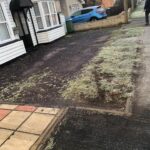
Step 2 – Laying a Firm Foundation
A solid foundation is essential for a successful paving block installation.
- Dig out the marked area to a depth of 8-10 inches, with a slight slope away from any nearby structures to allow for proper water drainage.
- Remove any soft or unstable soil, then compact the remainder with a plate compactor or a hand tamper.
- Then, as a sub-base, add a layer of hardcore or crushed stone and compact it thoroughly.
- Spread a layer of sharp sand over the base and compact it with a rake or a piece of wood to further stabilize it.
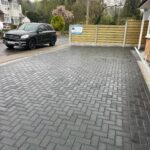
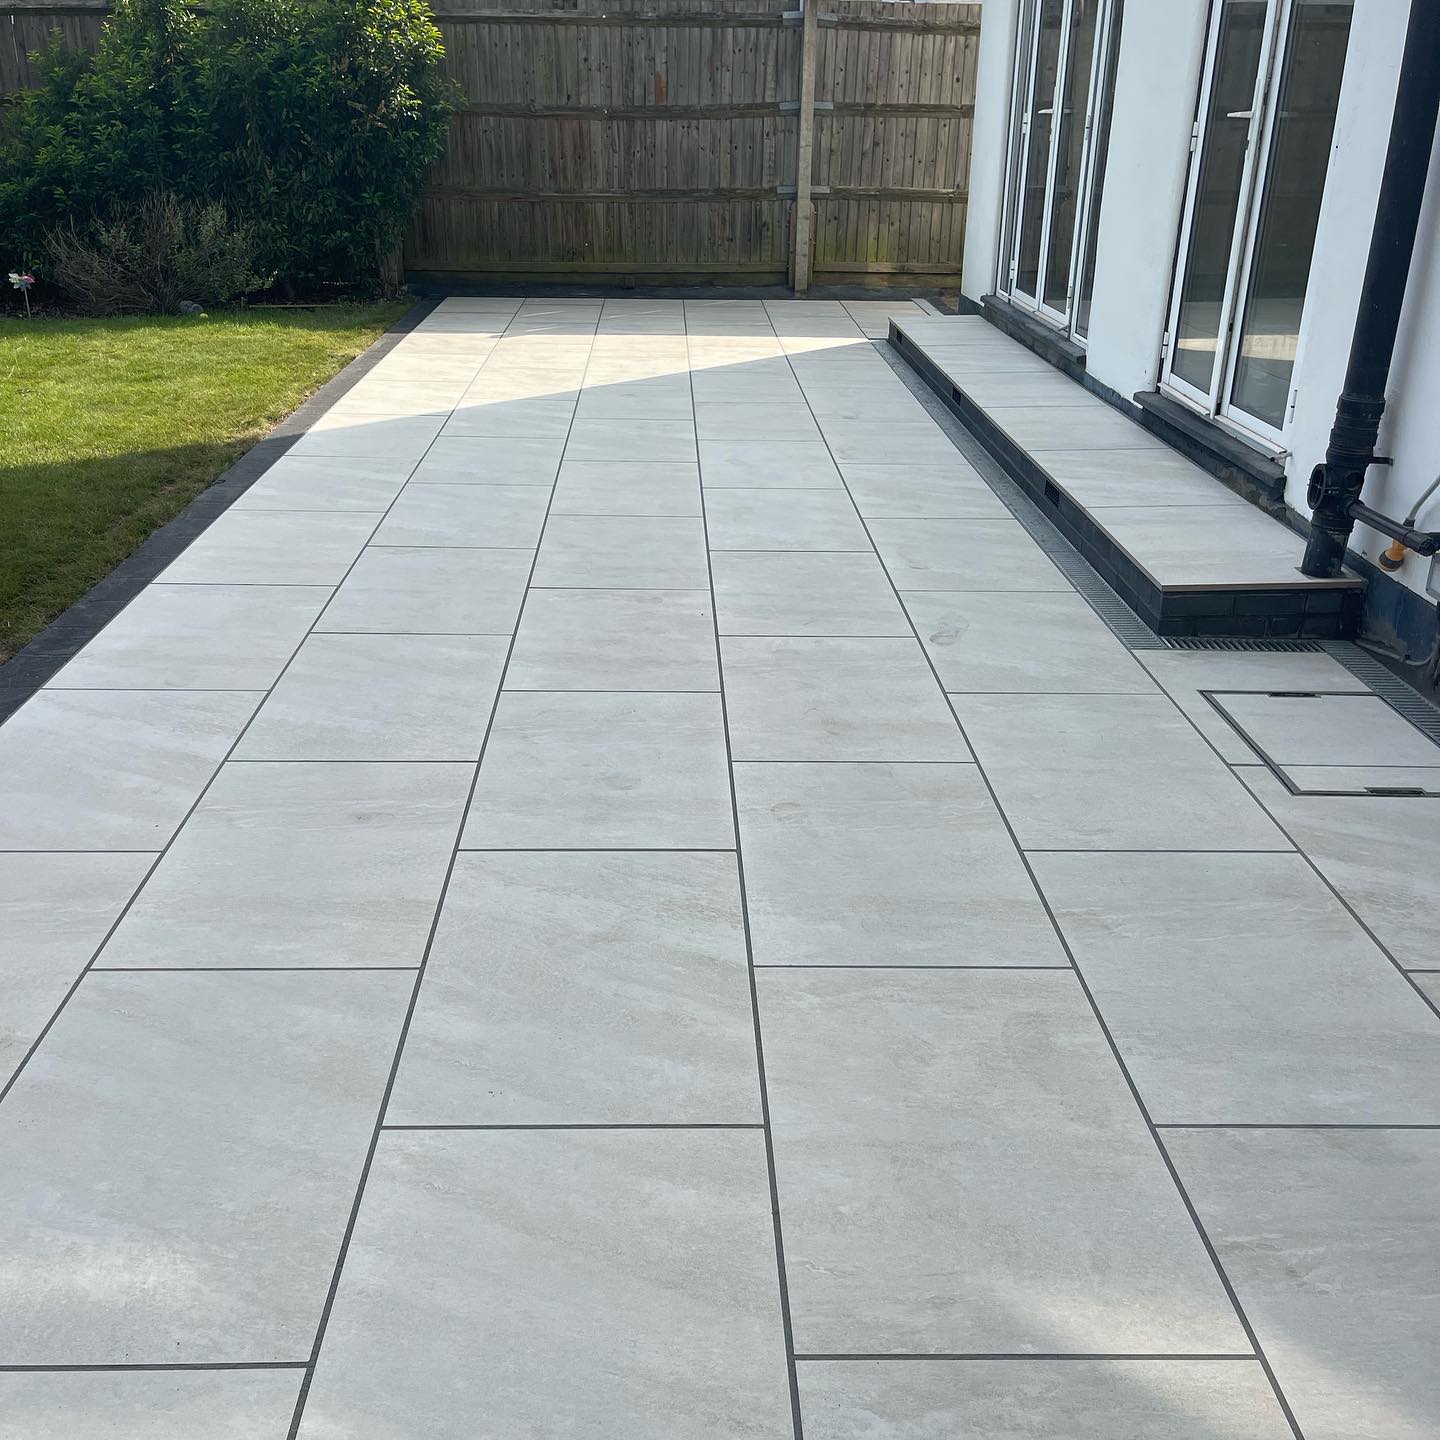
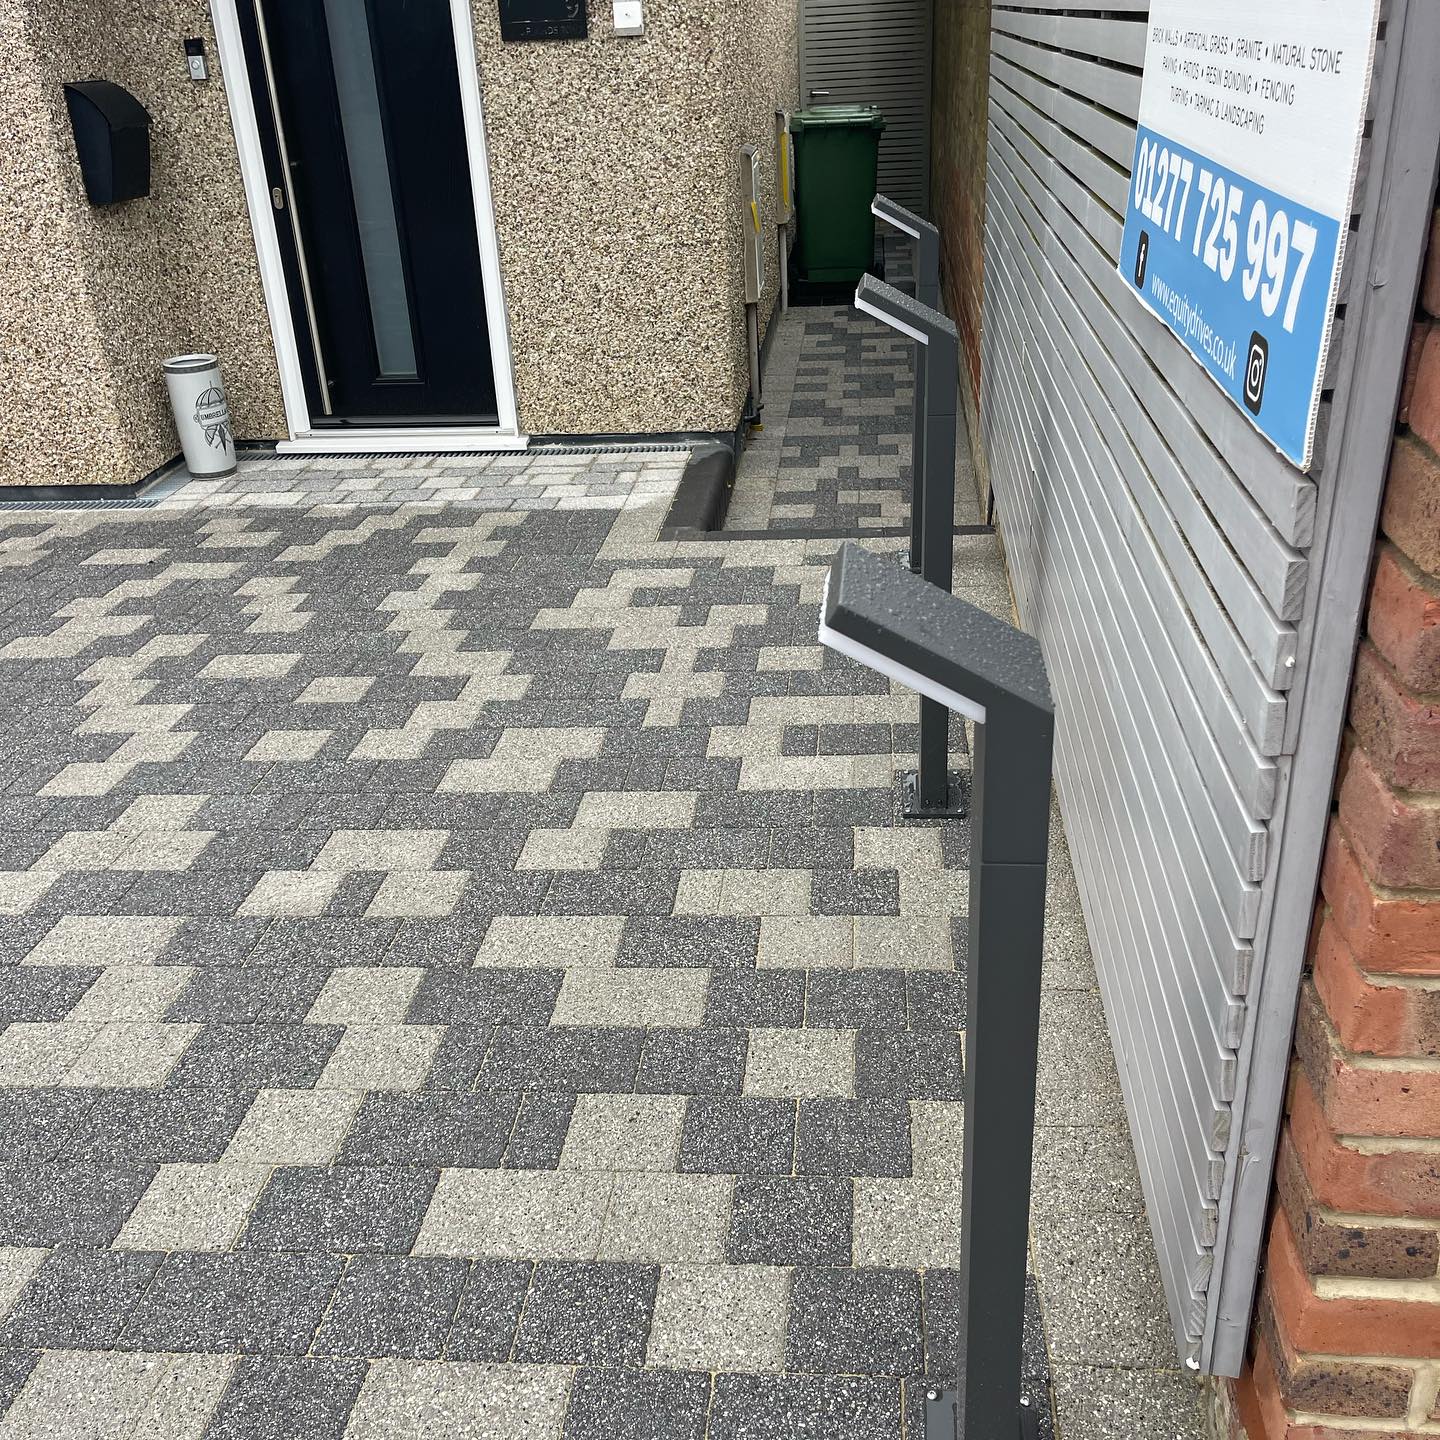
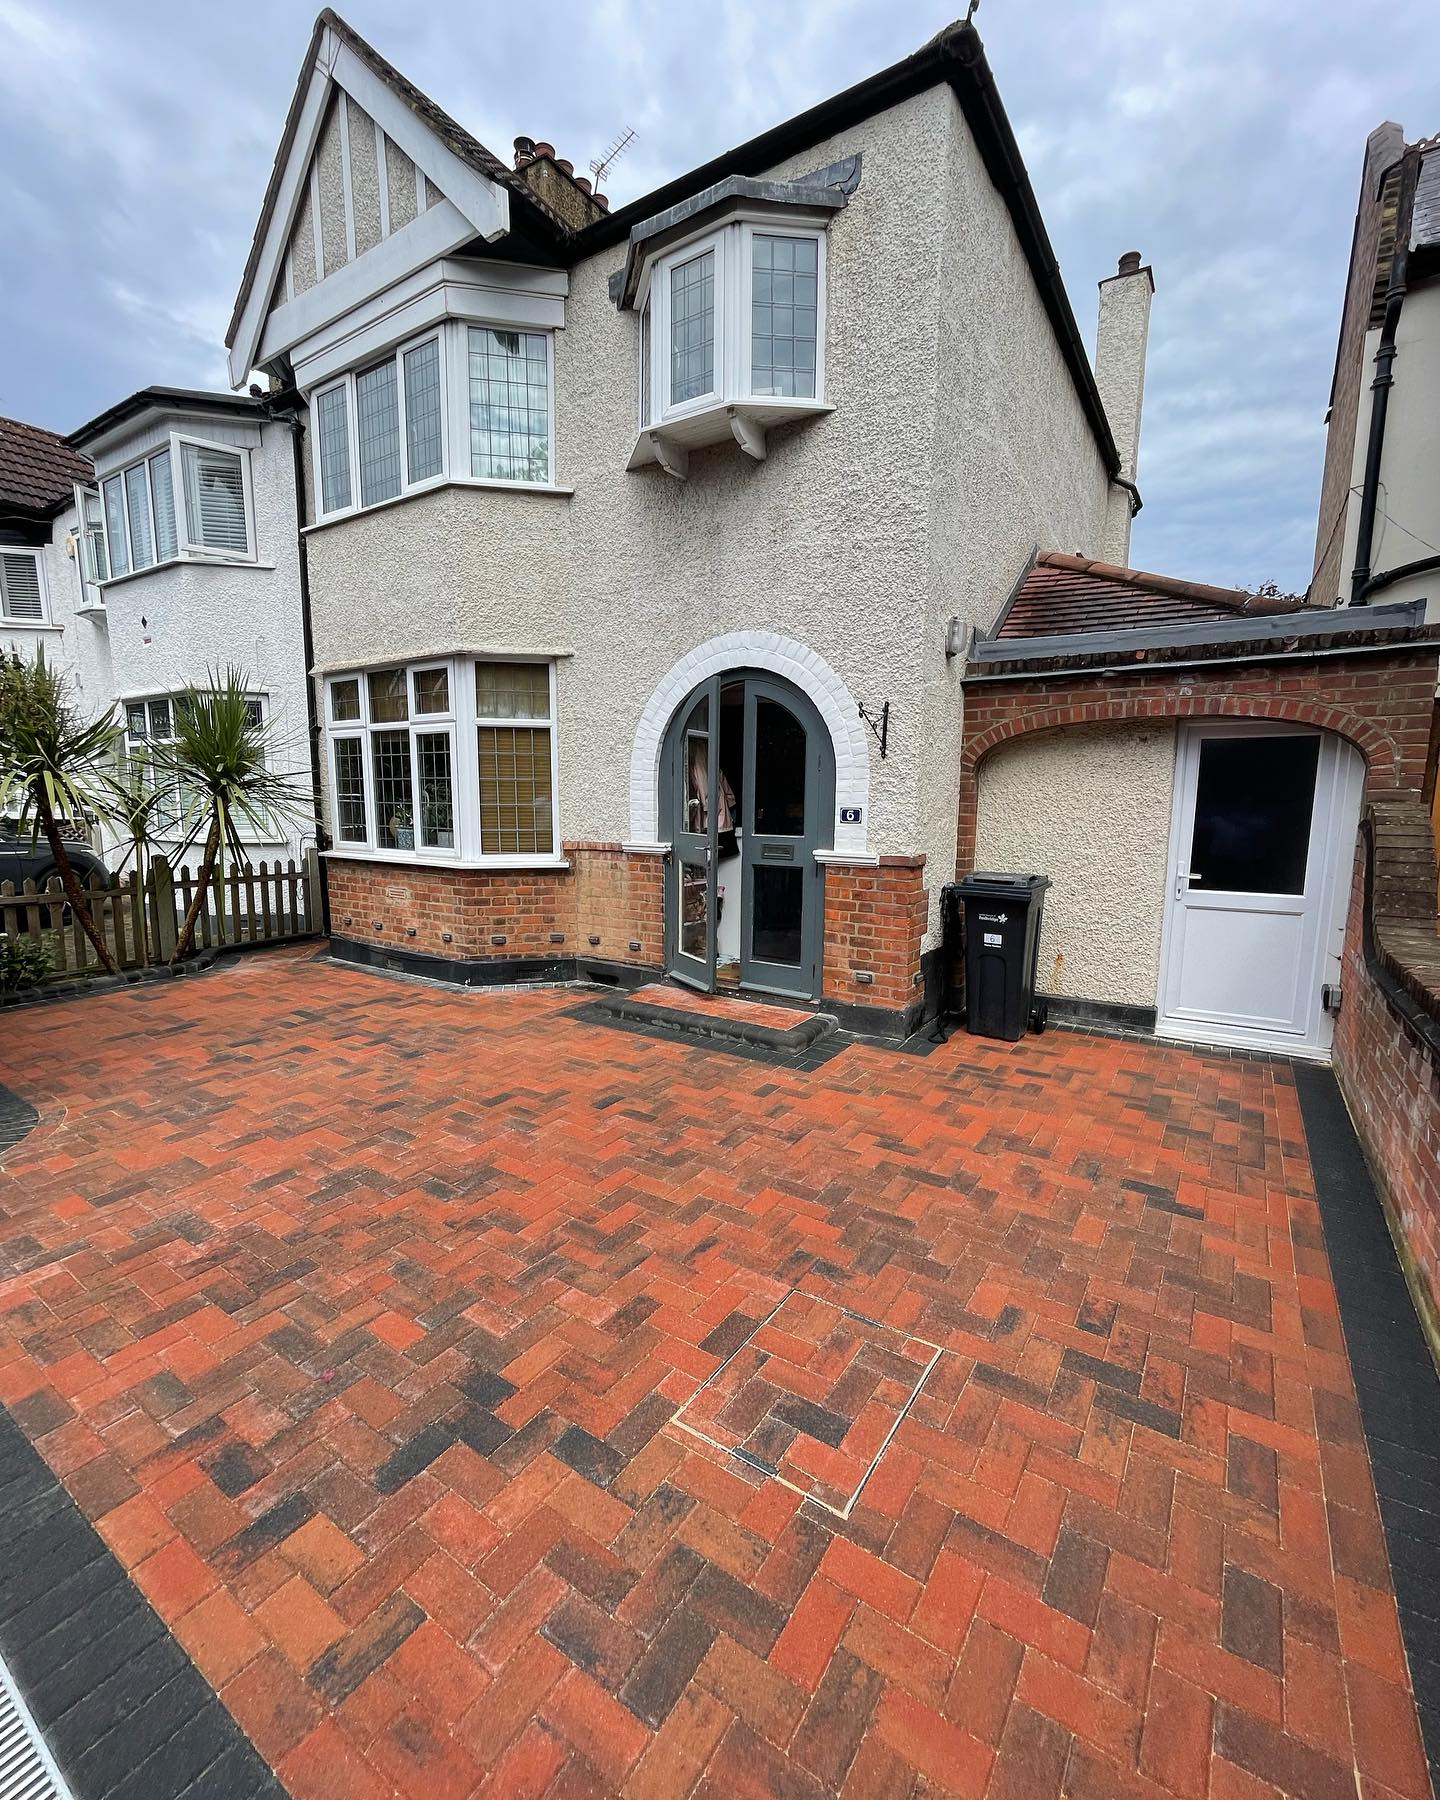
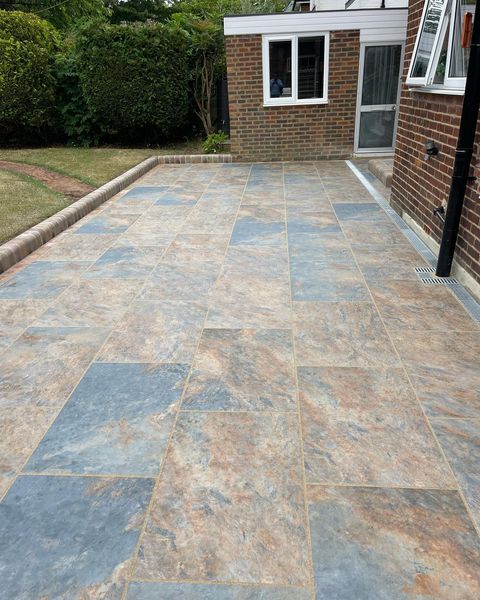
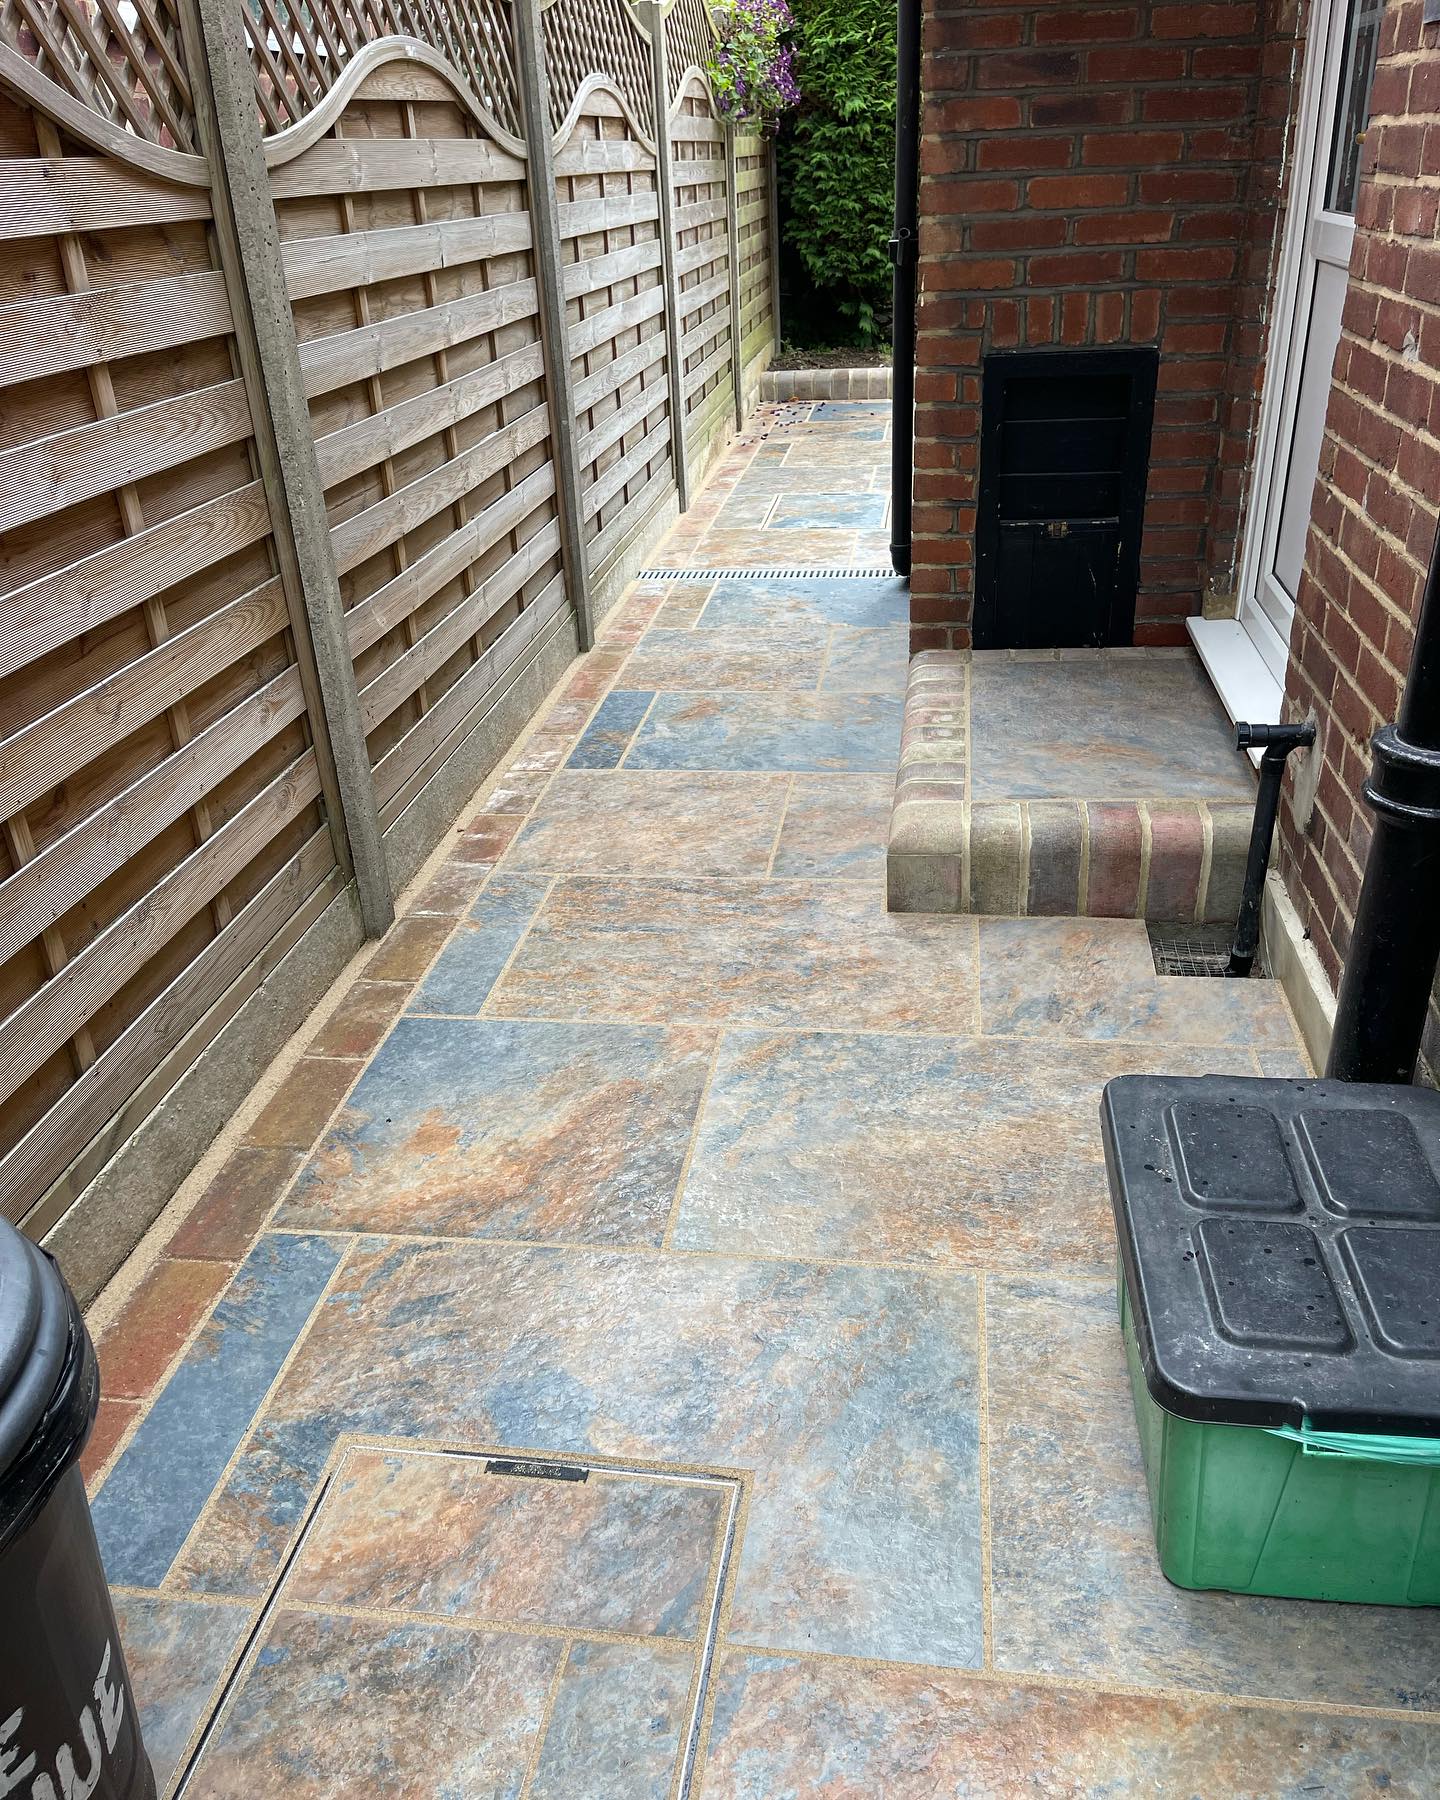
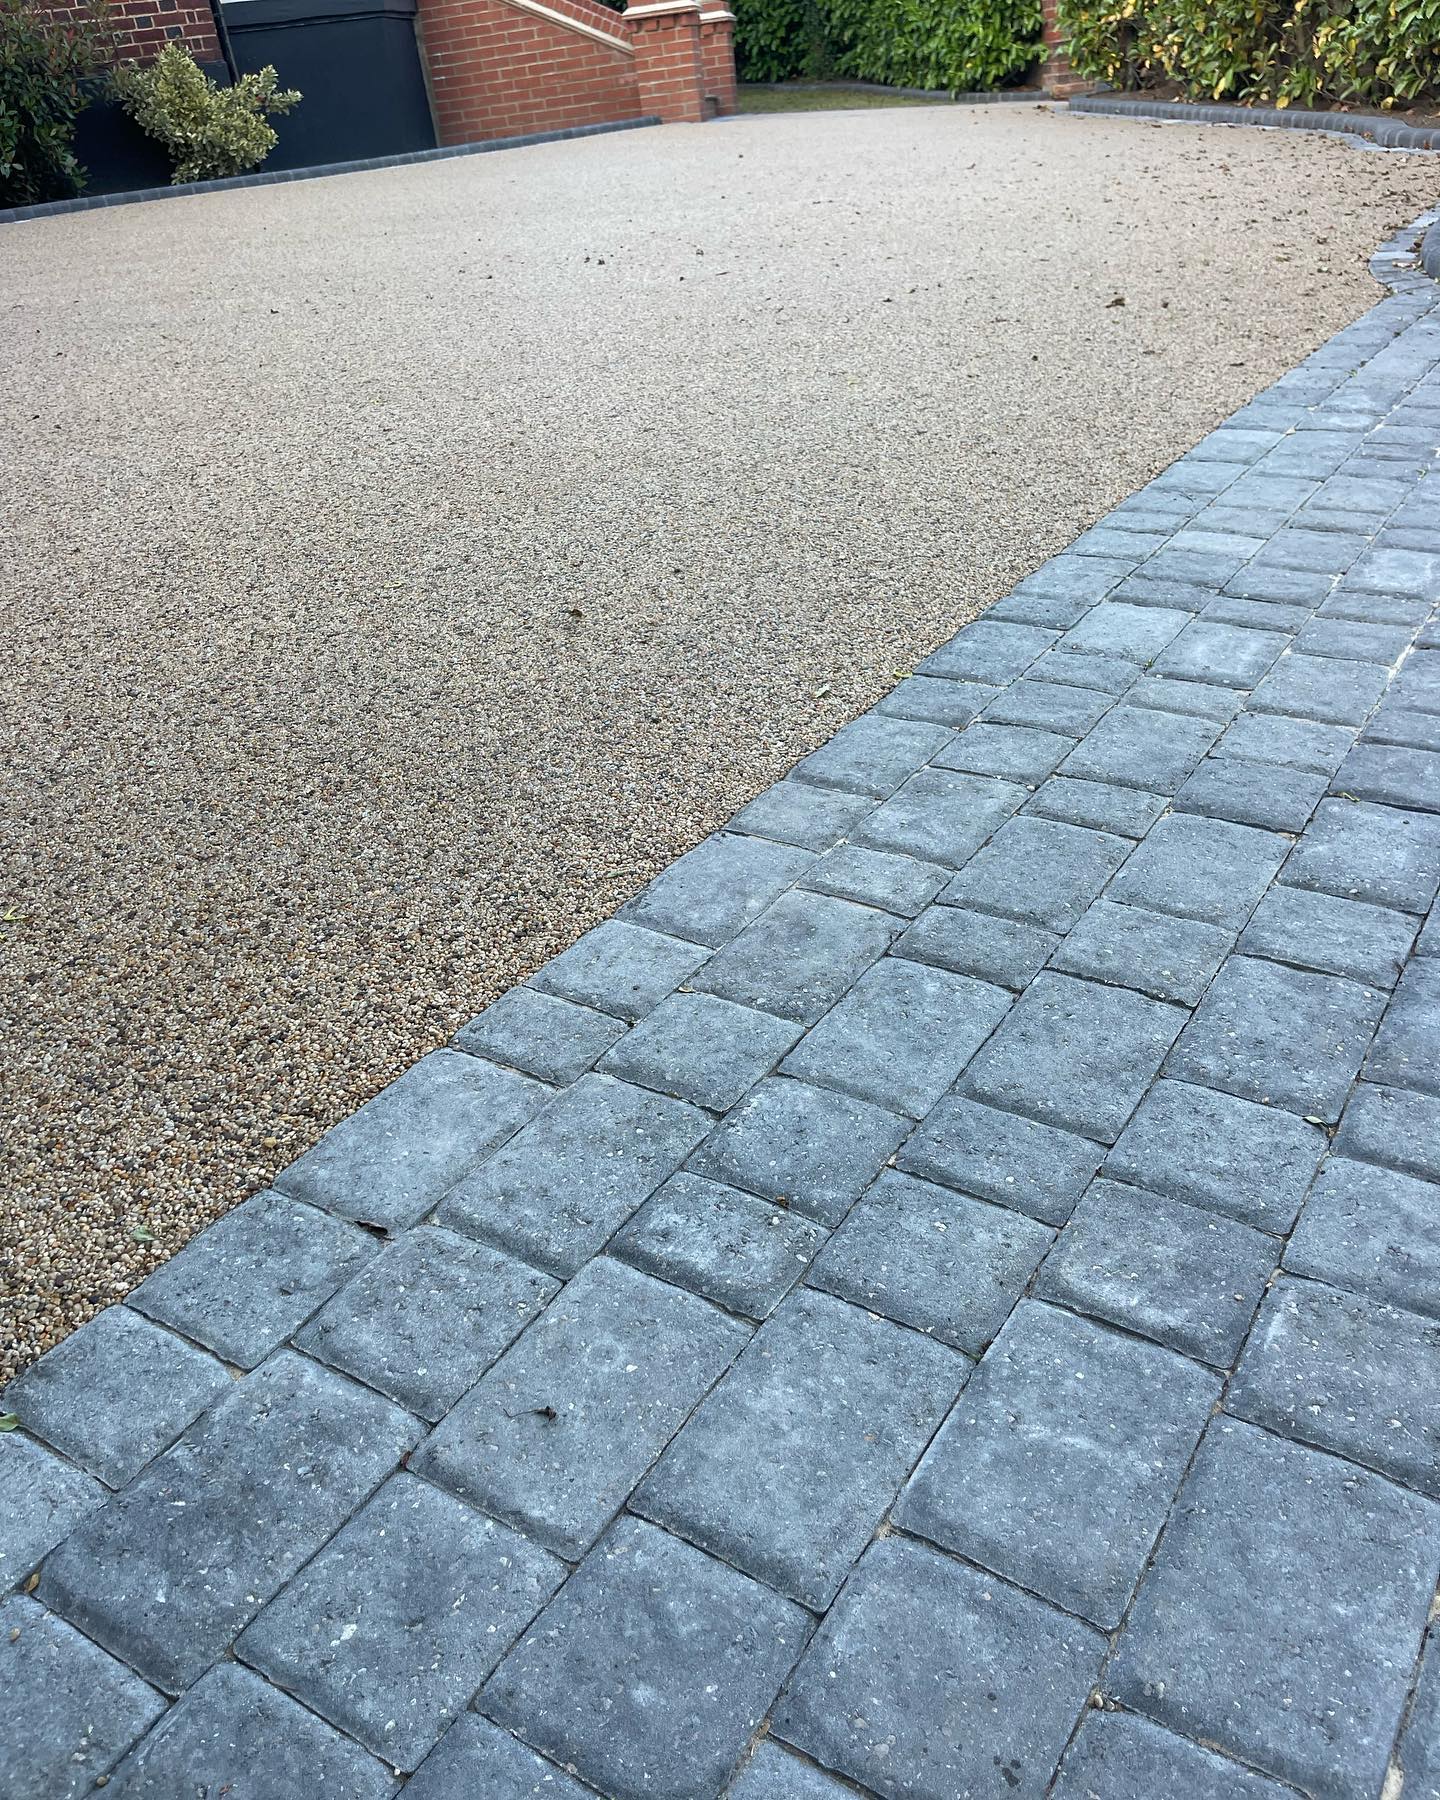
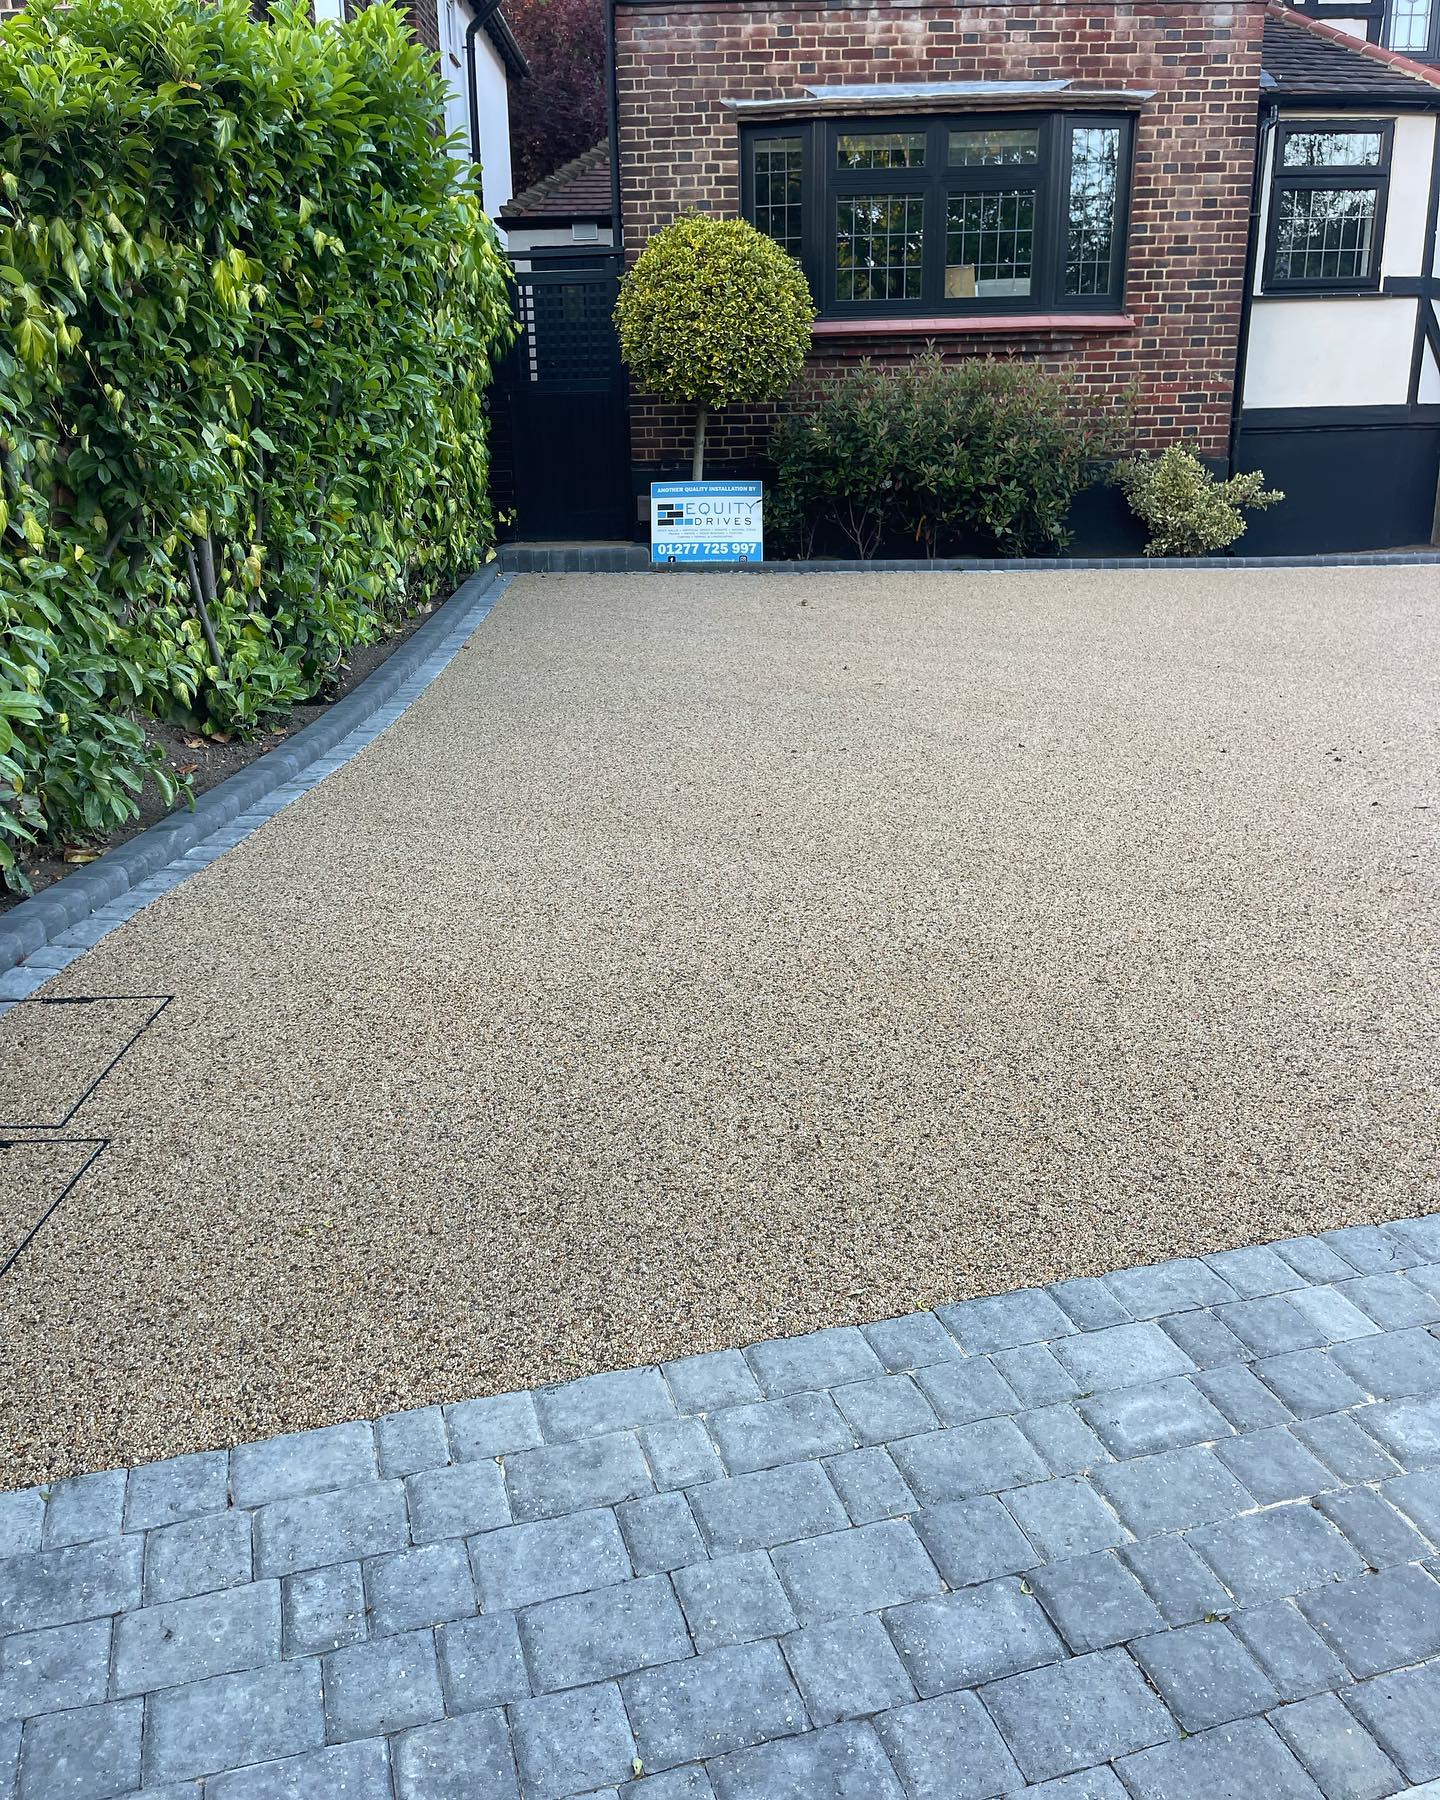
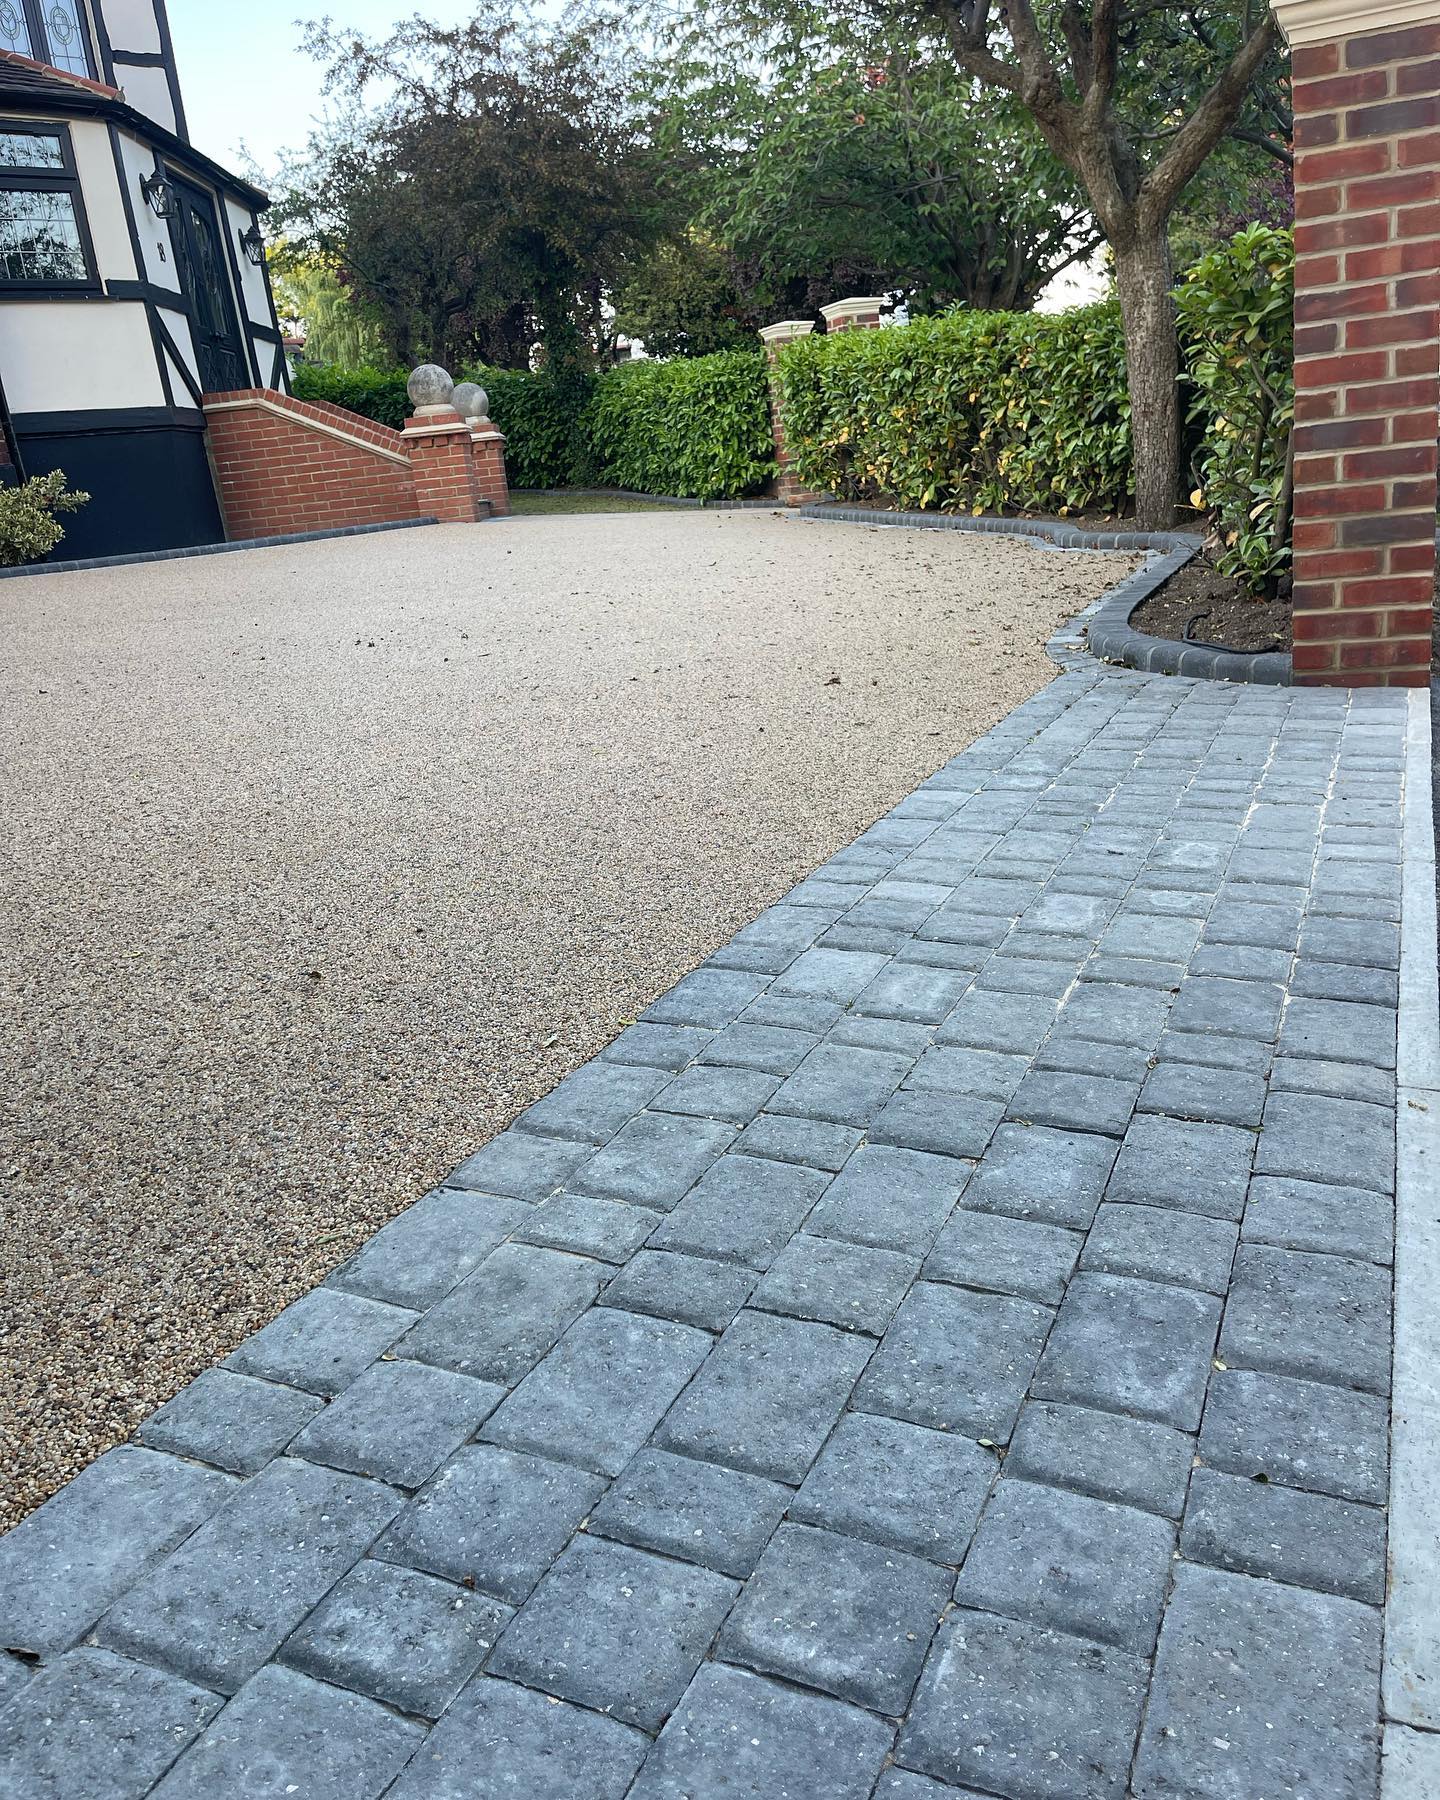
Step 3 – Laying the Paving Blocks
- Begin by laying the first paving block in one corner of the area, making sure it is level and aligned with the desired pattern.
- Check the horizontal and vertical positions with a spirit level.
- Place a wooden block on top of the paving block and gently tap it into the sand with a rubber mallet.
- Place the blocks one at a time, leaving a small gap (about 1/4 inch) between each one for jointing sand.
- Check for levelness and alignment on a regular basis, making adjustments as needed.
Step 4 – Final Details
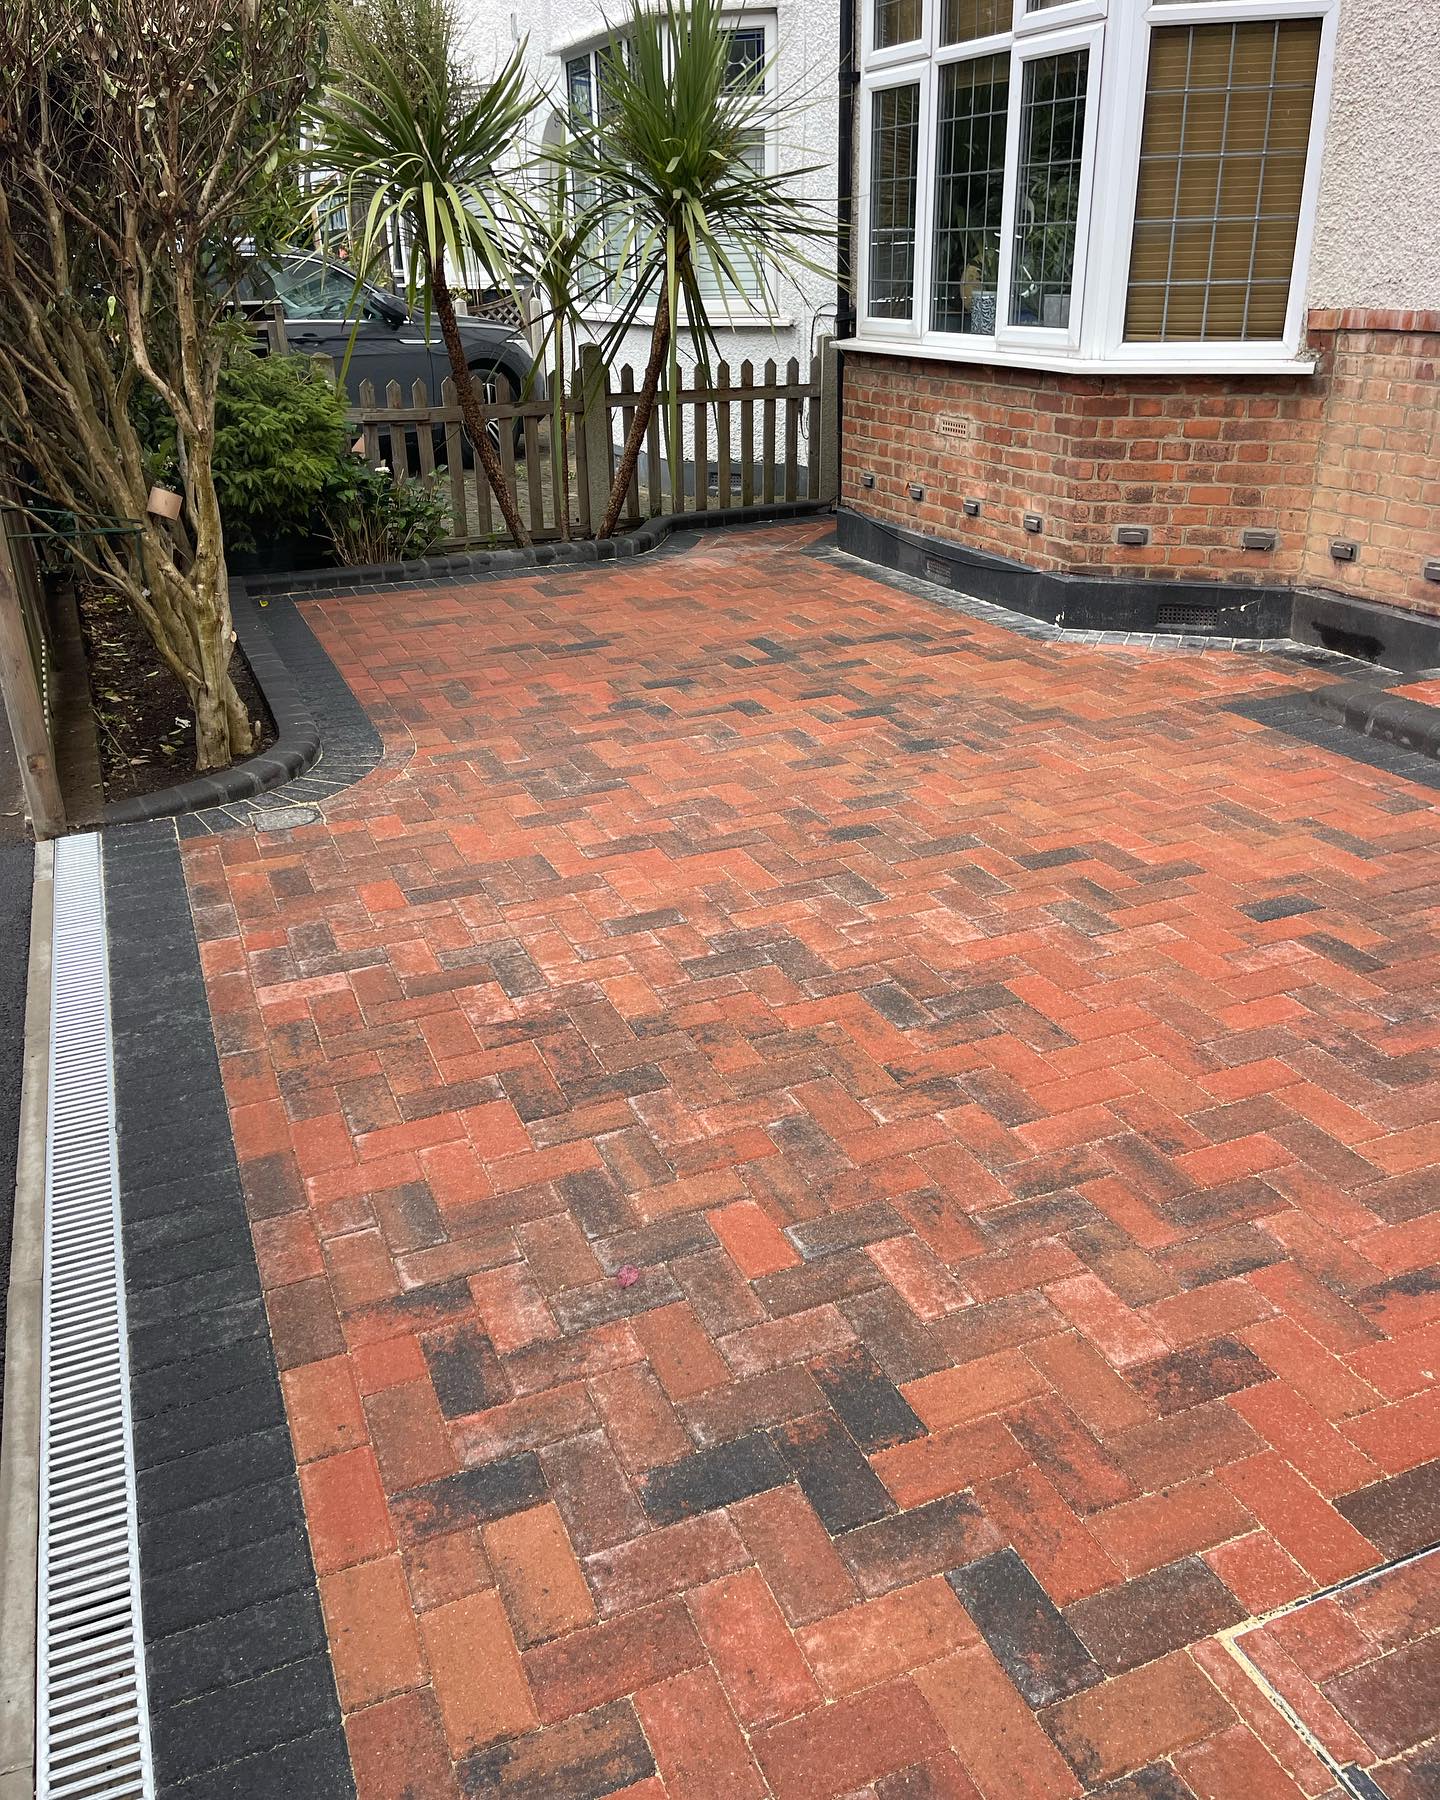
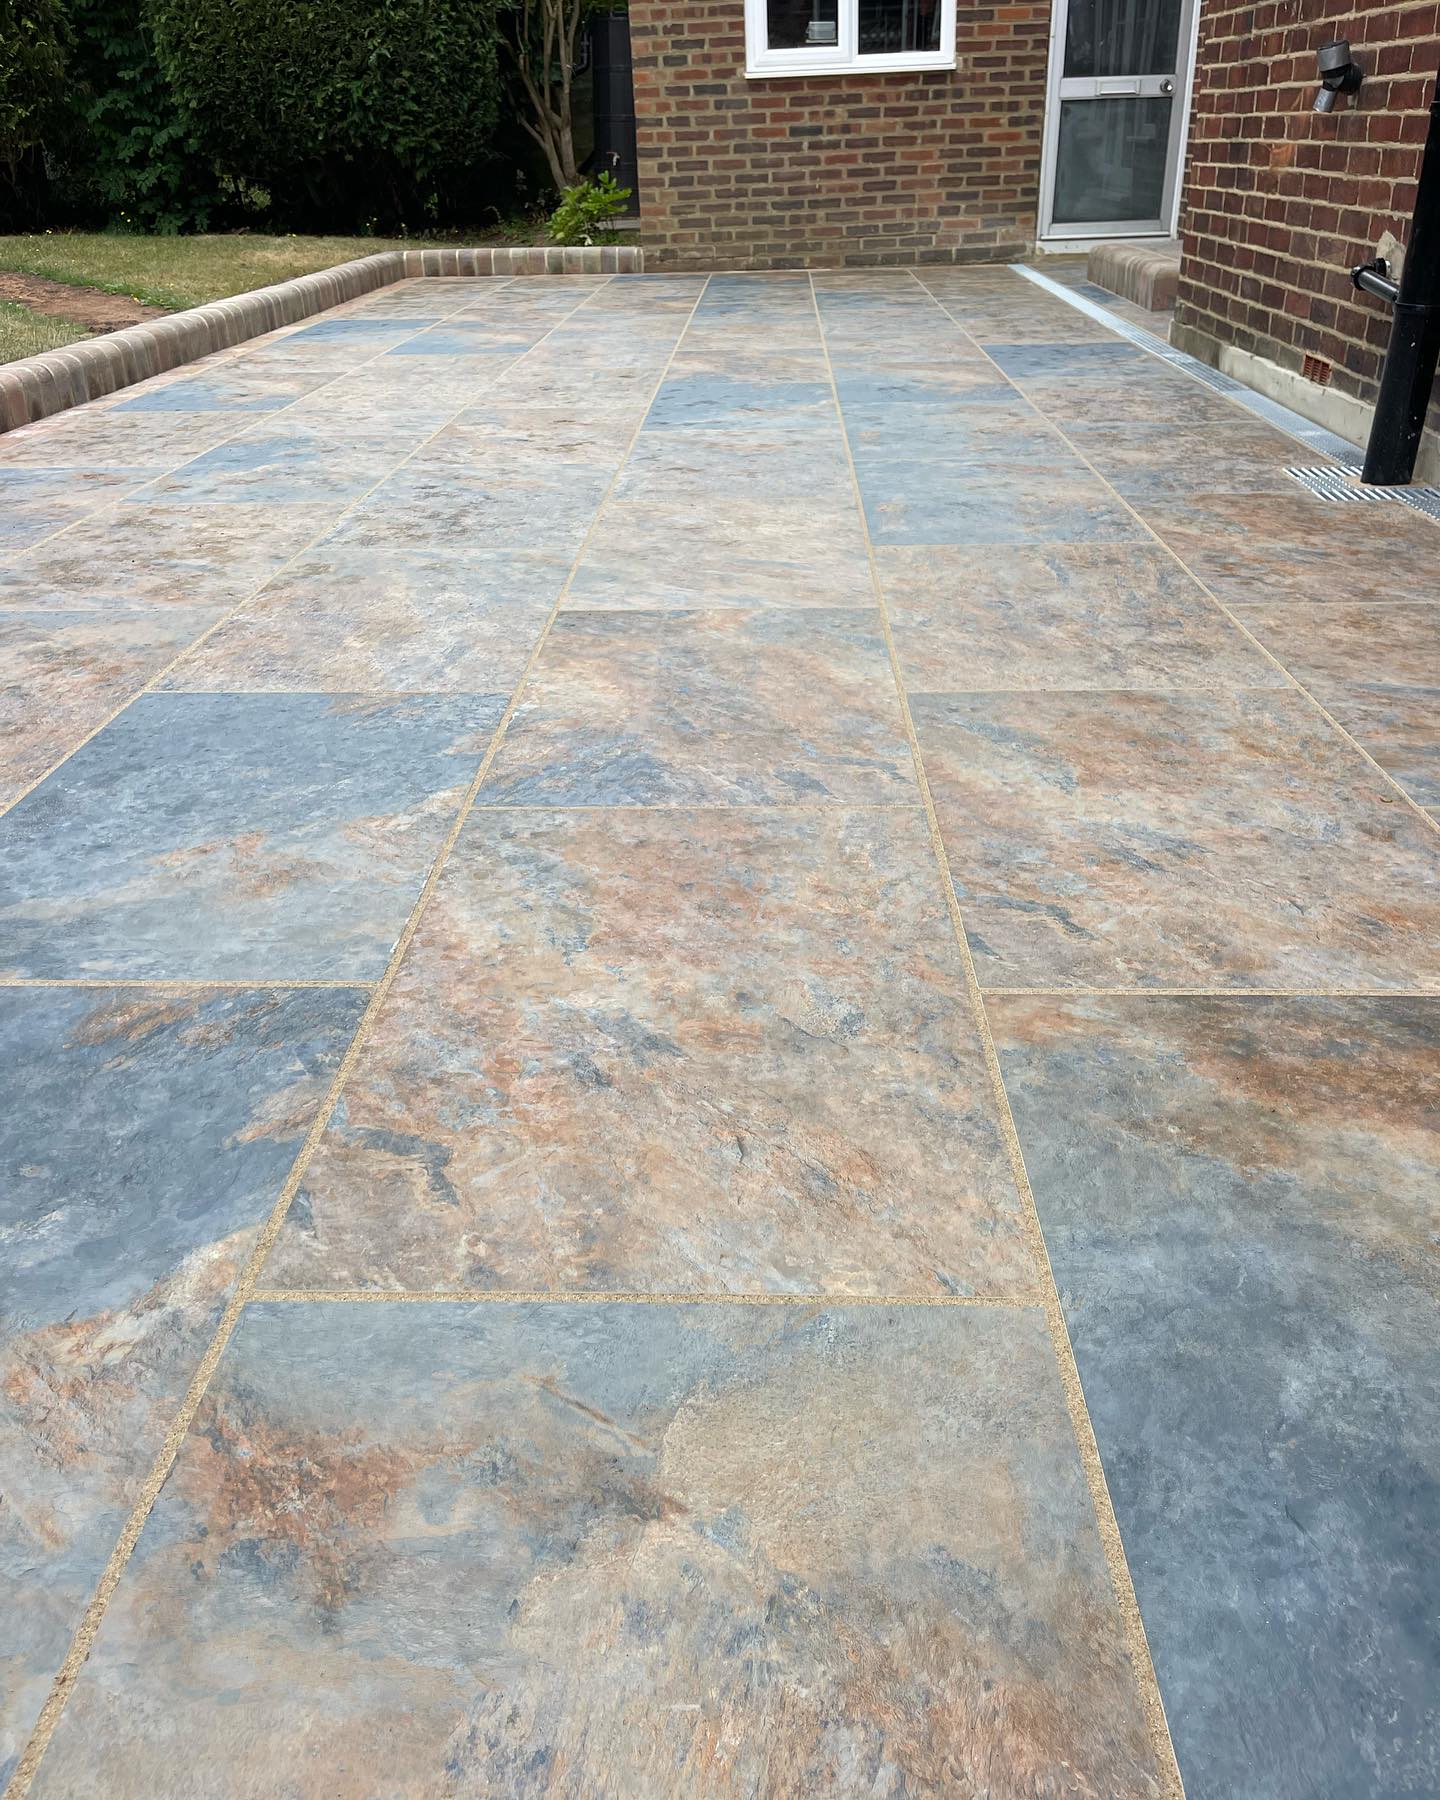
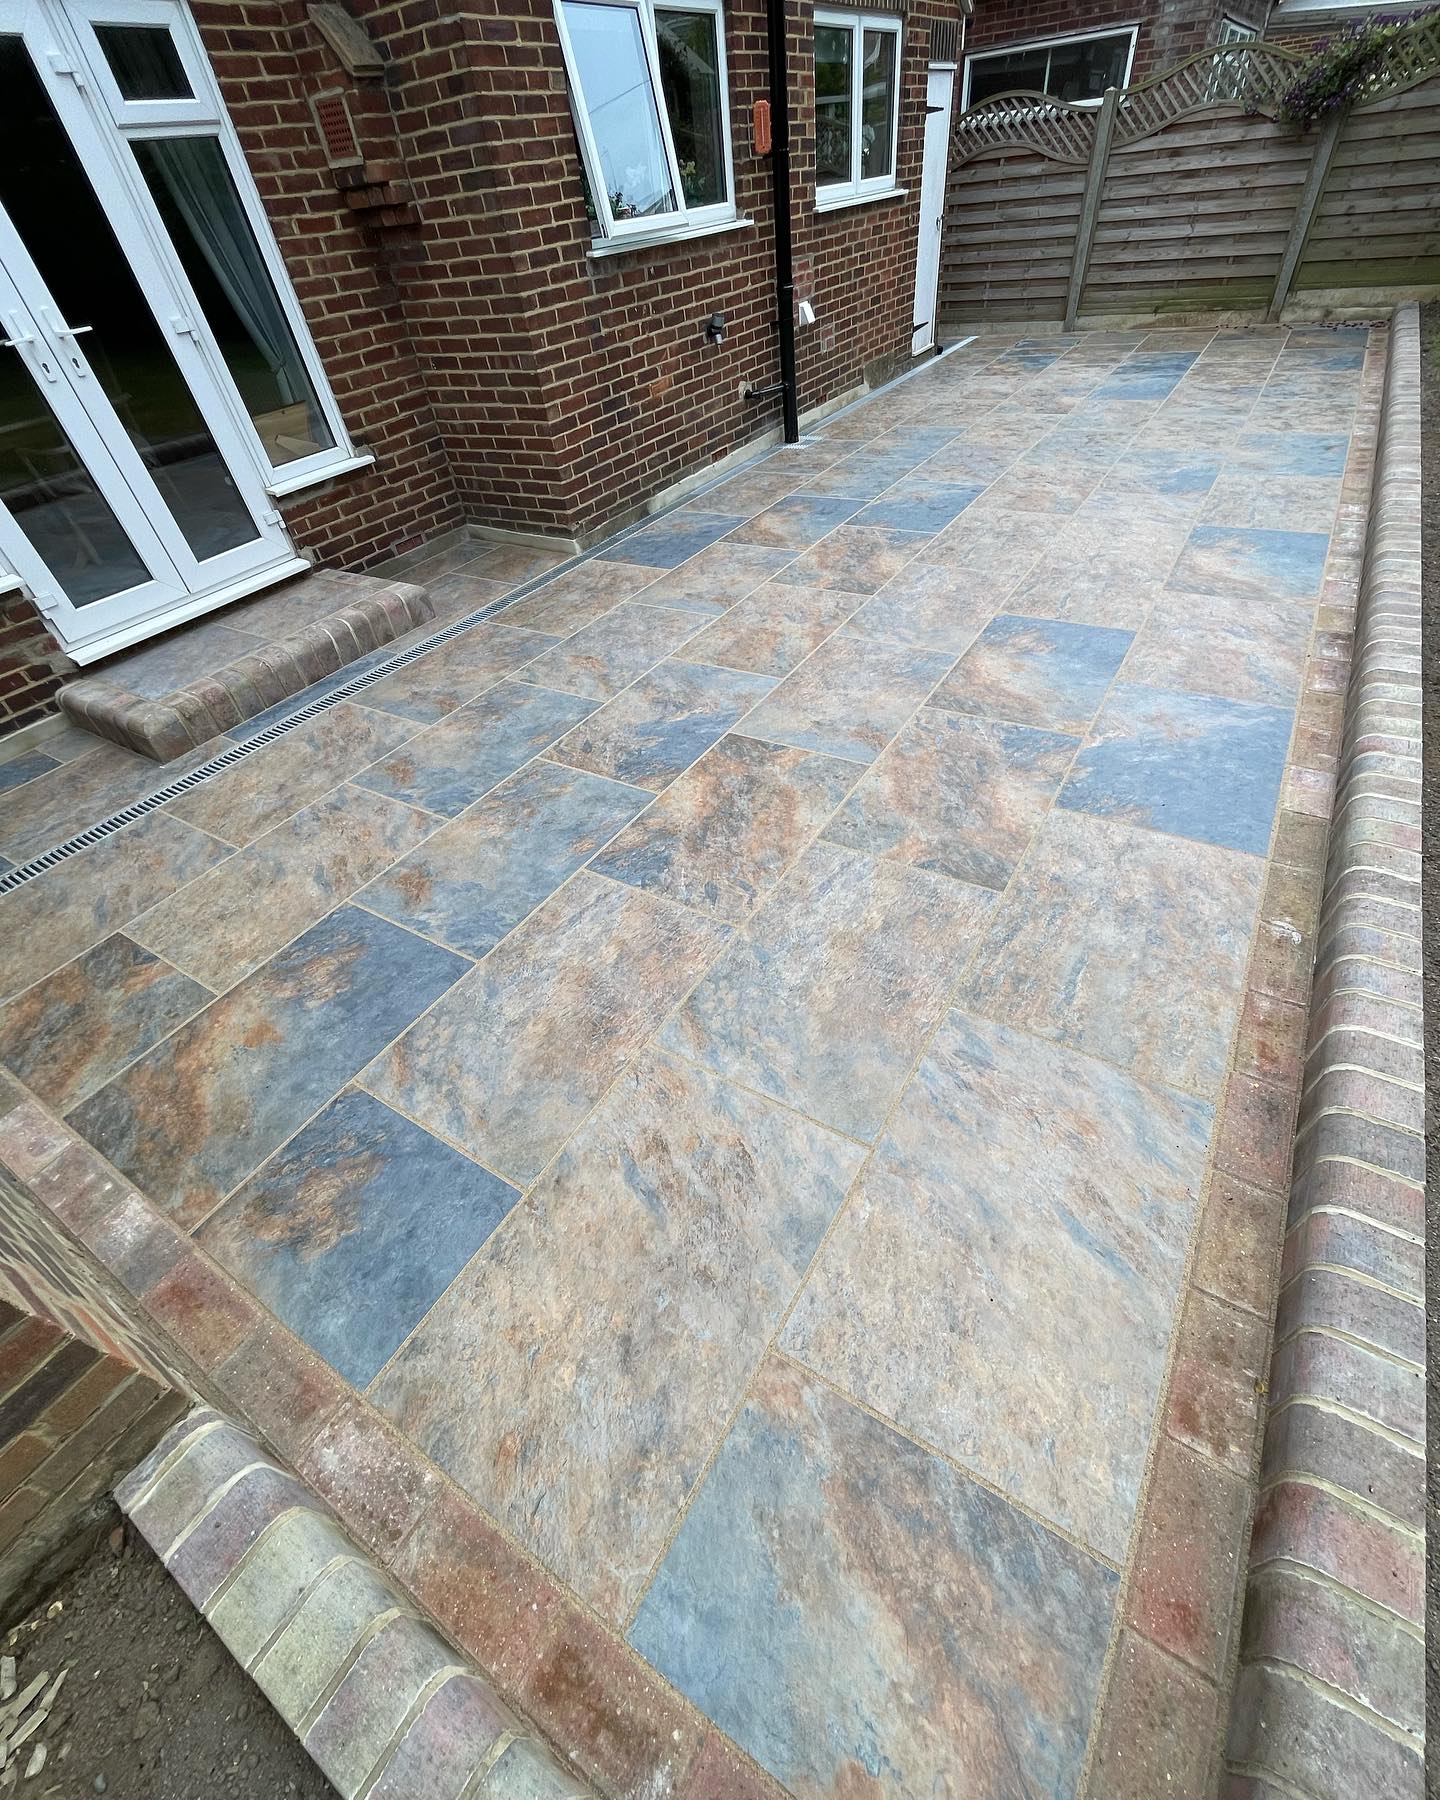
- Spread jointing sand over the surface once all of the paving blocks have been installed.
- Brush the sand into the gaps between the blocks with a broom to ensure it fills all of the spaces.
- Gently compress the blocks with the plate compactor or by tapping them with the rubber mallet.
- Continue adding sand and compacting until the gaps are completely filled and the blocks are secure.
- Finally, sweep away any excess sand and rinse the area with water to further settle the sand.
Step 5 – Maintaining and Repairing Paving Blocks
Regular maintenance is required to ensure the longevity of your paved area.
- Inspect the blocks on a regular basis for signs of damage or movement.
- Remove any loose or damaged blocks, replace the bedding sand if necessary, and reposition them.
- Keep the surface clean by sweeping it on a regular basis and removing any weeds or debris that may accumulate.
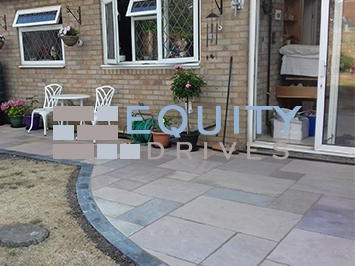
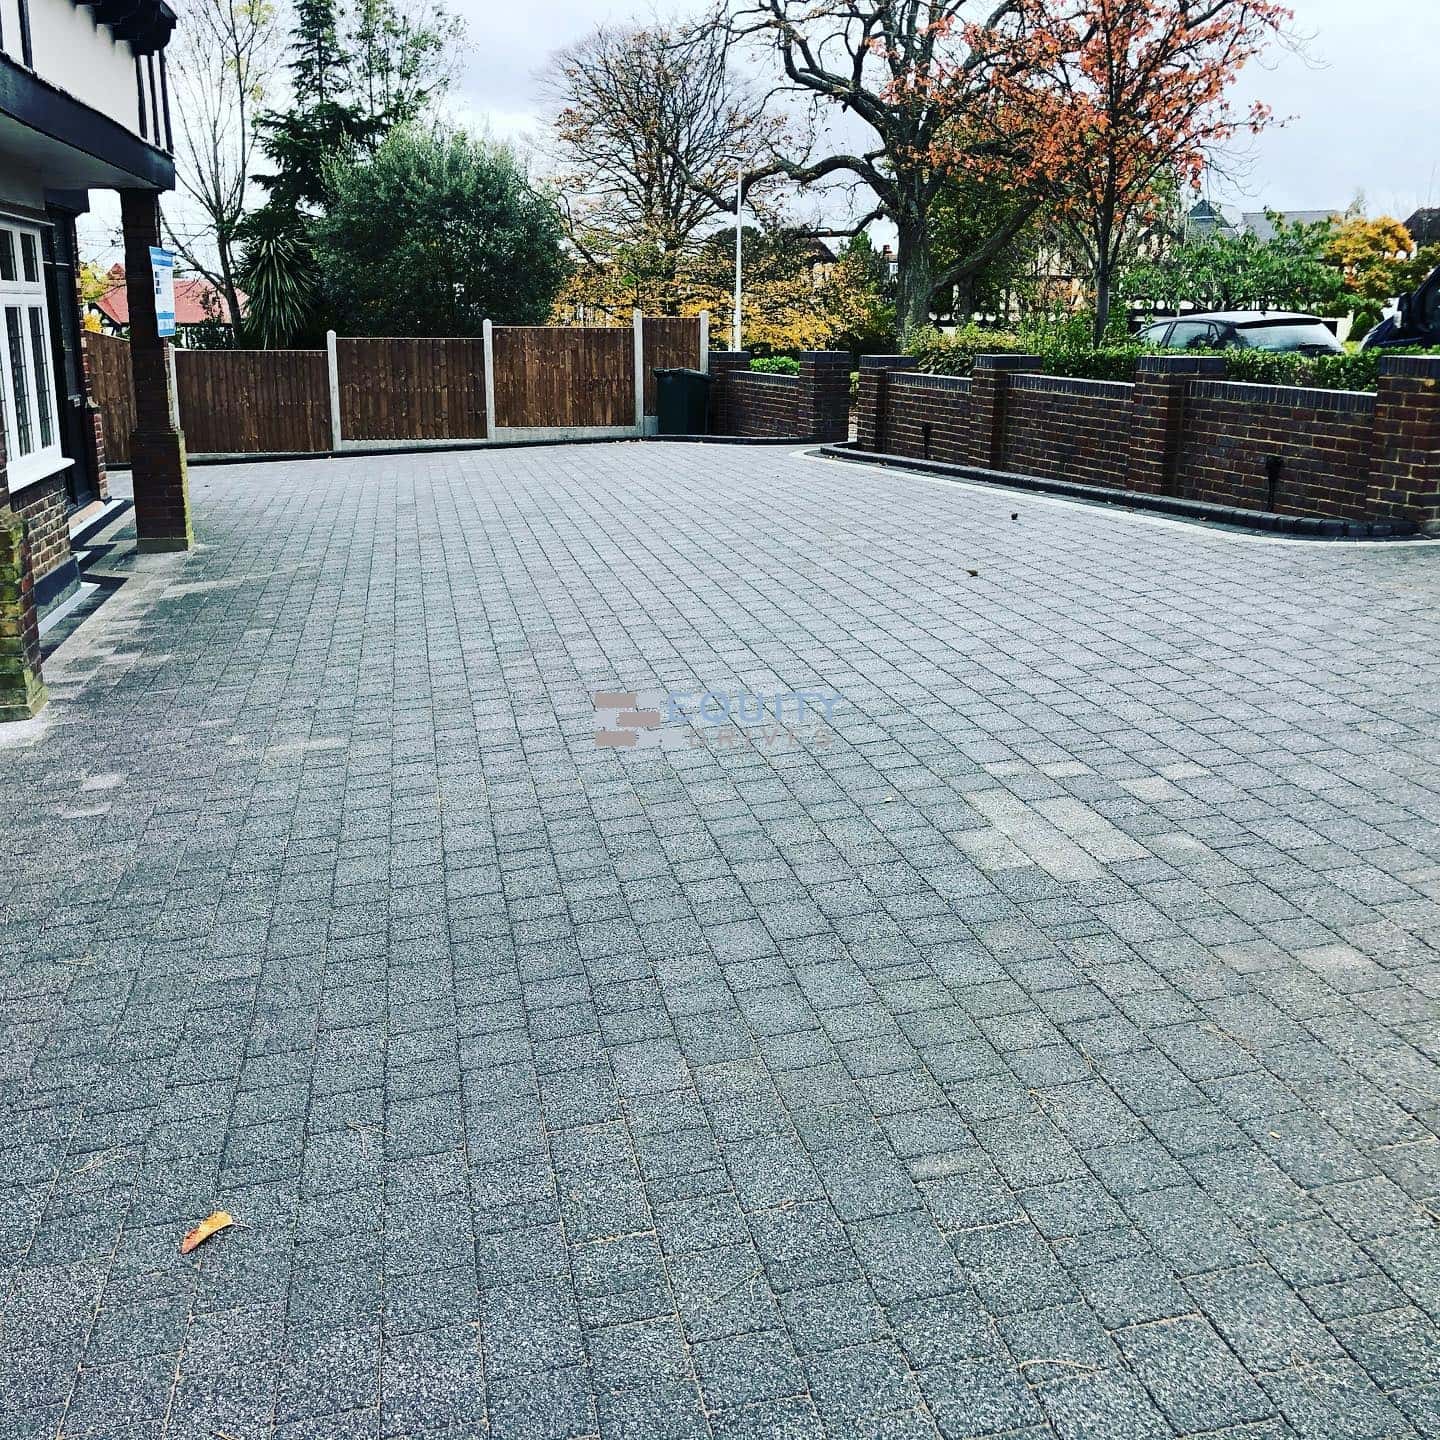
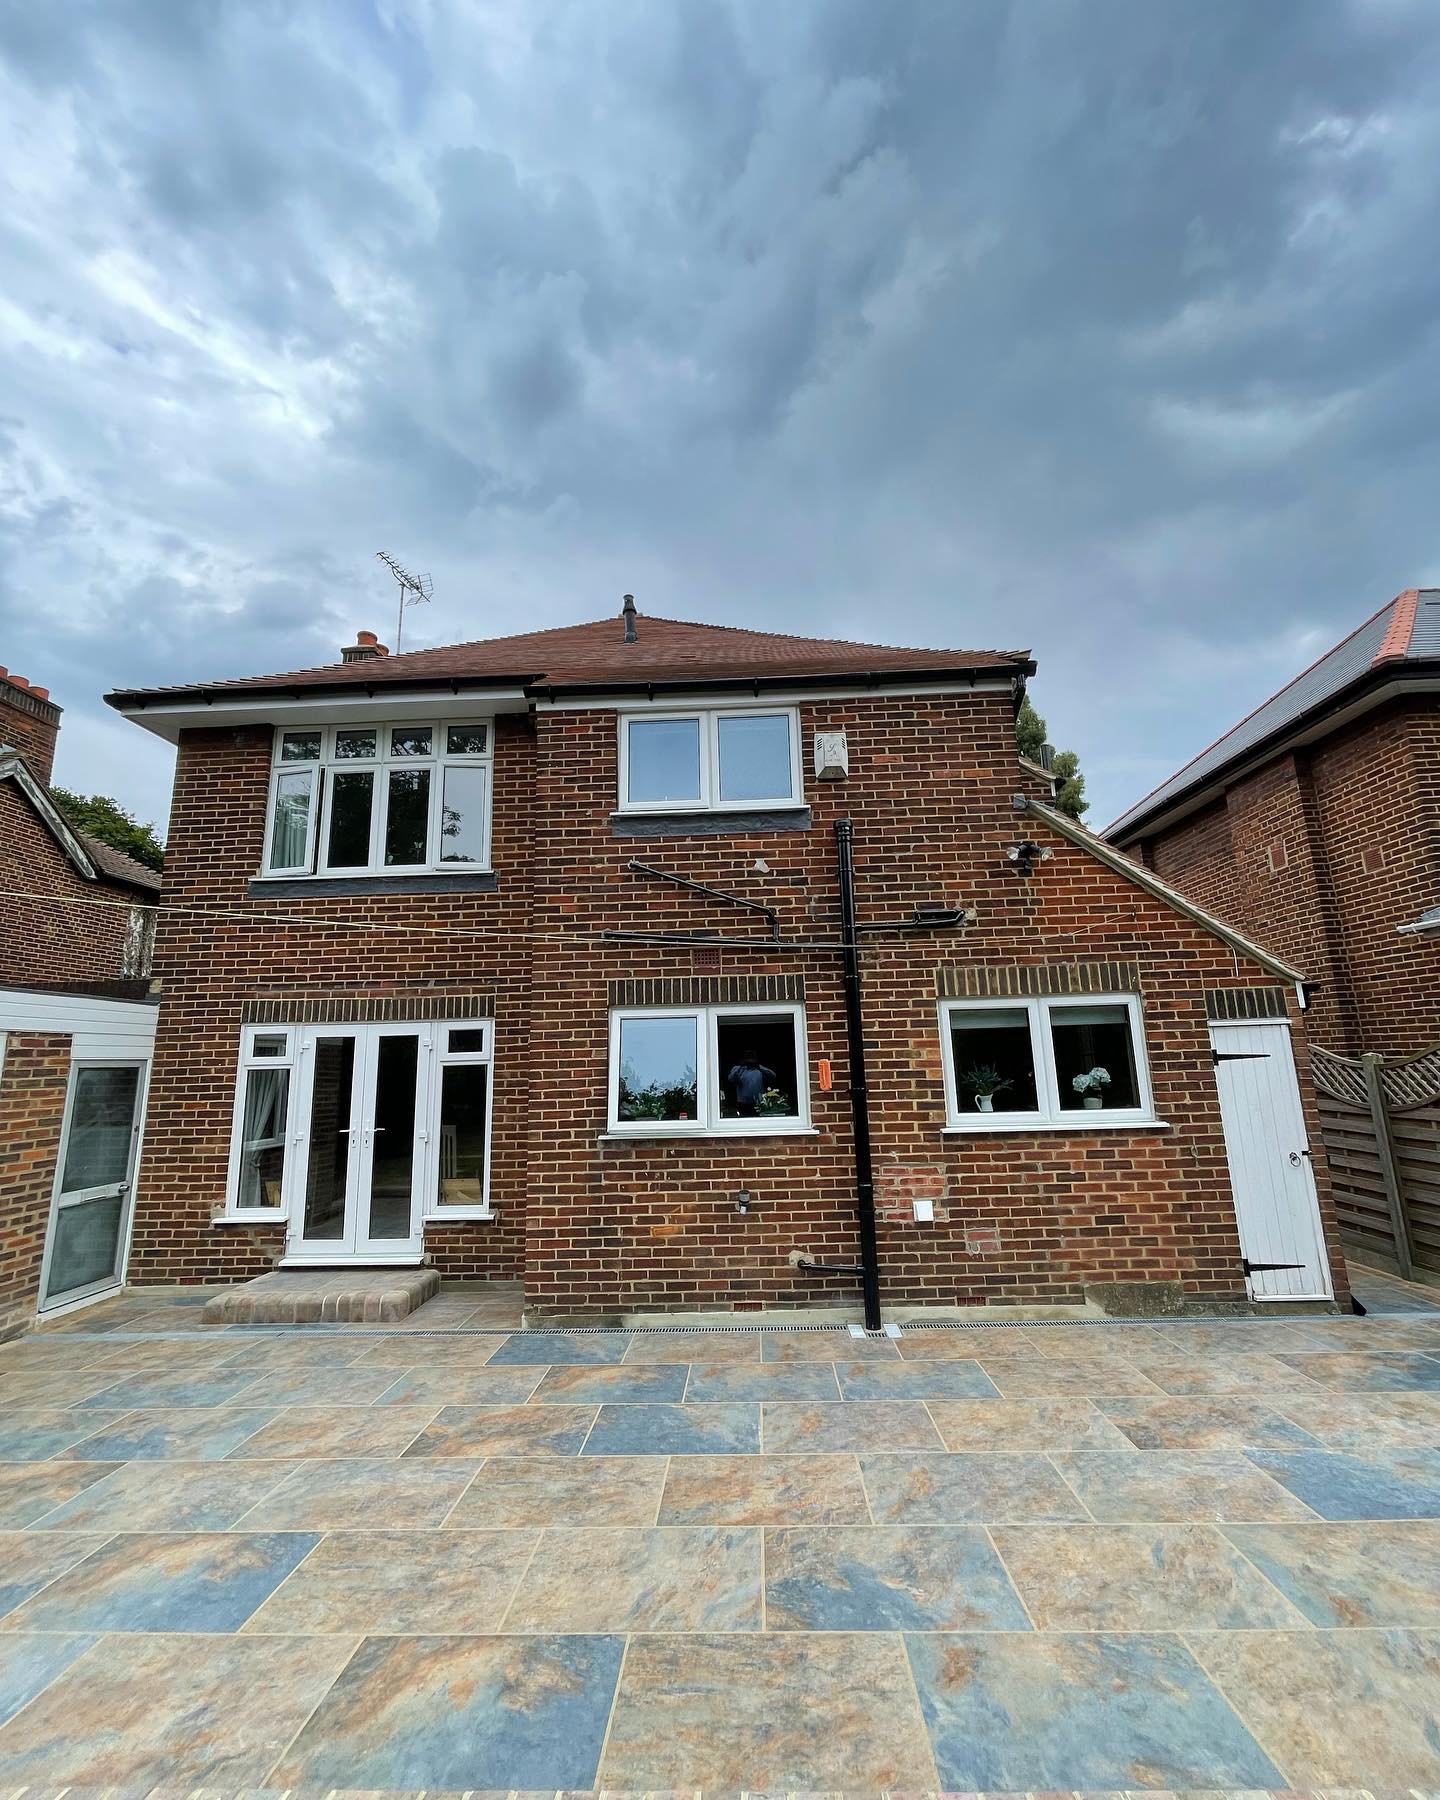
You can successfully lay paving blocks and create a stunning outdoor space by following these step-by-step instructions. Remember to take your time, pay attention to detail, and ensure proper alignment and levelness throughout the process, followed by regular maintenance. You can achieve a professional-looking finish that enhances the beauty and functionality of your outdoor space with patience and the right tools.