Driveway installation is not just about laying a new surface. It is a careful step-by-step process that starts with planning, excavation, ground preparation, drainage, sub-base installation, edging, surfacing, finishing, and final checks. When each stage is done properly, the result is a driveway that looks smart, drains well, and stays strong under daily use.
A good driveway should feel effortless once it is finished. You park on it, walk across it, clean it, and use it every day without thinking much about what sits underneath. However, below that neat surface is where the real work happens.
A driveway that sinks, cracks, floods, or spreads at the edges usually fails because one of the early steps was rushed. That is why professional driveway installation is less about speed and more about structure.
What Are the Main Driveway Installation Steps?
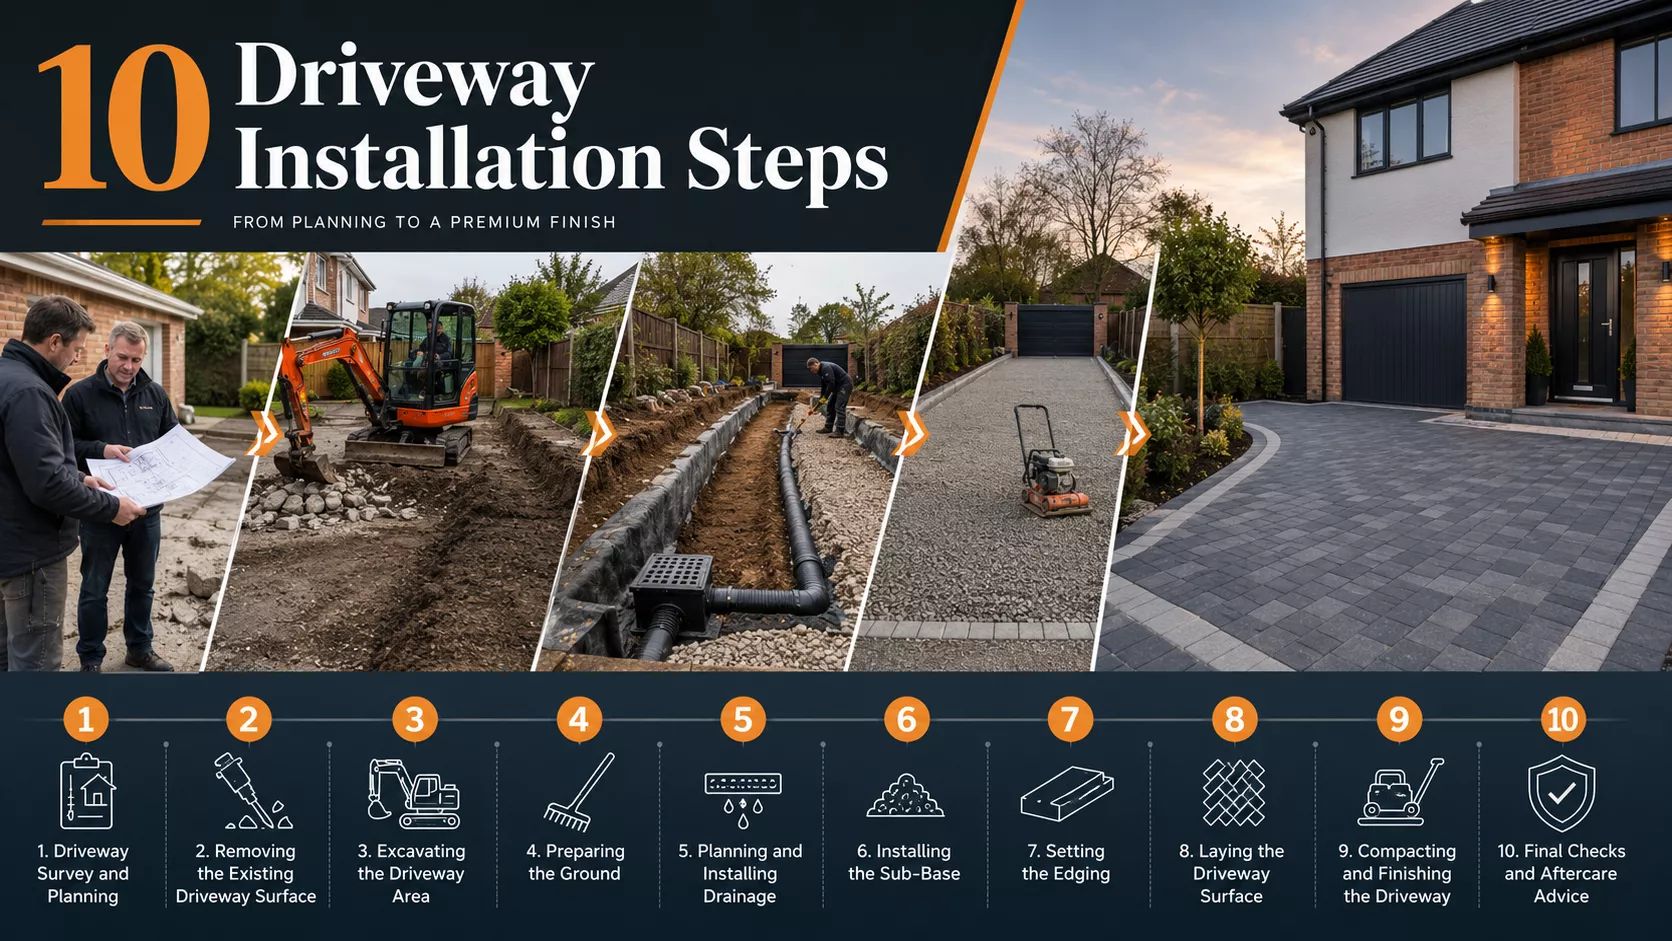
The main driveway installation steps include surveying the site, removing the old surface, excavating the ground, preparing the base, installing drainage, laying the sub-base, setting the edging, applying the chosen surface, finishing the details, and carrying out final checks.
| Step | What Happens | Why It Matters |
| 1 | Site survey and planning | Identifies levels, access, drainage and ground conditions |
| 2 | Old surface removal | Clears weak or damaged materials |
| 3 | Excavation | Creates the correct depth for a strong base |
| 4 | Ground preparation | Levels and stabilises the area |
| 5 | Drainage planning | Prevents standing water and surface damage |
| 6 | Sub-base installation | Supports vehicle weight |
| 7 | Edging installation | Holds the driveway shape |
| 8 | Surface laying | Creates the finished driveway |
| 9 | Finishing work | Improves strength, appearance and detail |
| 10 | Final checks | Confirms the driveway is safe and ready to use |
Step 1: Driveway Survey and Planning
Every strong driveway starts with a proper survey. Before digging begins, the contractor checks the area, ground levels, access, slope, drainage, existing surface, nearby walls, manholes, tree roots, and where rainwater currently flows.
This stage often reveals problems that are not obvious at first glance. For example, a driveway may look flat but gently slope towards the house. An old concrete base may seem solid, yet have cracks underneath. A front garden may need extra excavation because the soil is soft or clay-heavy.
Good planning helps avoid costly problems later. It also helps decide the best surface, base depth, drainage method, edging type, and installation timescale.
Step 2: Removing the Existing Driveway Surface
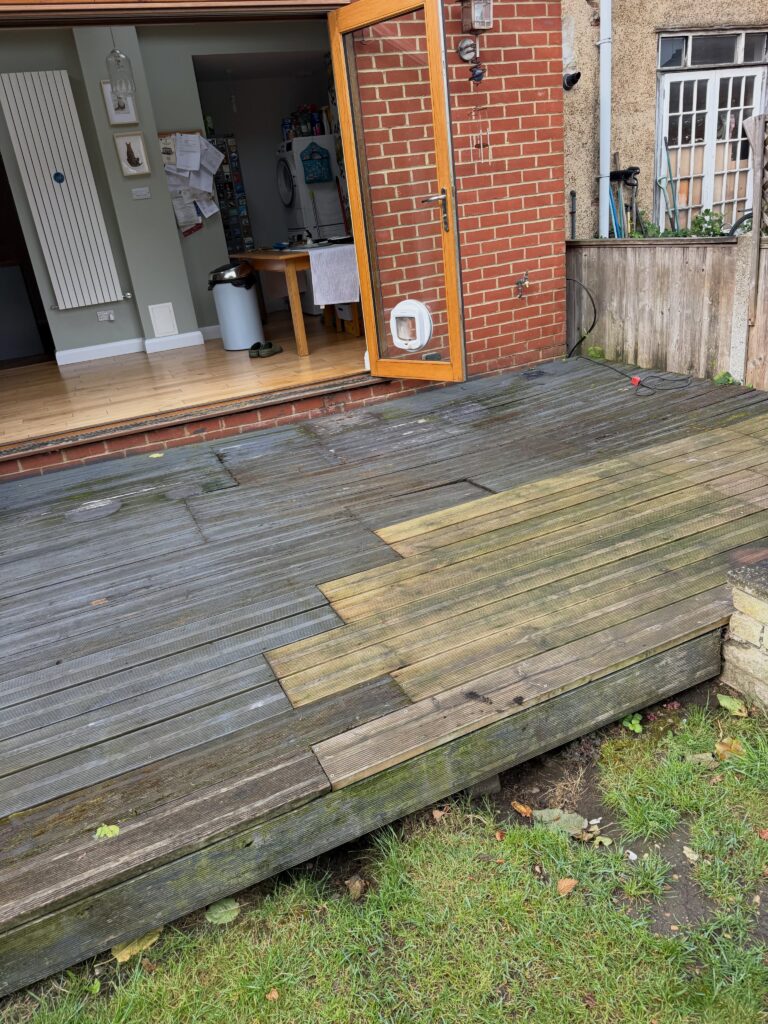
The next step is removing the old surface. This may include broken concrete, tired tarmac, loose gravel, uneven paving slabs, weeds, roots, and soft ground.
This part can look messy, but it is one of the most important parts of the job. A new driveway should never be built over weak material. That would be like painting over damp walls and hoping the problem disappears.
Old surfaces must be cleared properly so the new driveway has a clean, stable area to sit on.
Step 3: Excavating the Driveway Area
Excavation means digging out the driveway to the correct depth. The depth depends on the surface type, soil condition, drainage needs, and how the driveway will be used.
A driveway used for one small car may not need the same build-up as a driveway used by vans or several vehicles. Soft ground may also need deeper excavation and extra strengthening.
This stage creates space for the sub-base, bedding layer, drainage, and final surface. When excavation is too shallow, the driveway can move, dip, or crack under pressure.
Step 4: Preparing the Ground
Ground preparation is where the driveway begins to take shape. The contractor levels the area, removes weak spots, checks the fall, and prepares the ground for compaction.
This is where experience matters. A professional installer does not only look at the surface. They think about how the driveway will behave after heavy rain, winter frost, and daily vehicle movement.
The ground should be firm, even, and shaped correctly before the next layer is installed.
Step 5: Planning and Installing Drainage
Drainage should never be an afterthought. A driveway must move rainwater safely away from the property and avoid flooding paths, roads, or neighbouring land.
Depending on the site, drainage may include:
- A permeable driveway surface
- Drainage channels
- A soakaway system
- Correct surface falls
- Recessed manhole covers
- Suitable water run-off control
Poor drainage is one of the biggest causes of driveway failure. Standing water can weaken the base, stain the surface, create slippery areas, and cause long-term movement.
A well-installed driveway should still perform properly after heavy rain.
Step 6: Installing the Sub-Base
The sub-base is the hidden strength of the driveway. It usually includes compacted stone, often MOT Type 1, laid in layers and pressed down using a compactor.
This layer spreads the weight of vehicles and stops the surface from sinking. It also helps create a stable platform for the final driveway finish.
This is where many cheap installations fail. If the sub-base is too thin, uneven, or poorly compacted, the driveway may look fine at first but soon develop dips, loose areas, puddles, or cracks.
A strong driveway is built from the bottom up.
Step 7: Setting the Edging
Edging gives the driveway structure, shape, and a clean finish. It also keeps the surface material in place.
For block paving, edging stops the blocks from spreading. For gravel, it keeps stones contained. For resin, tarmac, and concrete, it creates a neat boundary and helps protect the surface edges.
Good edging also improves kerb appeal. It frames the driveway and helps it connect naturally with patios, paths, lawns, planting areas, walls, or the entrance from the road.
Step 8: Laying the Driveway Surface
Once the base and drainage are ready, the chosen driveway surface can be installed. Each material has its own method and timing.
Block Paving Driveway Installation
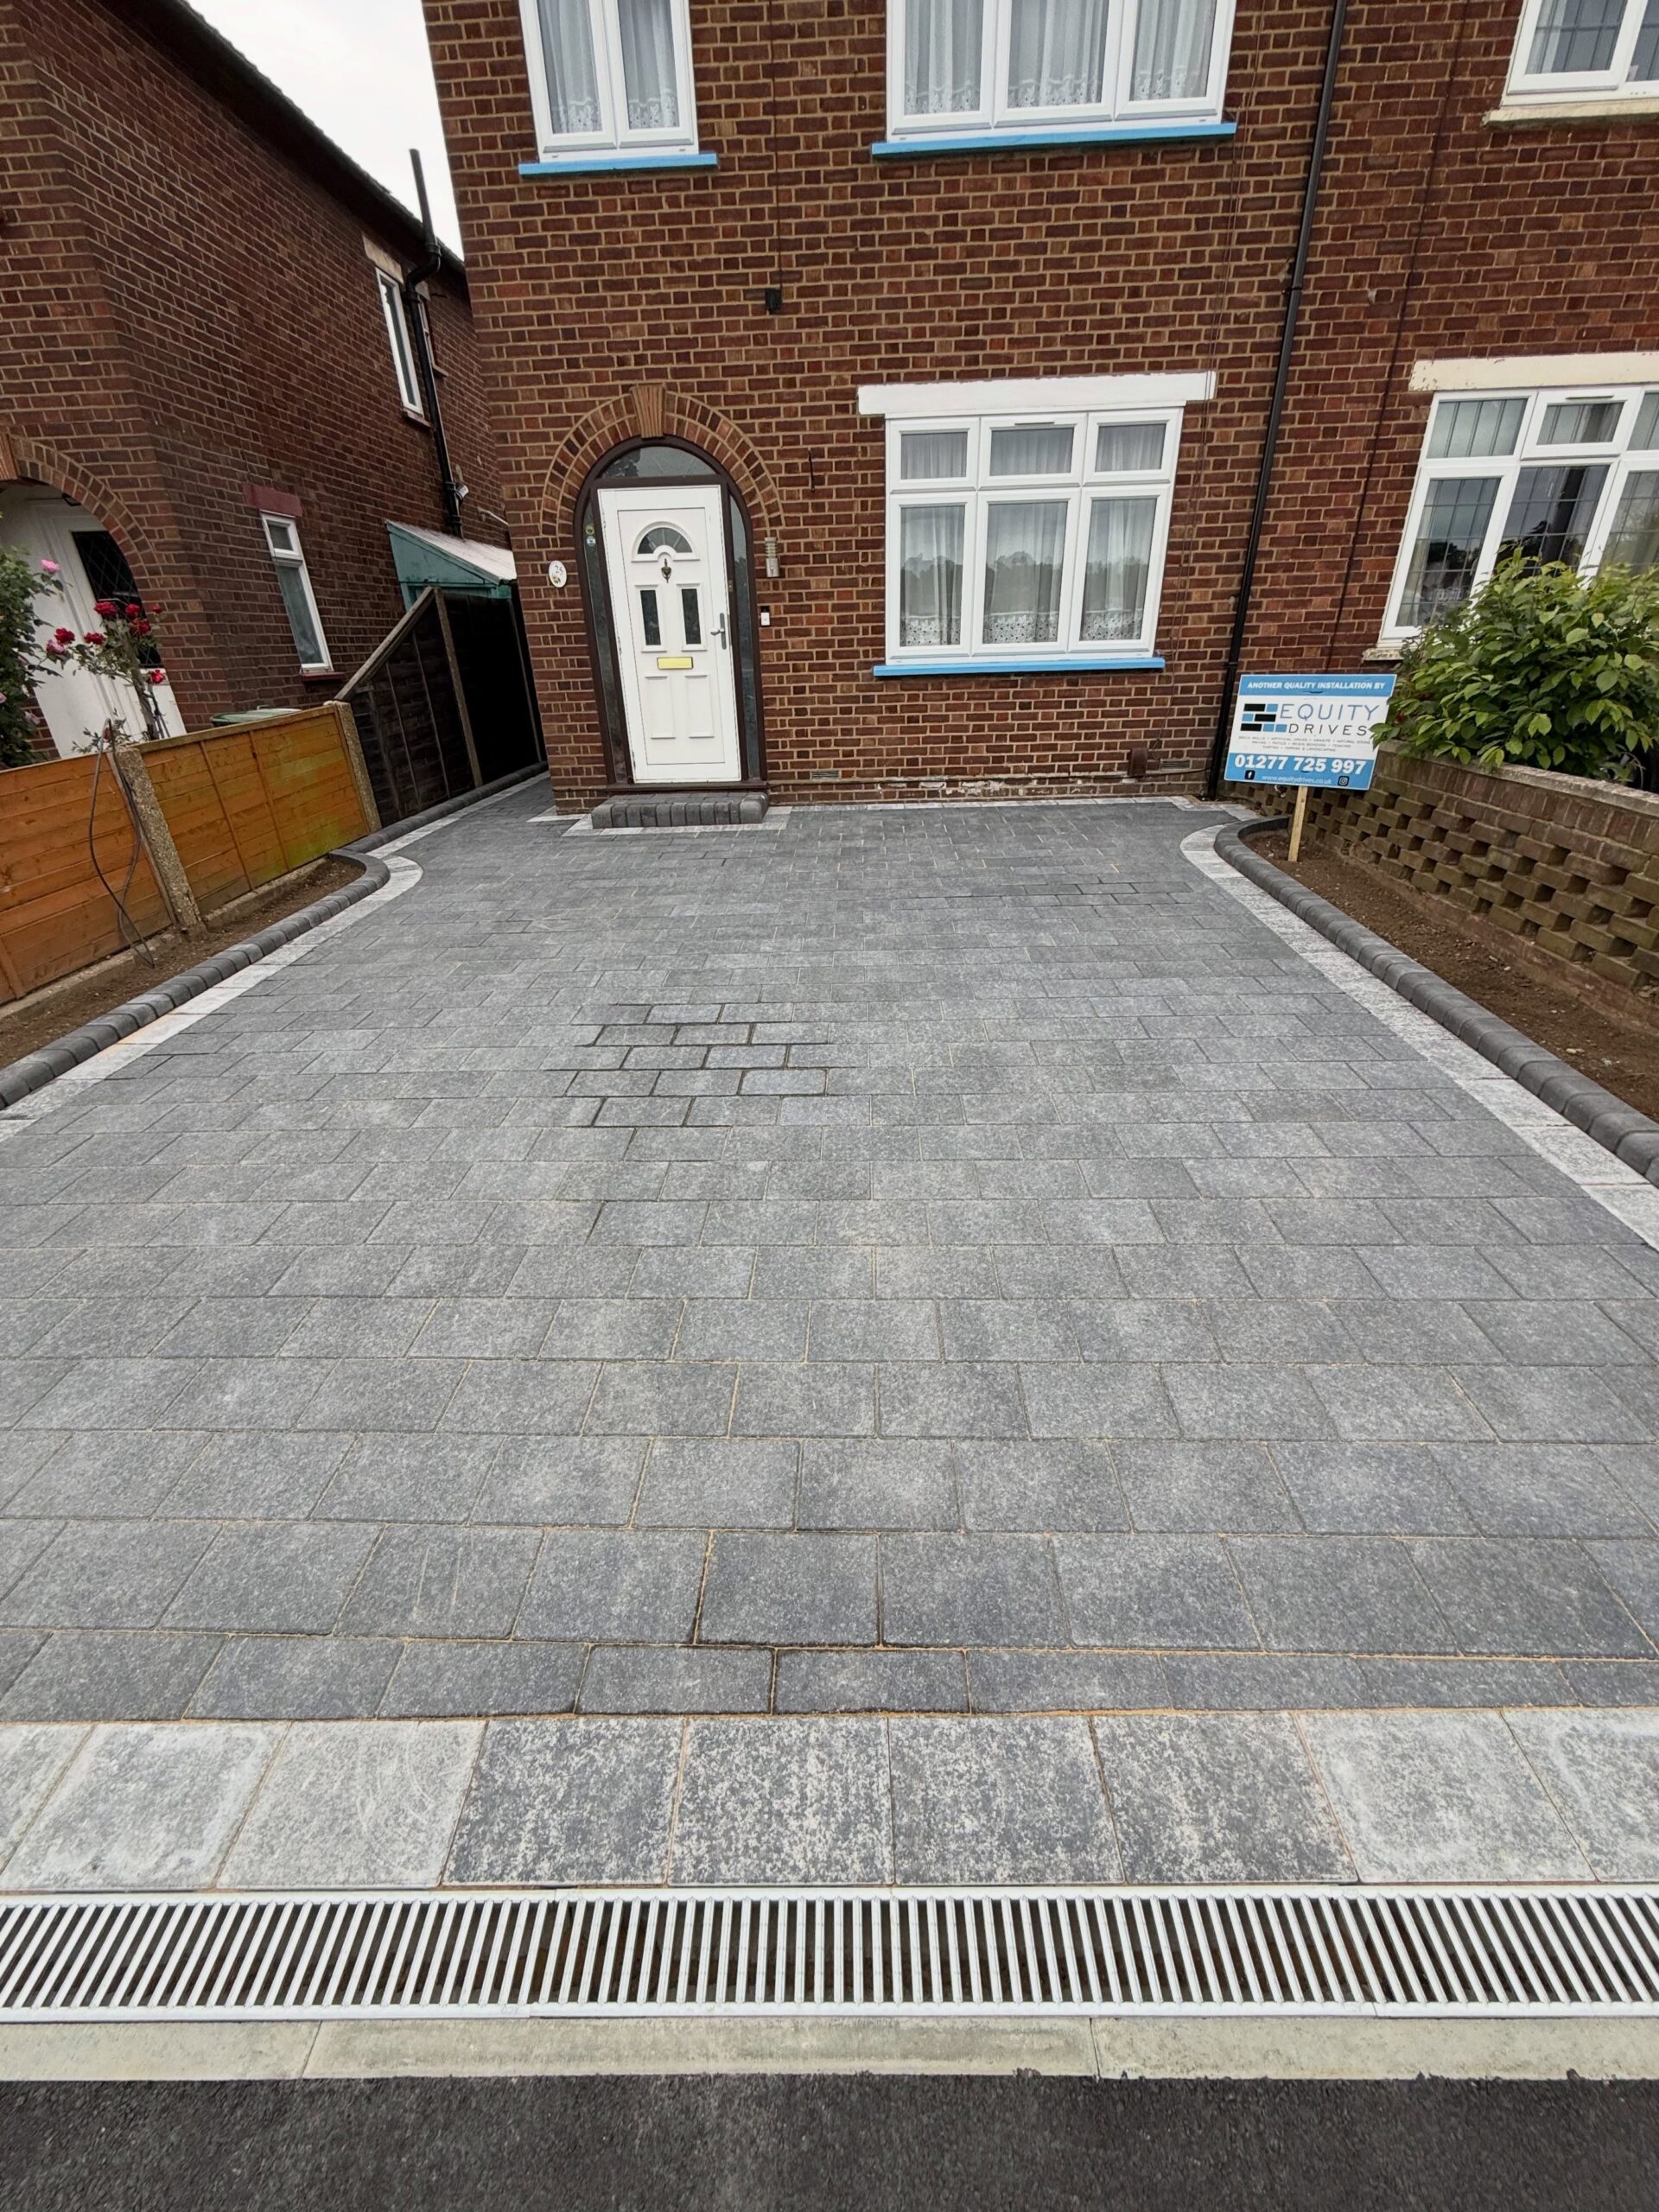
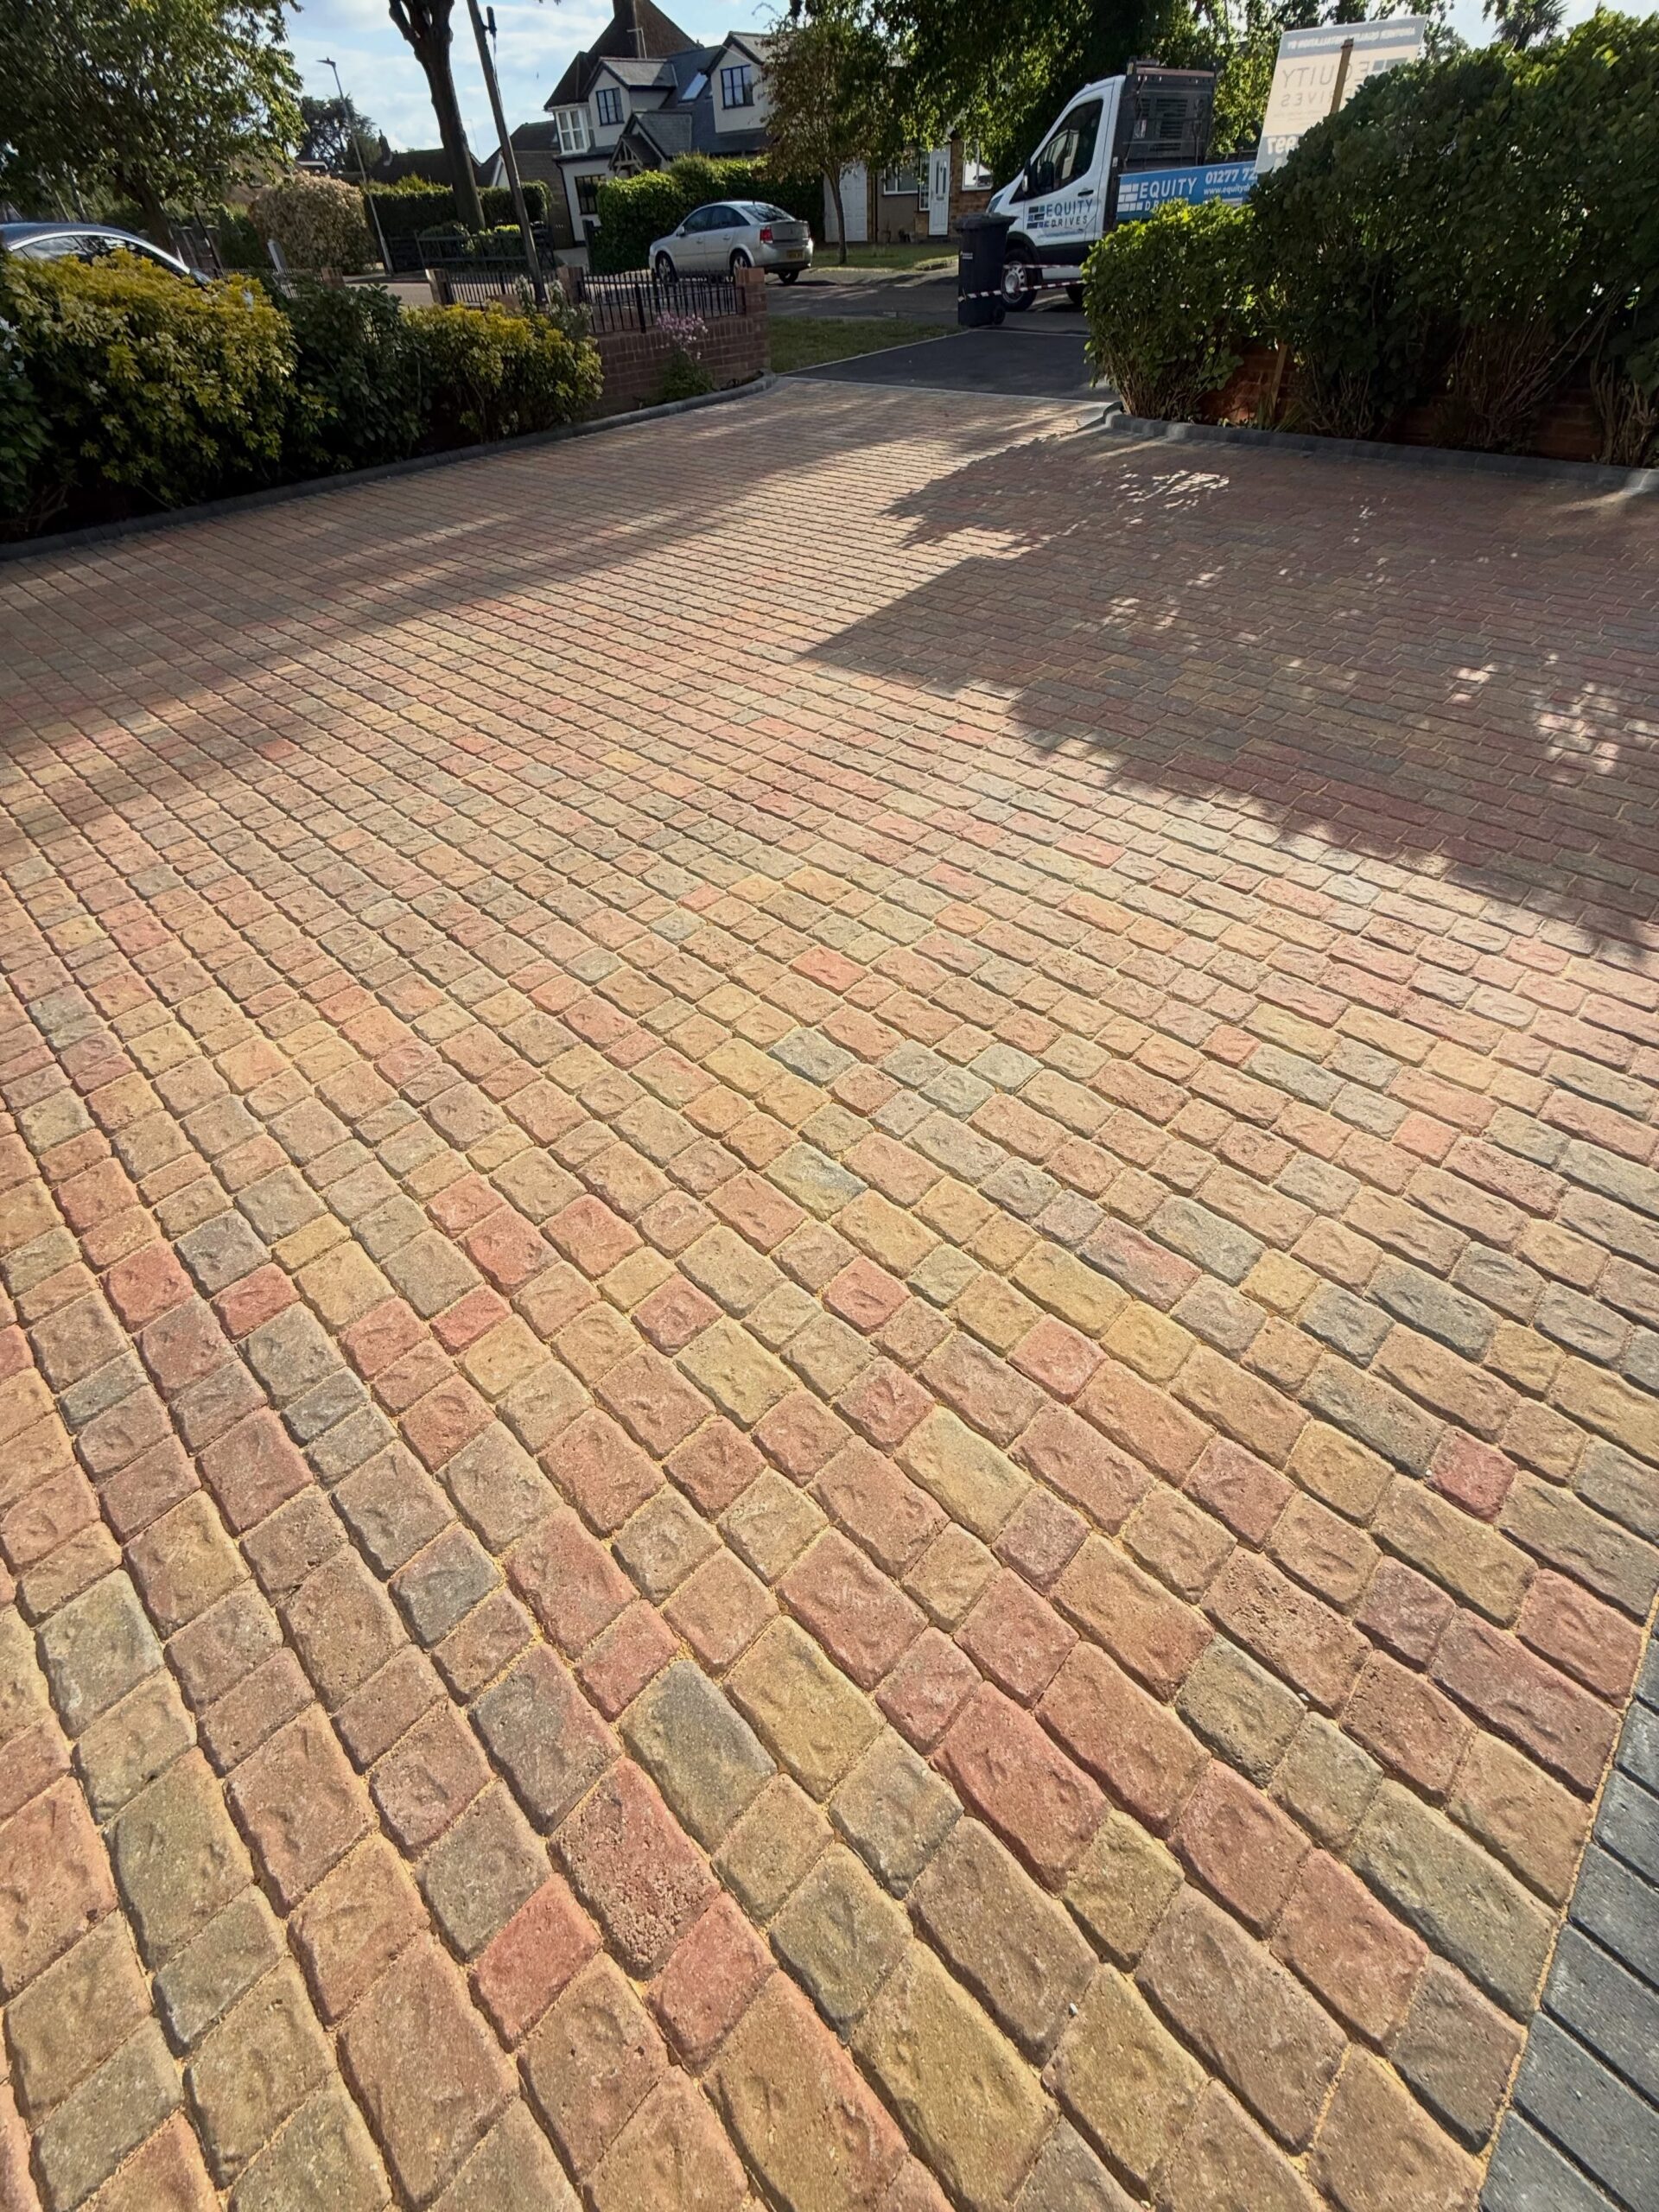
Block paving is laid in a planned pattern over a prepared bedding layer. The blocks are cut neatly around edges, drains, walls, and manholes. Once laid, the surface is compacted and jointing sand is brushed between the blocks.
Block paving is popular because it offers design flexibility, strong edging, and easy repair options.
Resin Driveway Installation
A resin-bound driveway uses a mix of natural stone and resin. The mixture is spread by hand and trowelled to a smooth finish.
Resin driveways need a clean, stable, suitable base. Weather also matters because cold, damp, or wet conditions can affect curing and bonding.
Tarmac Driveway Installation
Tarmac is laid hot, levelled, and compacted quickly before it cools. It creates a smooth, practical surface that suits many homes.
Good preparation is vital because tarmac follows the shape of the base underneath. If the base is uneven, the finished surface may show it.
Gravel Driveway Installation
A gravel driveway is installed over a prepared base with strong edging. The gravel is spread evenly across the area and may include a stabilisation grid to reduce movement.
Gravel is cost-effective and has a traditional look, but it still needs proper ground preparation to avoid ruts and loose patches.
Concrete Driveway Installation
Concrete is poured, levelled, and finished before it cures. It can be plain, brushed, coloured, or patterned.
Concrete needs careful timing, correct depth, suitable reinforcement where needed, and proper curing to reduce cracking and surface problems.
Step 9: Compacting and Finishing the Driveway
Finishing work brings the whole driveway together. This may include compacting the surface, brushing in jointing sand, smoothing edges, cleaning borders, checking drainage channels, adjusting manhole covers, and tidying the surrounding area.
This is the stage where quality becomes visible. Neat cuts, sharp edges, clean transitions, and careful detailing make a driveway feel professionally finished rather than simply installed.
Small details matter because homeowners notice them every day.
Step 10: Final Checks and Aftercare Advice
Before the job is complete, the contractor should check levels, drainage, edging, surface finish, access, and overall stability. The site should also be cleaned and left safe.
Some surfaces need time before they can be used. Resin, concrete, and tarmac need curing or cooling time. Block paving may be ready sooner, but it still needs careful first use.
A good contractor should explain:
- When you can walk on the driveway
- When you can park on it
- How to clean the surface
- What to avoid during the first few days
- How to protect the driveway long term
Aftercare helps the driveway settle properly and stay in better condition.
Why Proper Driveway Installation Matters
A driveway is more than a parking space. It is the entrance to your home, part of your kerb appeal, and a surface that handles daily pressure.
When installed correctly, a driveway can improve appearance, access, drainage, property value, and everyday convenience. When installed badly, it can become a constant source of frustration.
Common problems caused by poor installation include:
- Sinking areas
- Cracks
- Loose edging
- Standing water
- Weed growth
- Uneven levels
- Poor surface bonding
- Drainage issues
- Early surface failure
Most of these problems start below the surface. That is why the installation steps matter as much as the final finish.
How Long Does Driveway Installation Take?
Driveway installation timescales depend on the size of the area, ground condition, access, weather, drainage work, and chosen surface.
A small driveway may take only a few days. A larger driveway with excavation, drainage, edging, and detailed surfacing may take longer.
Bad weather can also affect progress, especially for resin, concrete, and tarmac. A reliable contractor will not rush key stages just to finish quickly. It is better to take the right time than to build a driveway that fails early.
What Makes a Good Driveway Contractor?
A good driveway contractor does more than lay a surface. They understand ground movement, drainage, levels, materials, edging, and long-term use.
Look for a contractor who explains the process clearly, provides a written quote, discusses drainage, uses proper sub-base materials, and shows examples of previous work.
A trustworthy contractor will not avoid questions about preparation. In fact, they should be happy to explain what goes underneath your driveway, not just what it will look like on top.
Driveway Installation for Patios and Landscaping Projects
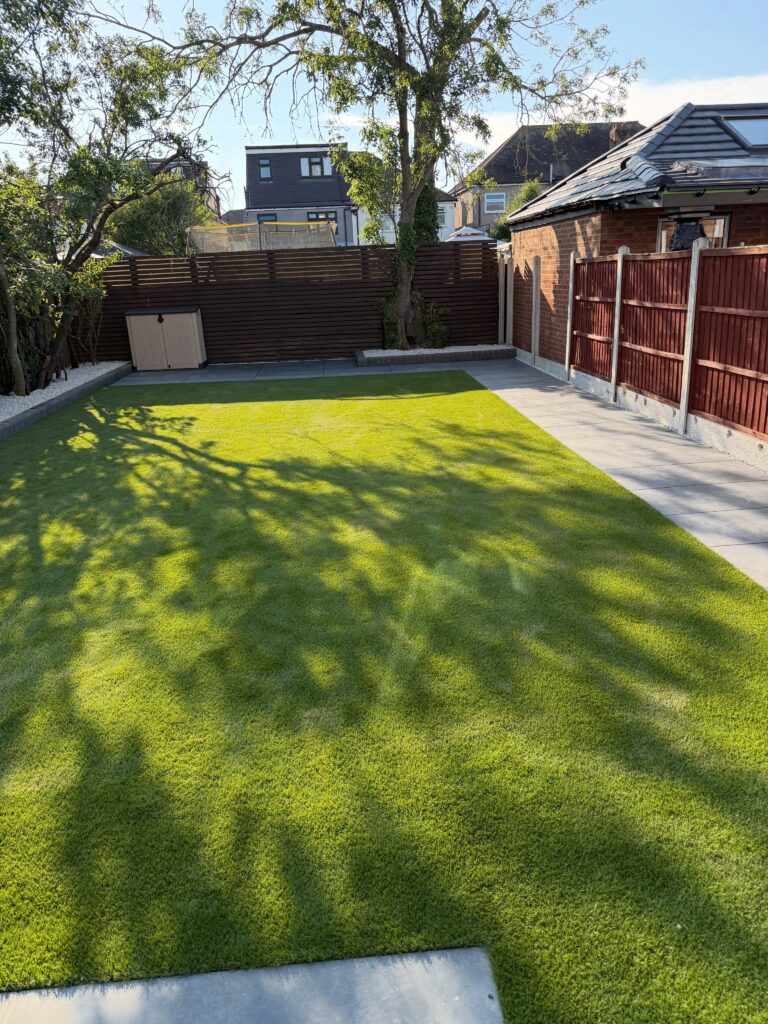
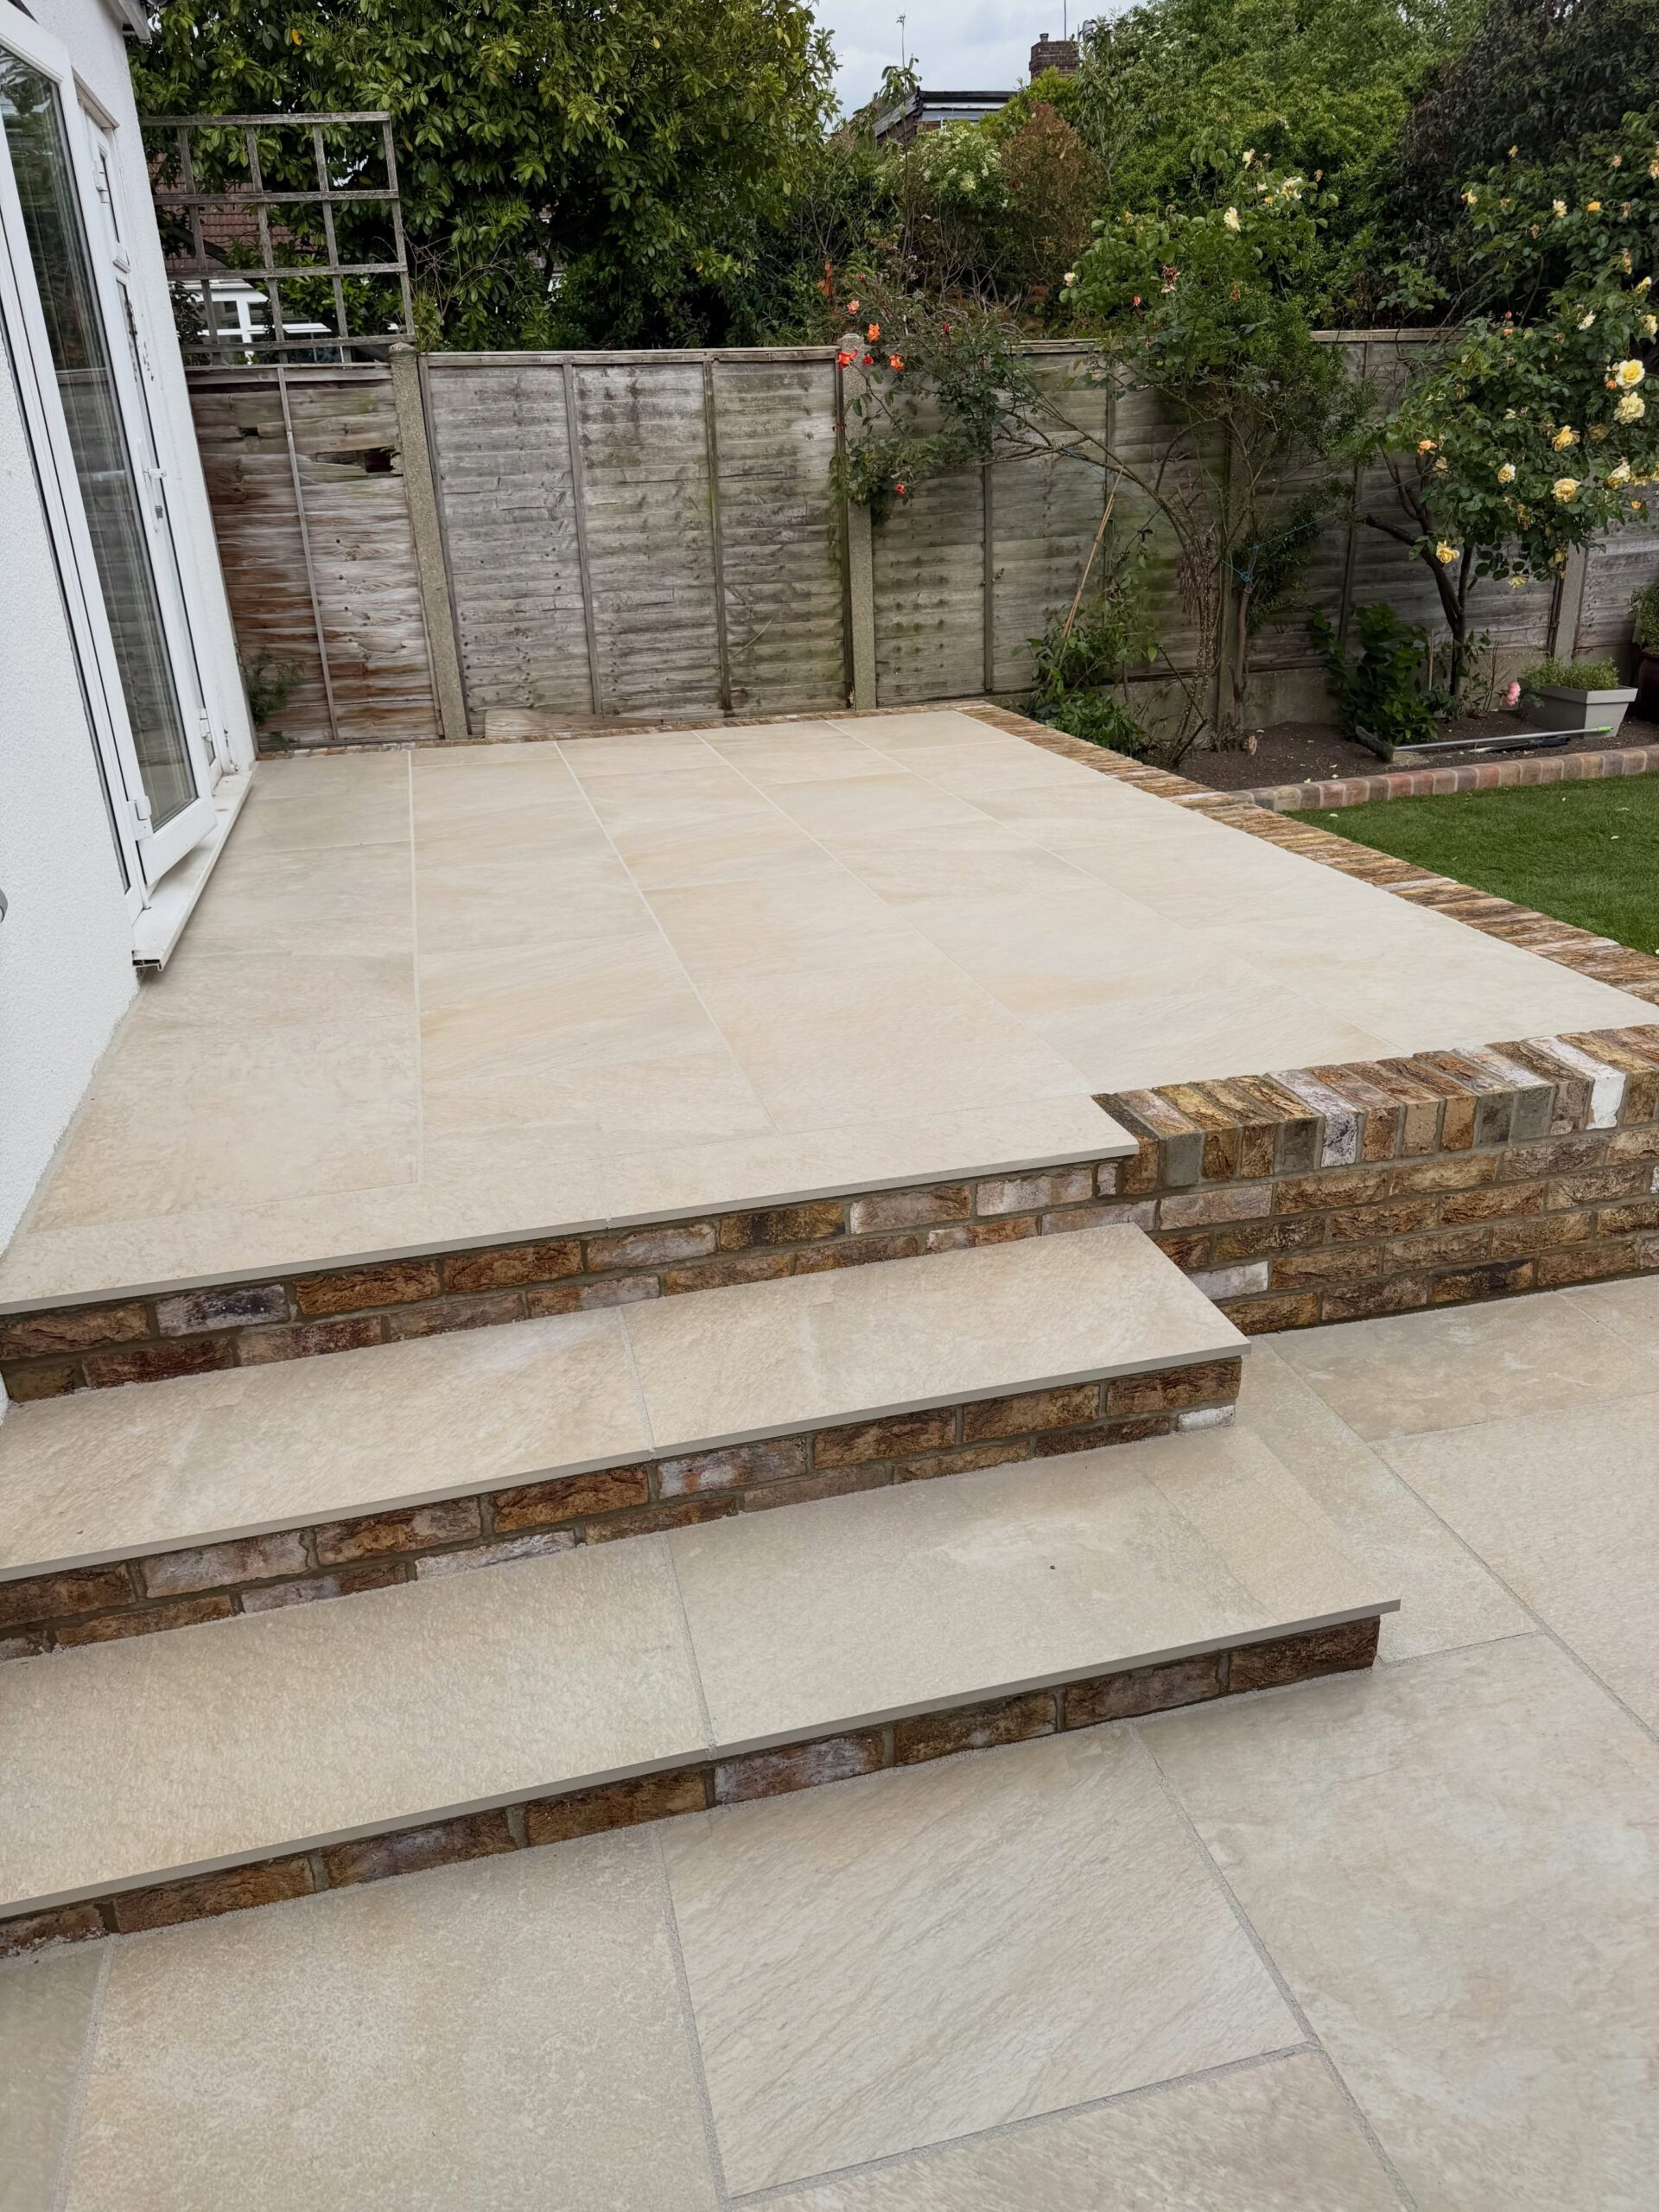
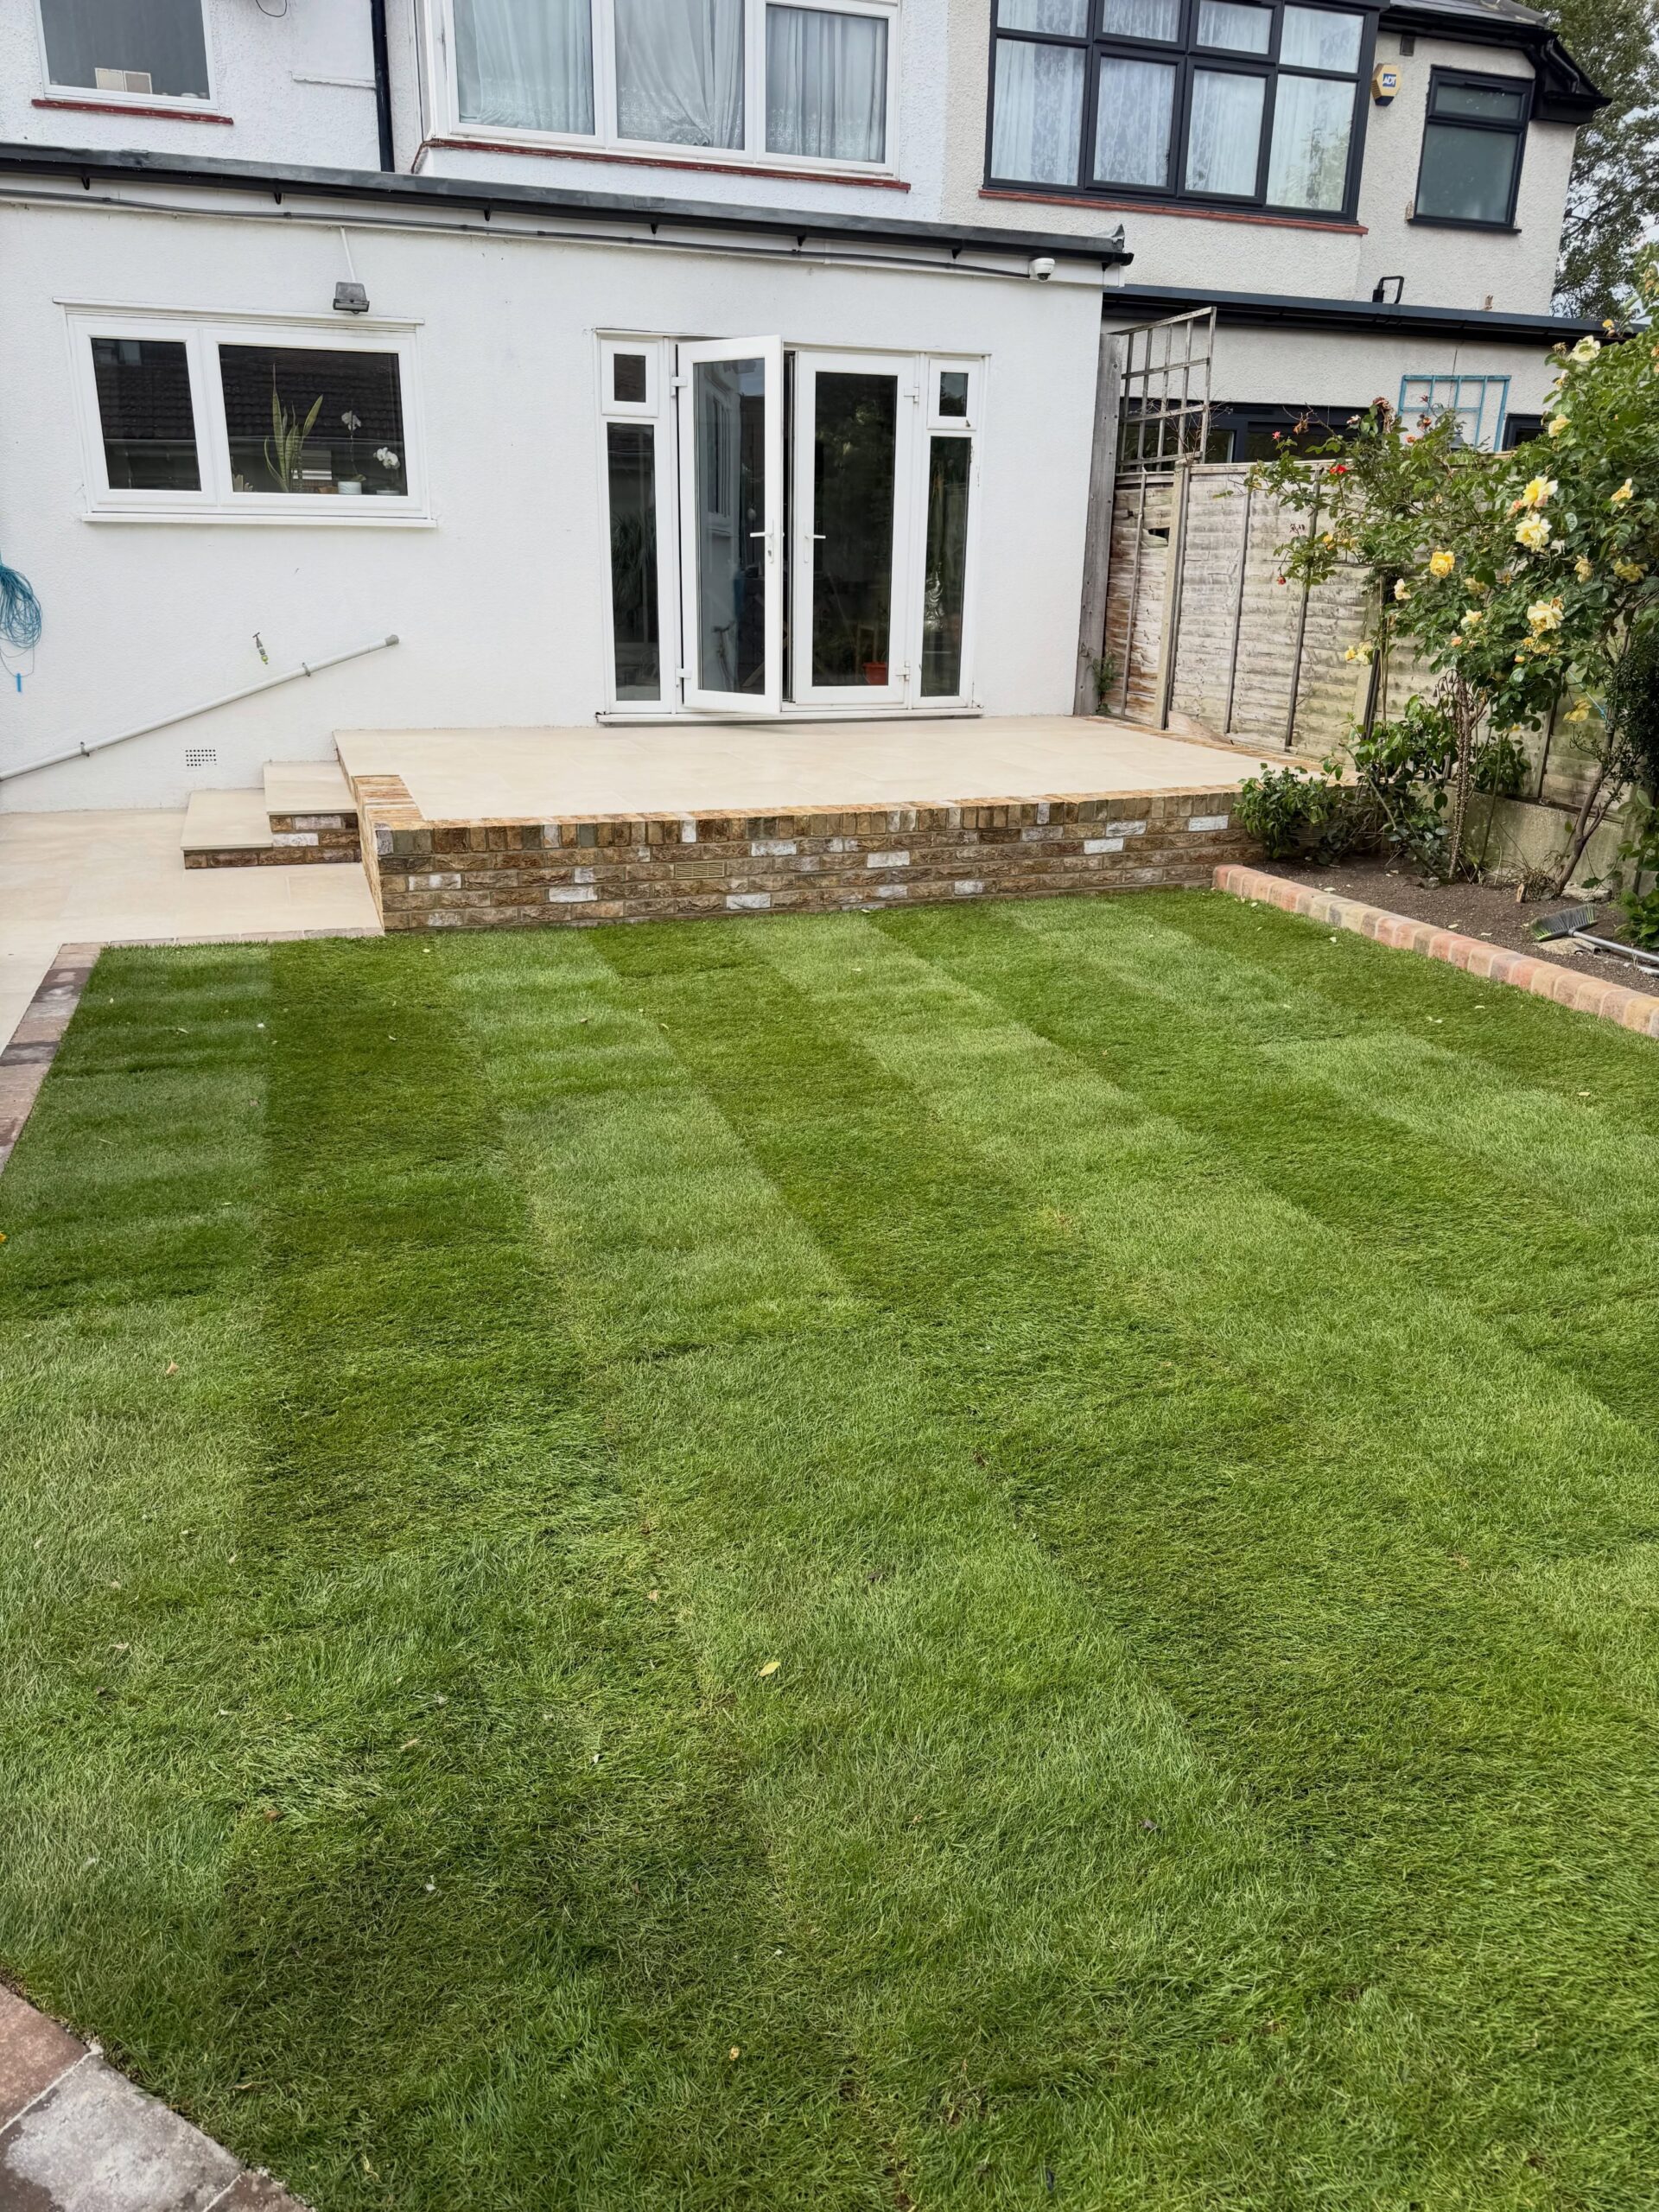
Many driveway projects connect with wider outdoor improvements. A new driveway may be part of a front garden redesign, patio upgrade, pathway installation, fencing project, or full landscaping plan.
That is why levels, edging, materials, and drainage should be planned with the whole outdoor space in mind.
For example, a driveway can be designed to flow naturally into a side path. Edging can match a patio border. Planting areas can soften the entrance. Lighting can improve safety and appearance.
When driveway, patio, and landscaping work is planned together, the result feels more complete and less like separate pieces added at different times.
Ready to Plan Your Driveway Installation?
A well-built driveway starts long before the final surface is laid. The survey, excavation, ground preparation, drainage, sub-base, edging, and finishing all work together to create a driveway that lasts.
Whether you want a smart new entrance, a stronger parking area, or a driveway that connects beautifully with your patio and landscaping, the right installation process makes all the difference.
Choose a contractor who treats the base with the same care as the finish. That is how you get a driveway that looks good on day one and still performs years later.
FAQs
What is the first step in driveway installation?
The first step is a site survey. The contractor checks the area, access, ground condition, levels, drainage, and existing surface before planning the installation.
Why is ground preparation important for a driveway?
Ground preparation creates a stable base for the driveway. Poor preparation can lead to sinking, cracking, puddles, loose edges, and early surface failure.
What sub-base is used for driveway installation?
Many driveways use a compacted stone sub-base, such as MOT Type 1. The exact material and depth depend on the driveway type, soil condition, and vehicle use.
Does every driveway need drainage?
Yes, every driveway needs proper water management. This may include a permeable surface, drainage channels, soakaways, or correct falls to move water safely away.
Can a new driveway be installed over an old driveway?
Sometimes, but only if the existing base is suitable. In many cases, the old surface should be removed so the contractor can install a strong and stable foundation.
How long before I can park on a new driveway?
This depends on the surface. Block paving may be ready sooner, while resin, concrete, and tarmac need time to cure or cool. Your contractor should give clear aftercare advice.
What causes a driveway to sink?
Driveways often sink because of poor excavation, weak ground preparation, thin sub-base layers, poor compaction, drainage problems, or heavy vehicle pressure.
Which driveway surface is best?
The best surface depends on your budget, style, drainage needs, maintenance preference, and how the driveway will be used. Block paving, resin, tarmac, gravel, and concrete all have different benefits.